Decide what Site in the Site Collection you want to use. Create a new one if needed.
As far as what kind of Site to create (that is, what Site Template to use when creating the Site), that depends on the purpose of the application being built. Most common will be "Team Sites (classic)" because this provides the functionality needed in most situations. However, other Site Templates can used, if they are better suited to the purpose of the application.
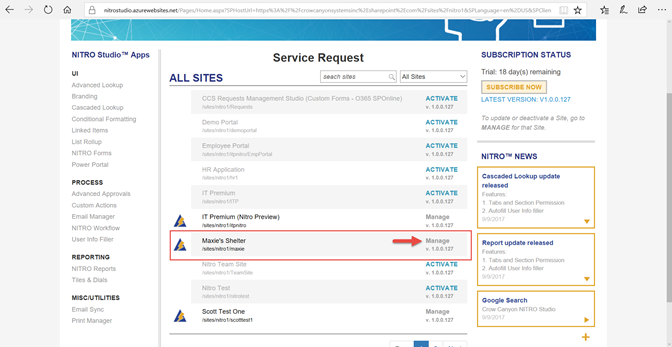
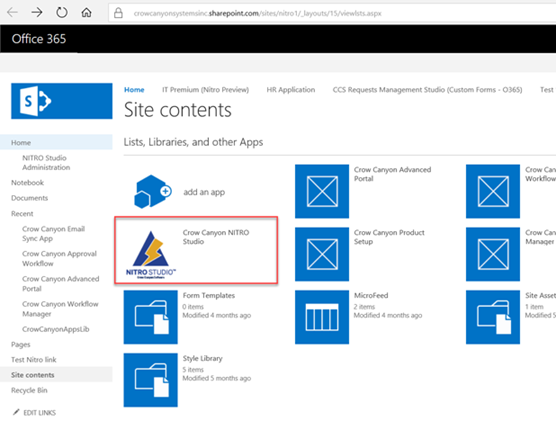
Step 1 - As an Admin user go to NITRO Studio App in Site Contents of your root site collection.
Hint: Add a Quick Launch link in the root site to make it easier to access the NITRO Studio Admin Page.
This will open the Admin Page. Here you will see a list of all sites under your site contents. NITRO can be installed on any existing site.
Step 2 - Activate NITRO Studio on one or more sites.
1.Click on the ACTIVATE link for the target site. The Activation process will run and should take less than 5 minutes to complete. When the process is finished, click OK in the pop-up window.

Activate NITRO in a Site