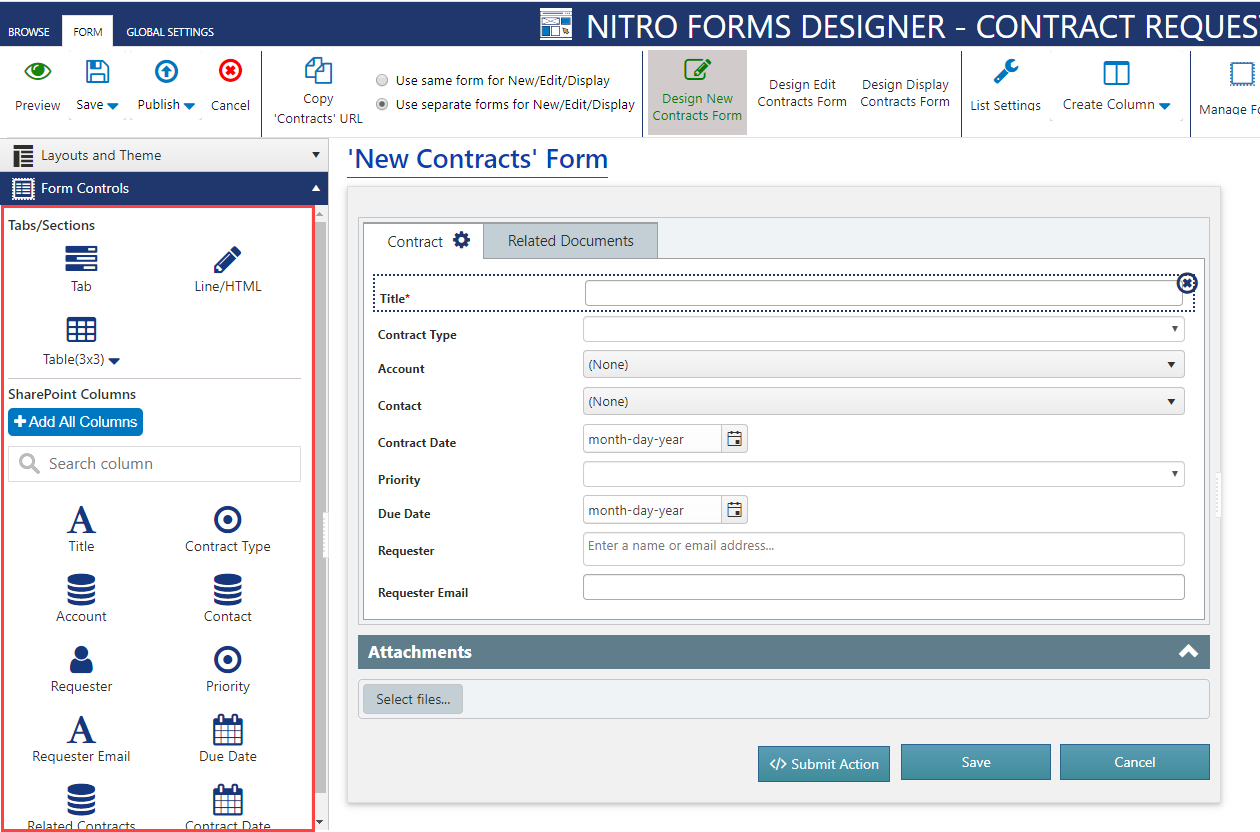
Form Controls is how you add tabs, sections, lines/html, tables, the attachment box, and columns to the form.
Expand Form Controls in the left-side pane of the NITRO Forms Designer. Here, you can “drag and drop” controls to the form -- just click, hold and drag the column or control you want to the desired location on the form.
In the upper area ("Tabs/Sections"), you can add new tabs, sections, tables, lines, HTML, and the Attachments box.
In the "SharePoint Columns" area, you can add any of the columns from the list you are working with to the form. You can search for a column by typing in any part of the name into the search box. This will bring up all the columns that match.
In either area, simply click the control or column, and drag it over to where you want it on the form. Once you have the columns on the form, you can move them around by dragging and dropping where you would like them on the form. They can be removed by clicking the X in the upper right of the column or control.
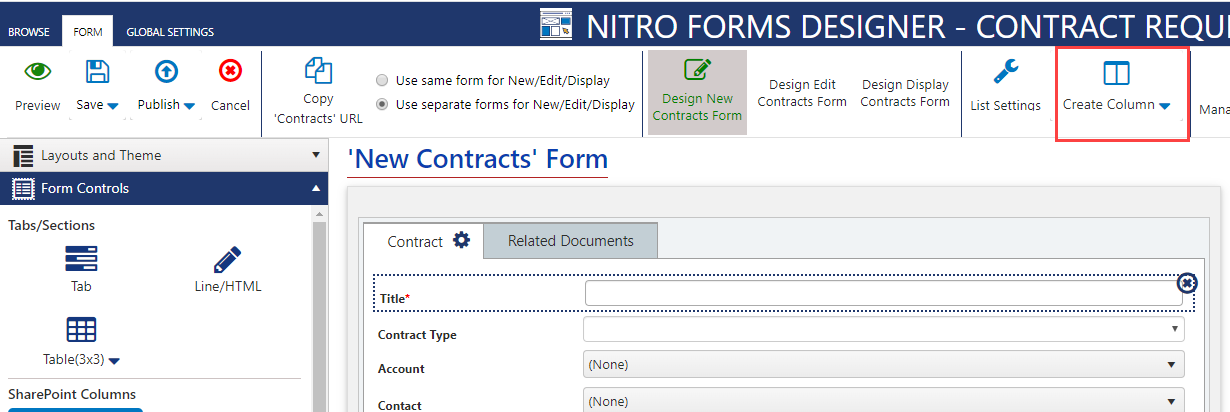
To add new columns to your list, click the Create Column button at the top in the ribbon next to “List Settings”.
Clicking on that will bring up the Create Column window, which looks like this:
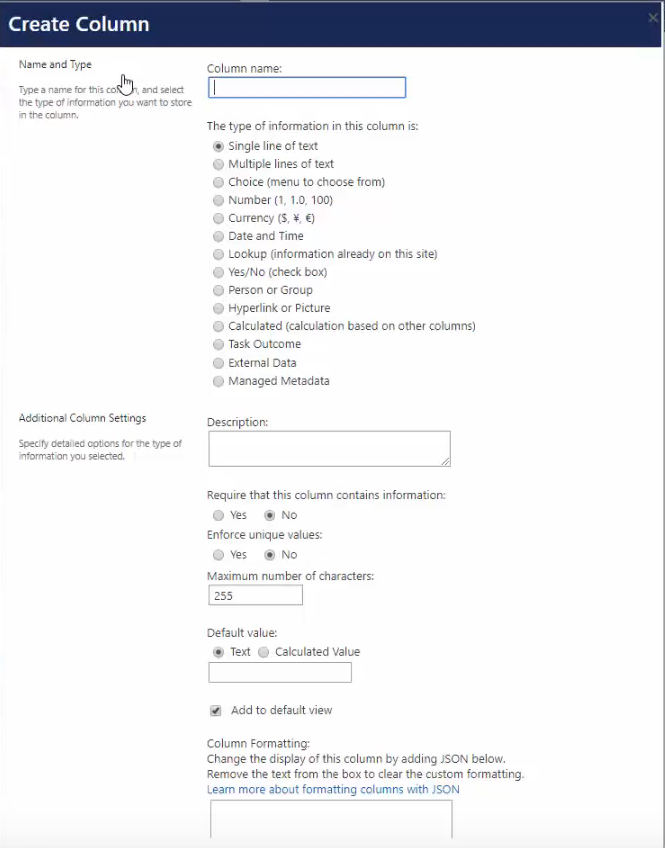
At the bottom of this window, after making your choices, hit “Ok”
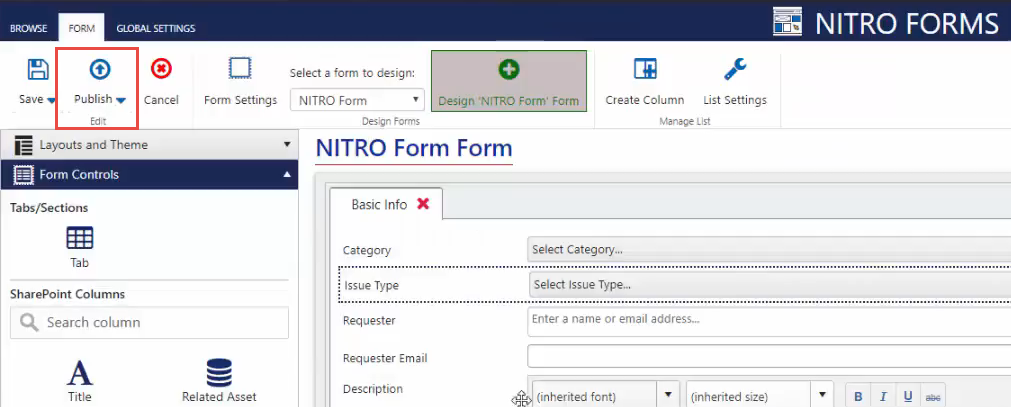
When you’re ready to publish the form, click the “Publish” button in the top left corner between “Save” and “Cancel”.