Applies To: SharePoint Online and Onprem
Note: The “ShowTabs” and “EmailTo” features are not yet available in the On-Premises version. This article will be updated once they are implemented.
Description
An enhancement has been added to the NITRO Item Print feature, enabling the ability to send an email that includes an image of the item’s NITRO form. This functionality is implemented using a custom script and allows users to open the email dialog with a single click on the form, streamlining the process of sharing form details via email.
Detailed steps:
Configure NITRO Form item print template:
- Go to site contents → navigate to the list, click on list settings → Click on ‘Crow Canyon Print Manager Settings’ under permissions and management
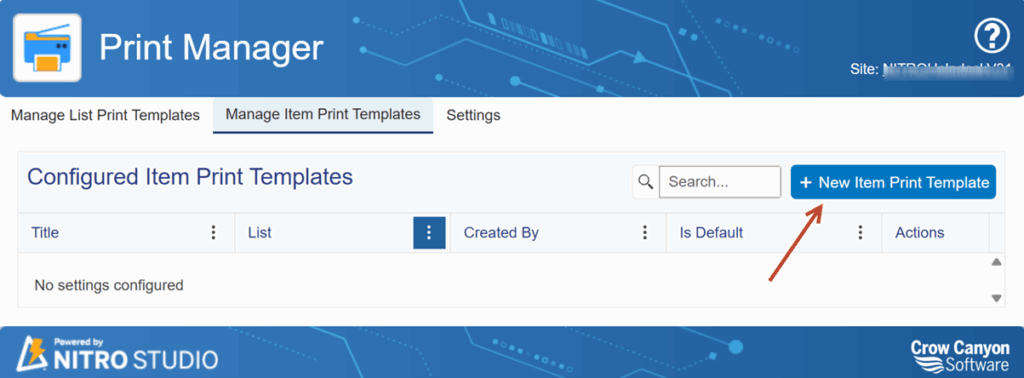
- Navigate to ‘Manage Item print templates’ tab and click on ‘new Item print template’
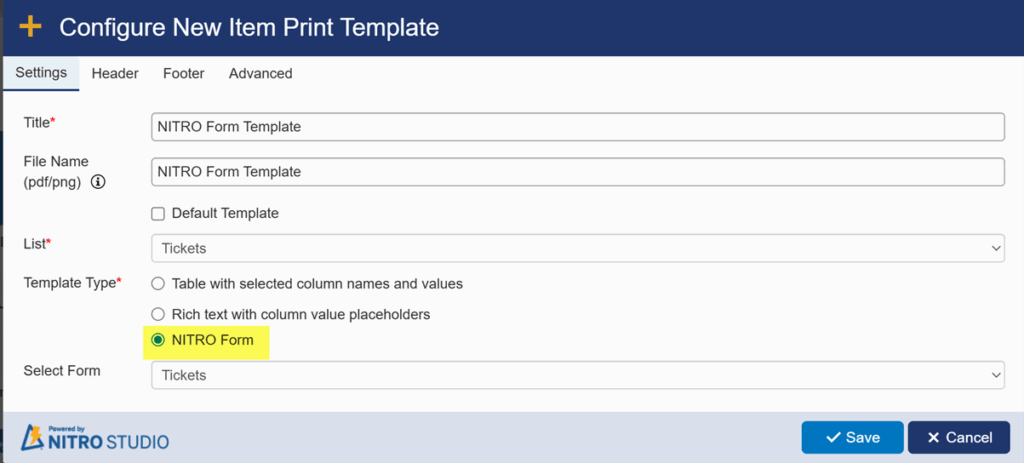
3. Configure the item print template settings as shown below and click on save
Configure the button to print the NITRO Form and send an email:
- Go to site contents → navigate to the list, click on list settings → Click on ‘Crow canyon NITRO Forms’ under permissions and management → Select the form and click on edit
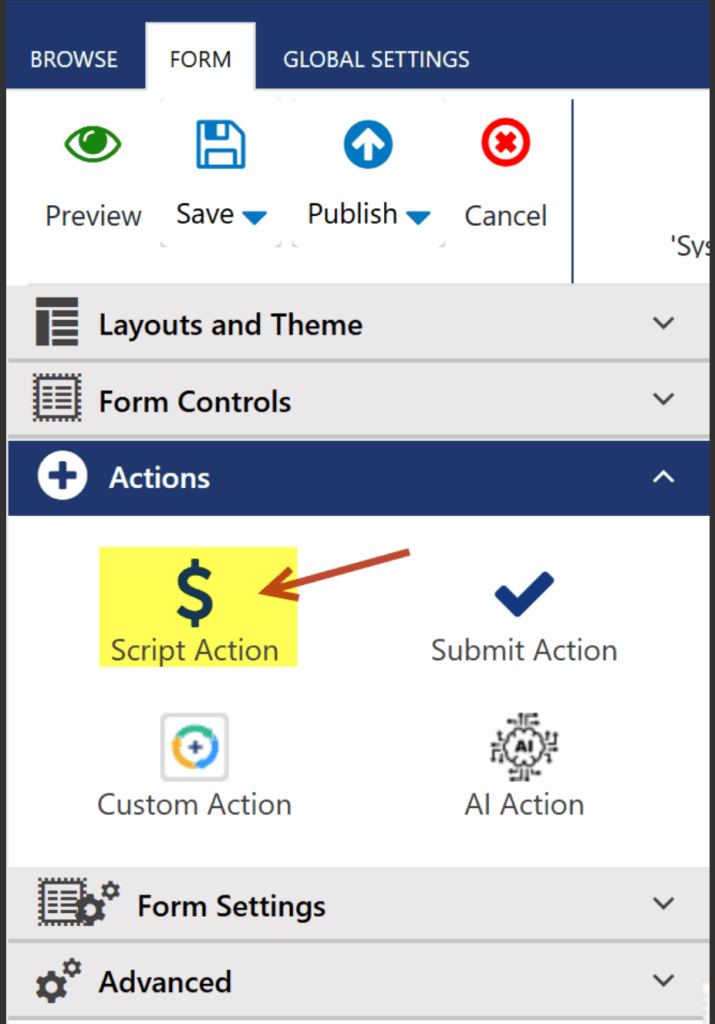
- Drag and drop ‘script action’ under actions section from the left
3. Click on the button and configure the settings as
- Configure the general settings as shown below
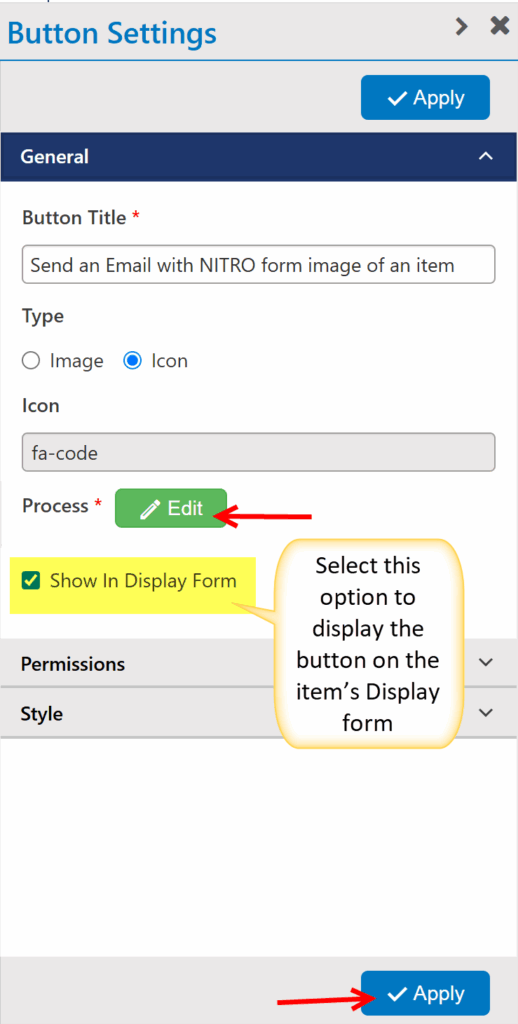
- Click on ‘Edit’ beside the process and paste the script from the attachment
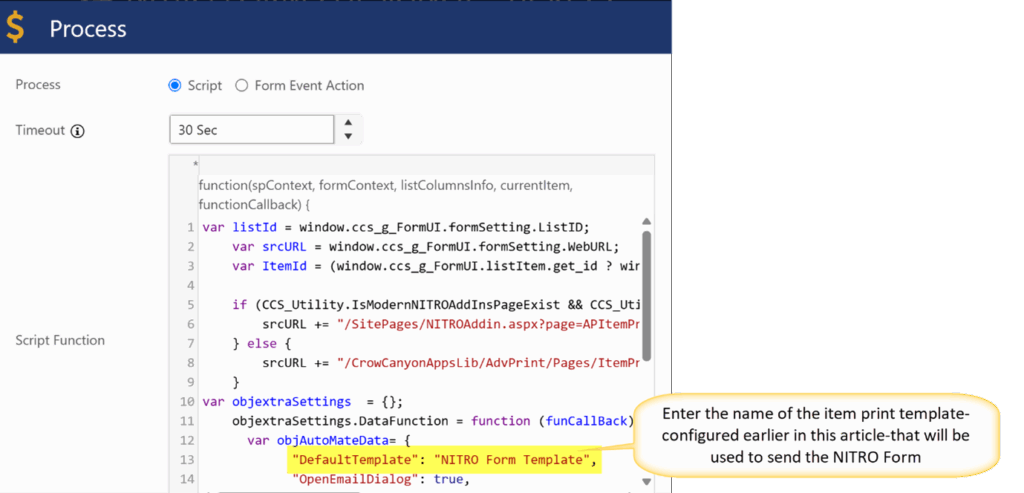
Script Used above:
var listId = window.ccs_g_FormUI.formSetting.ListID;
var srcURL = window.ccs_g_FormUI.formSetting.WebURL;
var ItemId = (window.ccs_g_FormUI.listItem.get_id ? window.ccs_g_FormUI.listItem.get_id() : window.ccs_g_FormUI.listItem.get_item('ID'));
if (CCS_Utility.IsModernNITROAddInsPageExist && CCS_Utility.IsModernNITROAddInsPageExist(window.ccs_g_FormUI.formSetting.WebURL)) {
srcURL += "/SitePages/NITROAddin.aspx?page=APItemPrint&env=WebView&SPListItemId=" + ItemId + "&SPListId=" + listId;
} else {
srcURL += "/CrowCanyonAppsLib/AdvPrint/Pages/ItemPrint.aspx?SPListItemId=" + ItemId + "&SPListId=" + listId;
}
var objextraSettings = {};
objextraSettings.DataFunction = function (funCallBack) {
var objAutoMateData= {
"DefaultTemplate": "NITRO Form Template",
"OpenEmailDialog": true,
"PrintTabForm": true,
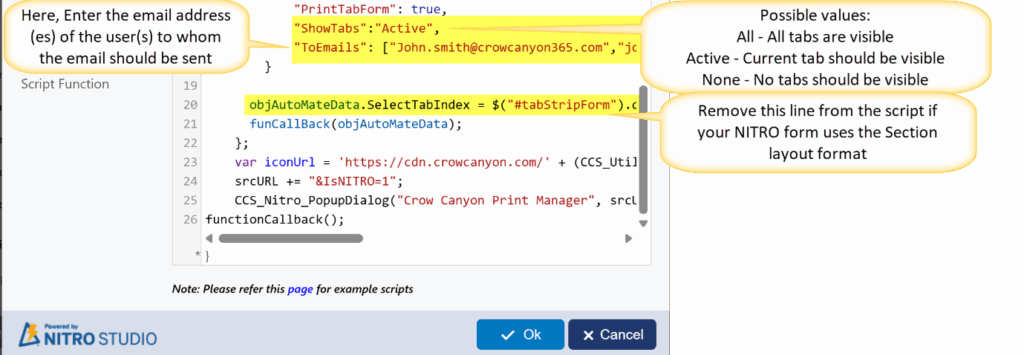
"ShowTabs":"All",
"ToEmails": ["John.smith@crowcanyon365.com","joeb@crowcanyon365.com"]
}
objAutoMateData.SelectTabIndex = $("#tabStripForm").data().kendoTabStrip.select().parent().children().index($("#tabStripForm").data().kendoTabStrip.select())
funCallBack(objAutoMateData);
};
var iconUrl = 'https://cdn.crowcanyon.com/' + (CCS_Utility._ccs_appIconPath ? CCS_Utility._ccs_appIconPath : "AppsIcon") + '/PrintManager/default_Y_36x36.png';
srcURL += "&IsNITRO=1";
CCS_Nitro_PopupDialog("Crow Canyon Print Manager", srcURL, iconUrl, 1040, true, "", "", true, objextraSettings);
functionCallback();
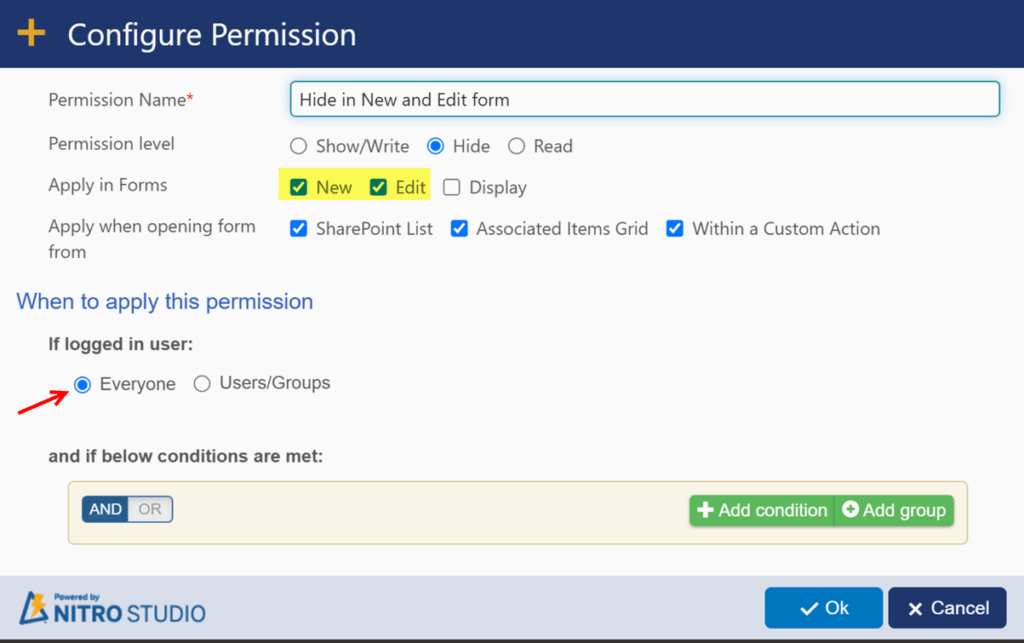
- Click on ‘Add’ under ‘Permissions’ section and configure the settings as shown below and save it
4. Publish the form and check the results
Sample Output:
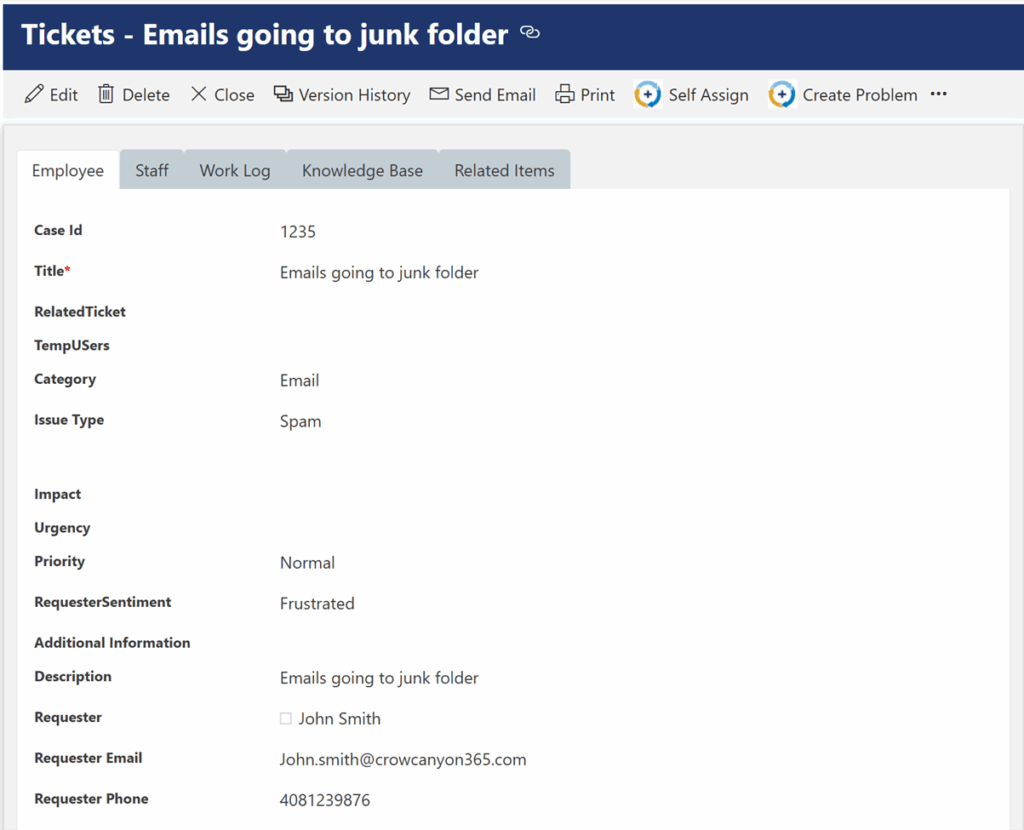
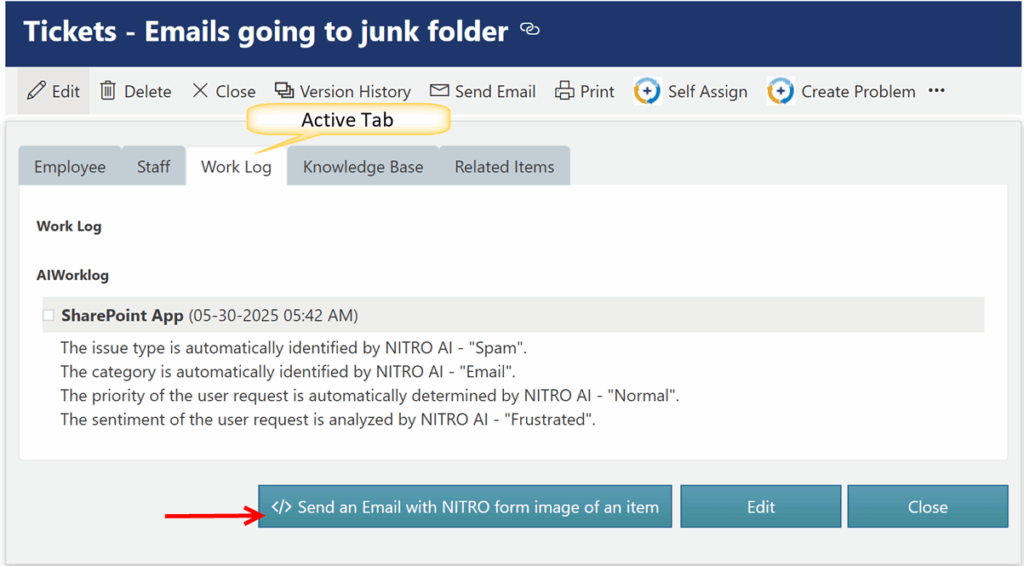
Sample NITRO Form:
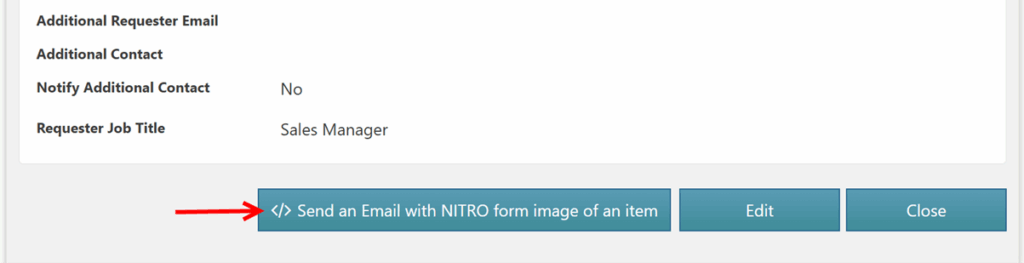
After clicking ‘Send an Email with NITRO form image of an item’ button, below window will pop up
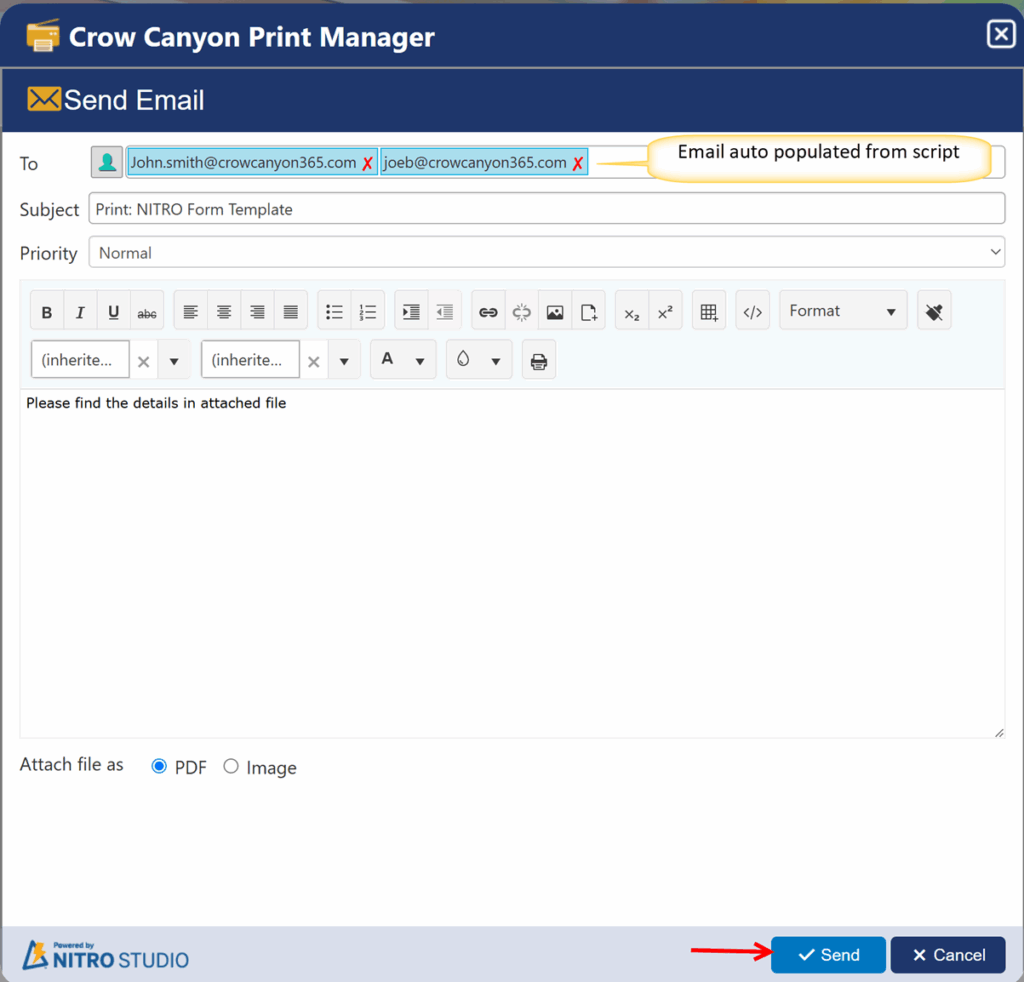
Note: if Email address is not provided in script ‘EmailTo’ setting, then user can select the email address manually

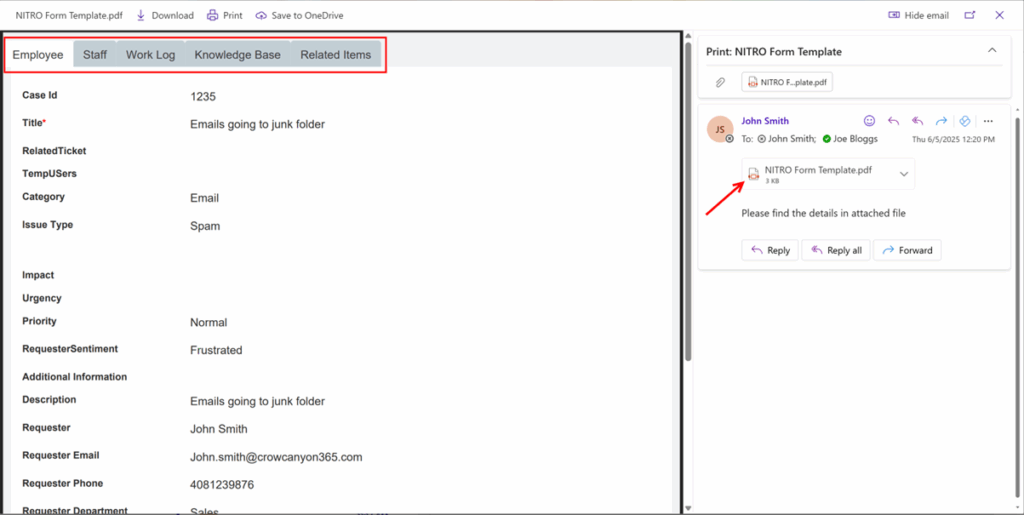
i. Sample Output of Email with All tabs Visible:
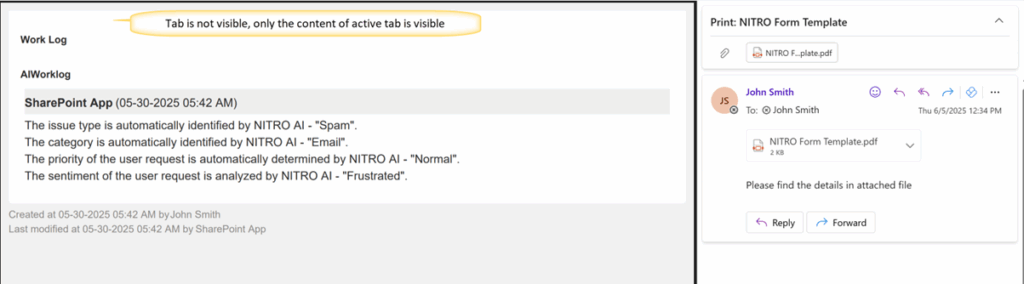
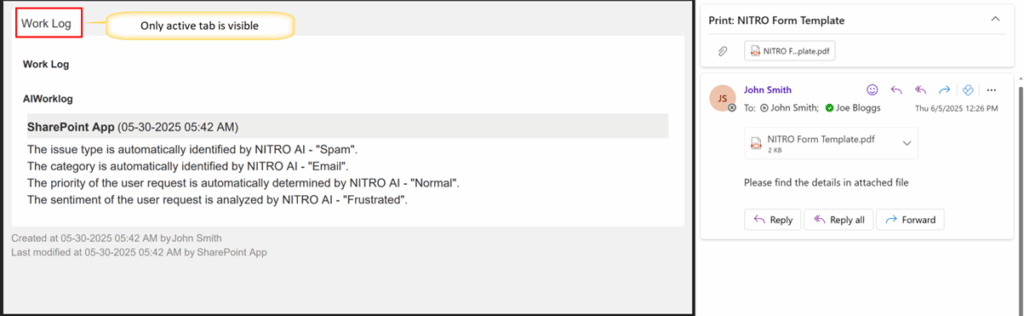
ii. Sample Output with Active Tab:
Email with active tab:
iii. Sample Output with ‘None’:
Only the contents of active tab will be visible, but tab will not be visible