Applies to: SharePoint Online and On-Premises 2013/2016/2019/SharePoint Server Subscription Edition
Description
In Crow Canyon NITRO activated sites, outgoing emails are sent in following ways:
- Email Manager (user-initiated emails)
- NITRO Workflows (if any send mail actions are configured)
- Custom Actions (if any send mail actions are configured)
For service request application (IT Help Desk, Facilities, Request Management etc.), emails are also sent for standard product notifications. That is, on Ticket creation/assignment/completion/resolution and notification on incoming email.
This article lists the steps to modify the sender or ‘from’ address in outgoing emails for all the above cases. Please refer ‘Example Scenario’ section in this article for configuring required ‘Send As’ permissions for outgoing emails.
Detailed steps
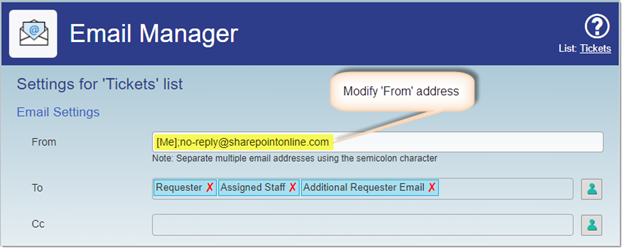
Email Manager
Technicians can send mail from the Ticket using ‘Crow Canyon Email’ button. To modify the sender in Email Manager, go to Tickets list -> List Settings -> Crow Canyon Email Manager settings and modify the sender.
Note that Email Manager can also be activated on any list in the site. Same set of steps can be used for any list to change the sender address.
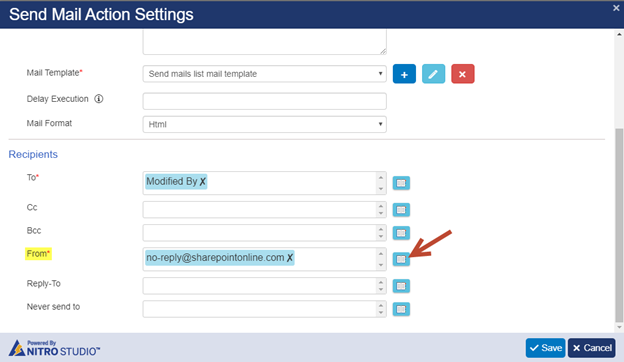
NITRO Workflows
If there is are any workflows that send mails, go to the site -> Application Administration -> Crow Canyon NITRO Apps -> NITRO Workflows -> edit all the workflows that have send mail actions -> edit the Send mail action and modify sender in ‘Recipients’ section:
Similarly, sender can be changed for all other workflows that have send mail actions.
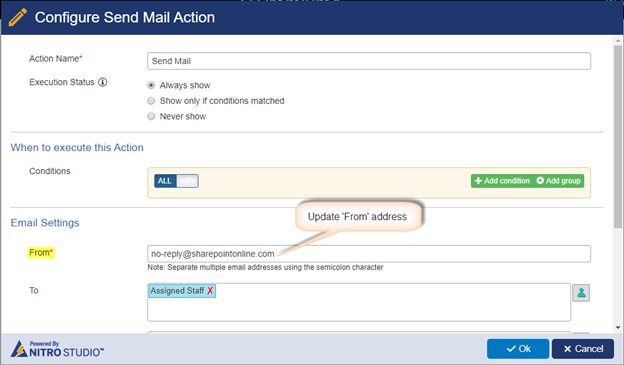
Custom Actions send mail actions
If there is any custom action that send mails, go to the list -> List Settings -> ‘Crow Canyon Custom Actions’ -> edit all the custom actions that have send mail actions -> edit the send mail action and modify sender in ‘Email Settings’ section:
Standard product notifications in Service Request application
These notifications are sent to Ticket requester, staff, and team when a Ticket is created, assigned, resolved, and closed.
To modify the sender address of these emails, go to the service request application site -> Application Administration -> Notifications -> Edit ‘Notification on Ticket Creation’ and modify the sender as shown below:
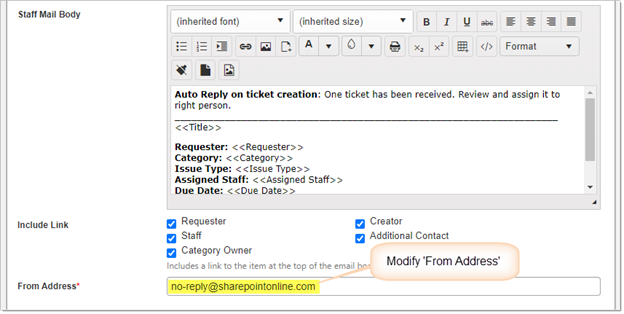
Similarly, edit notification on Ticket assignment/resolution/completion/incoming email/Ticket reactivation and modify the sender address.