Applies To: SharePoint Online
Overview
This article covers following cases:
1. Change logo and rename Crow Canyon NITRO Engage
Below instructions describes the steps to change the bot logo and also rename Crow Canyon NITRO Engage default name i.e. “NITRO Engage” to the required name. In this example, we are renaming the BOT to “Service Desk BOT”
Detailed Instructions:
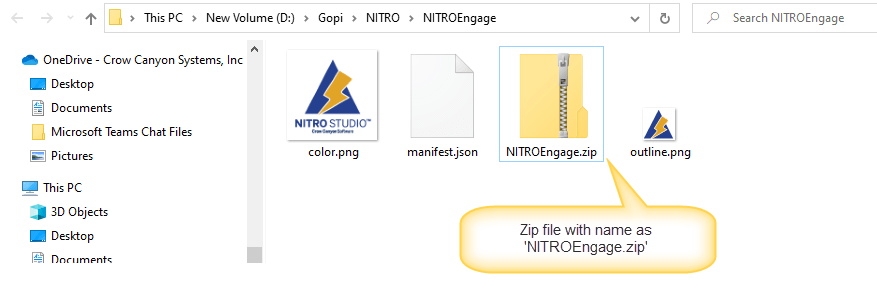
1. To modify the bot name and logo, we need to make some changes in ‘NITROEngage.zip’ file.
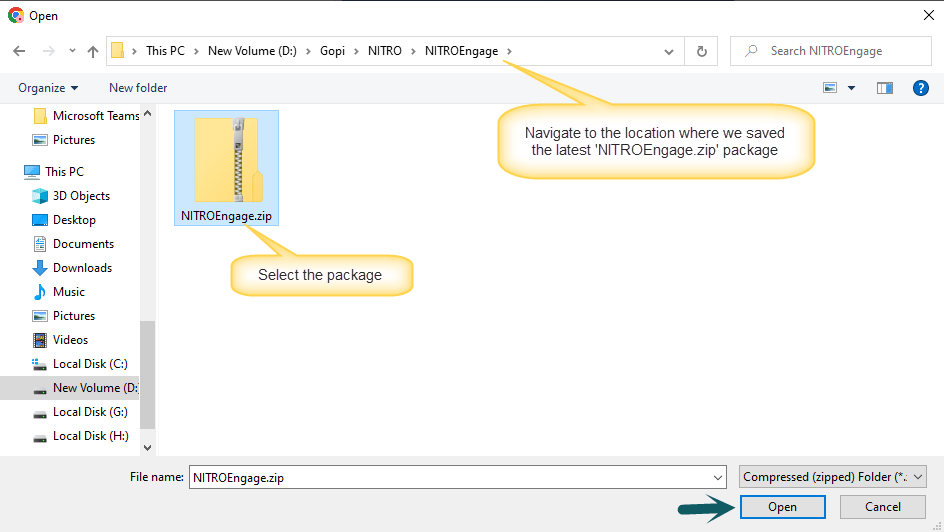
Go to the location where ‘NITROEngage.zip’ file already saved as part of bot installation. if this file is not available, please contact crowcanyonsupport@crowcanyon.com to get the latest bot package.
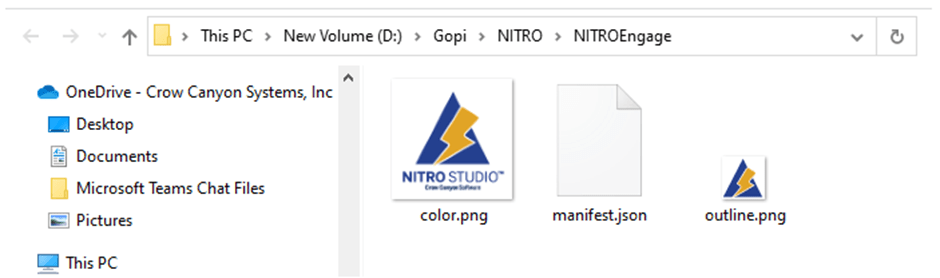
2. Extract the ‘NITROEngage.zip’ file and the extracted folder will contains below files.
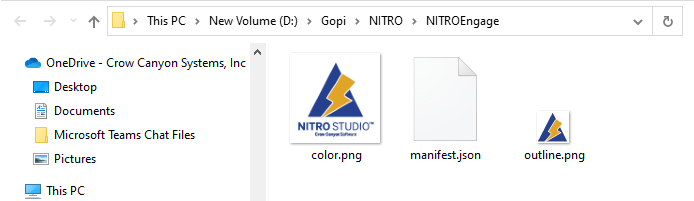
3. To modify the logo, we need to replace below files with the logos that we want to change.
- color.png
- outline.png
Please note that logo file names and format should be same as above and size for each file should be like below:
color.png: 192 x 192
outline.png: 32 x 32
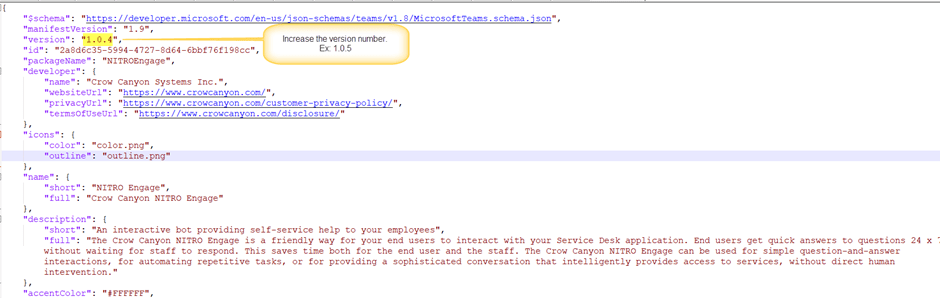
4. Next, edit the ‘manifest.json’ file in notepad and modify the version number and rename the bot needed and save the file.
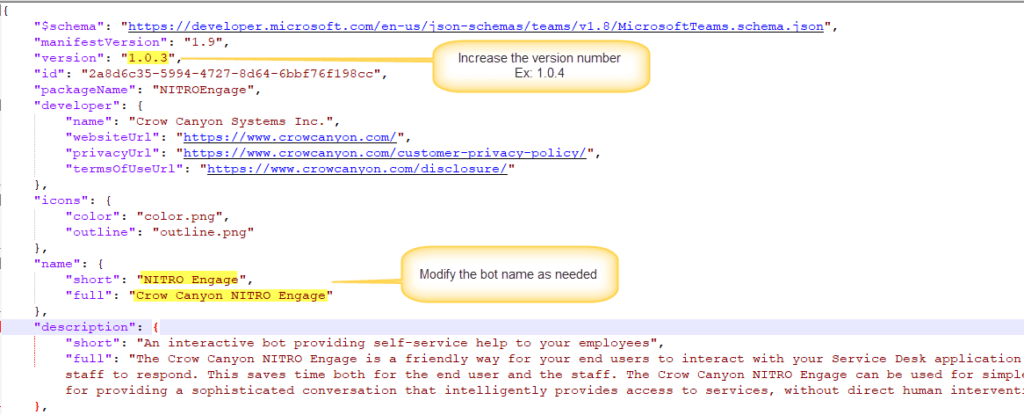
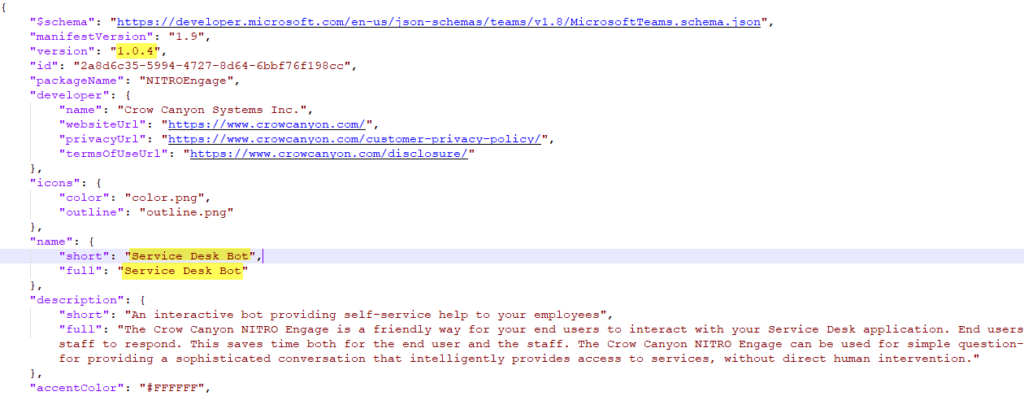
After modification, the ‘manifest.json’ will be like:
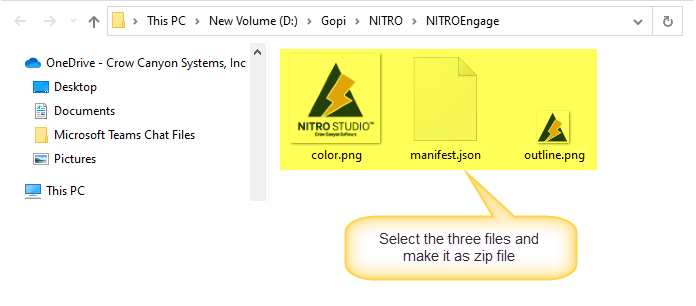
5. After all above changes, select the three files and make it as zip file with name as ‘NITROEngage.zip’
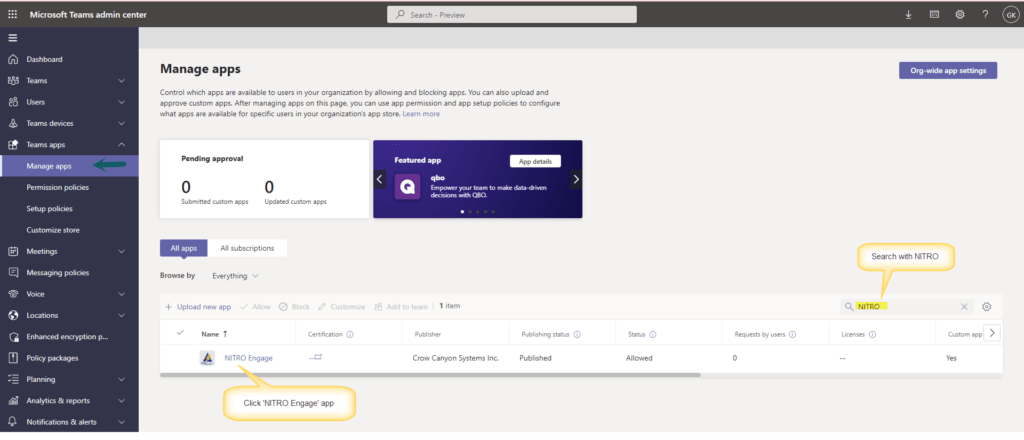
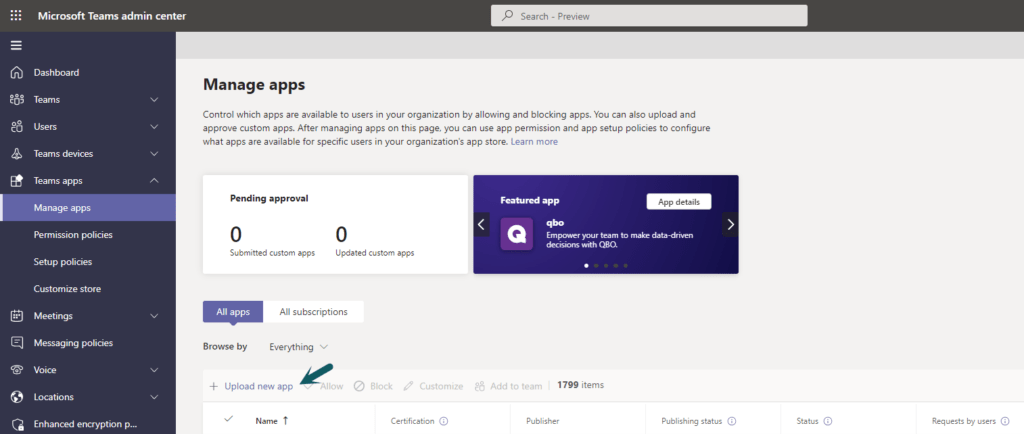
6. Next, go to teams admin center in the browser (URL: https://admin.teams.microsoft.com/) -> Expand Teams apps -> Click ‘Manage apps’ -> Search with NITRO under manage apps as shown below and click ‘NITRO Engage’ app

After deleting the app, it will go back to ‘Manage apps’ page, now upload the new package (zip file) that we have prepared in above.
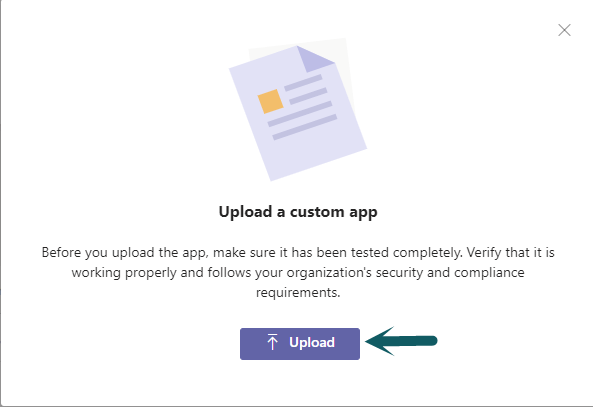
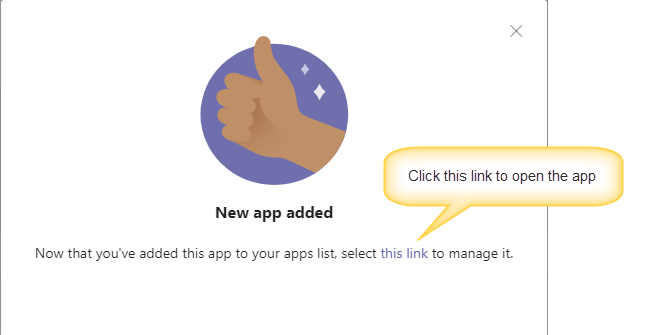
After uploading the package, below message will be shown:
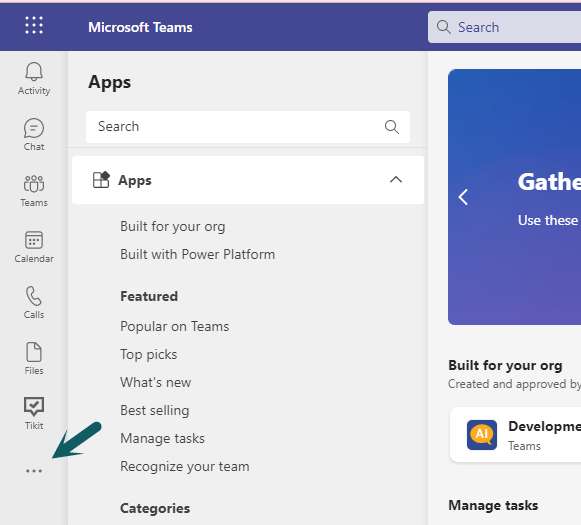
7. Now go to the teams in the browser (URL: https://teams.microsoft.com/), -> Click ellipses to add apps to the teams.
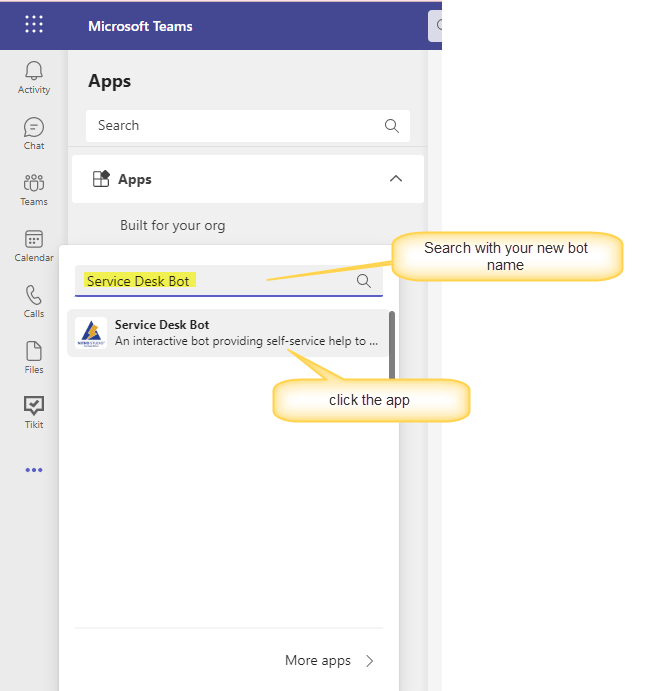
Note: If you not find the bot with latest name then reopen the teams again.
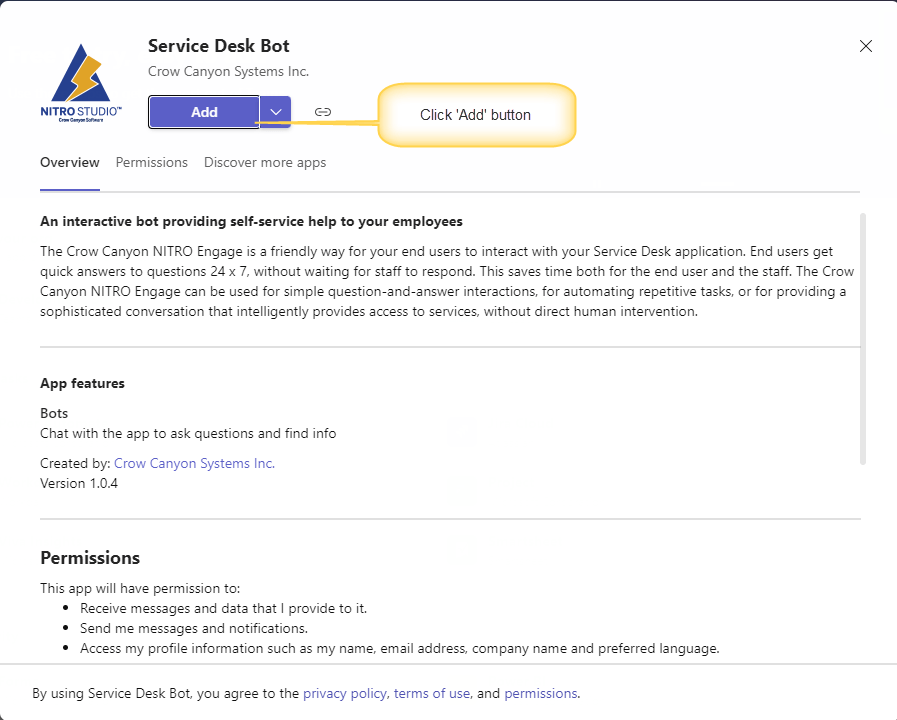
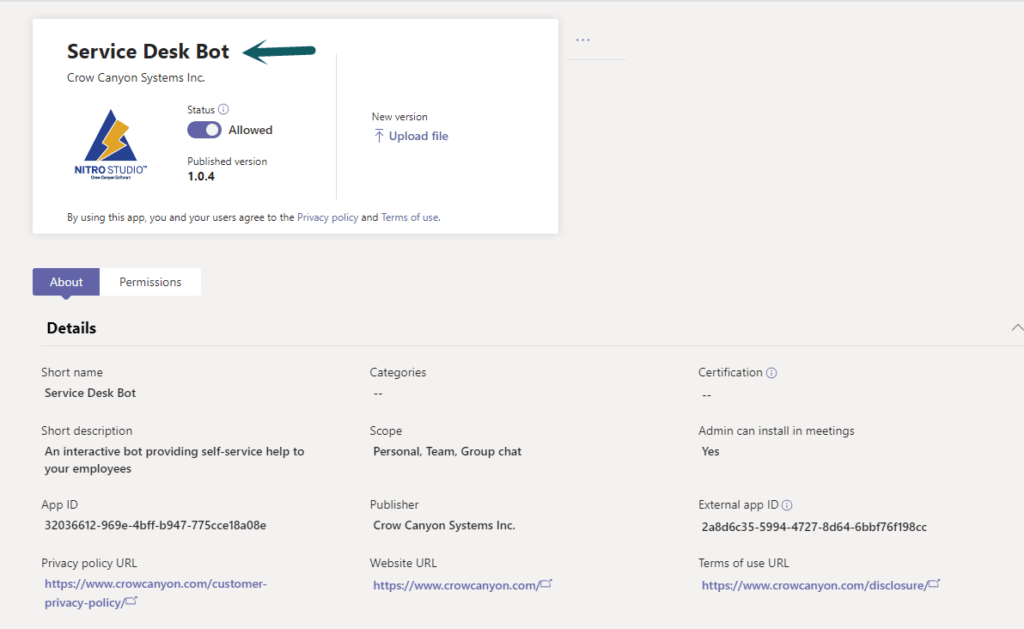
8. This will update the bot logo and change the name from ‘NITRO Engage’ to ‘Service Desk Bot’ as shown below. If you still seeing the old name in the bot, sign out and sign in again to the teams.
2. Configure “Create IT Ticket” action in Teams chat
To configure “Create IT Ticket” action in Teams chat, follow below instructions:
For this, go to Helpdesk site -> Application Administration -> Crow Canyon NITRO Apps -> Crow Canyon NITRO Studio -> BOTS -> Click “Configure NITRO Engage Settings (Global)”
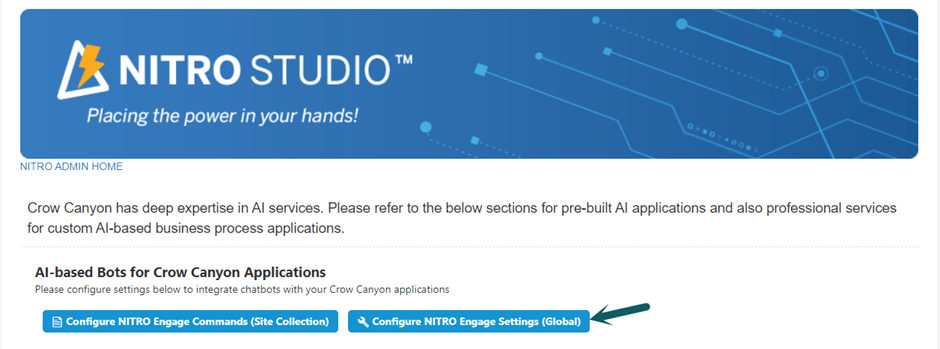
Configure NITRO HelpDesk Settings as shown below:
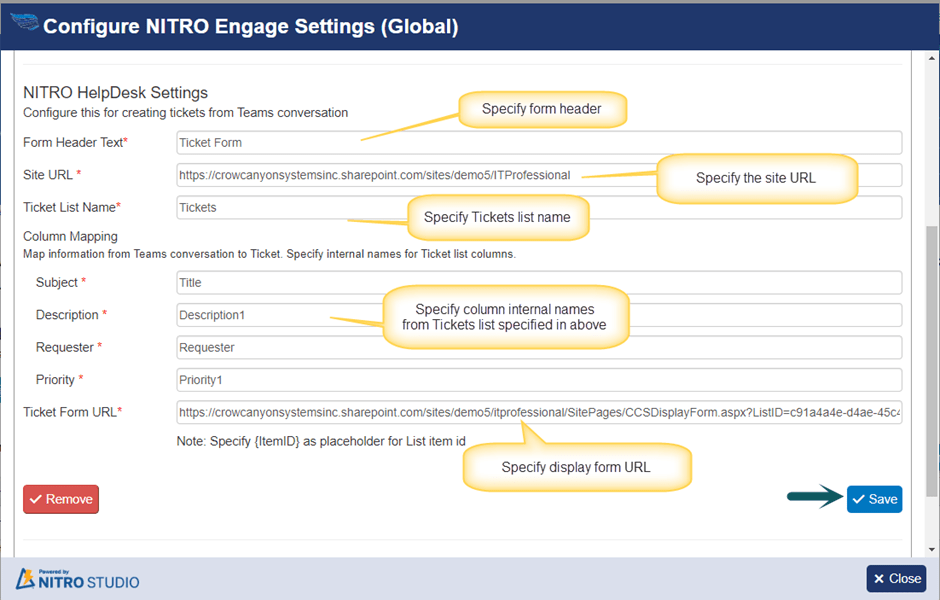
Sample Ticket Form URL:
[[SiteURL]]/SitePages/CCSDisplayForm.aspx?ListID=[[Tickets List ID]]&ItemID={ItemID}
Example: https://contoso.sharepoint.com/sites/NITRO/Helpdesk/SitePages/CCSDisplayForm.aspx?ListID=3d1c4396-ed18-4278-aea2-82d62b6efc79&ItemID={ItemID}
In above sample URL, replace below placeholders with actual values:
[[SiteURL]]: Replace this with helpdesk site URL
[[Tickets List ID]]: Replace this placeholder with Tickets list Id.
To know the Tickets list Id, go to helpdesk site -> Application Administration -> Configure Lists -> Configure Tickets -> find the list id in the browser URL as shown below:

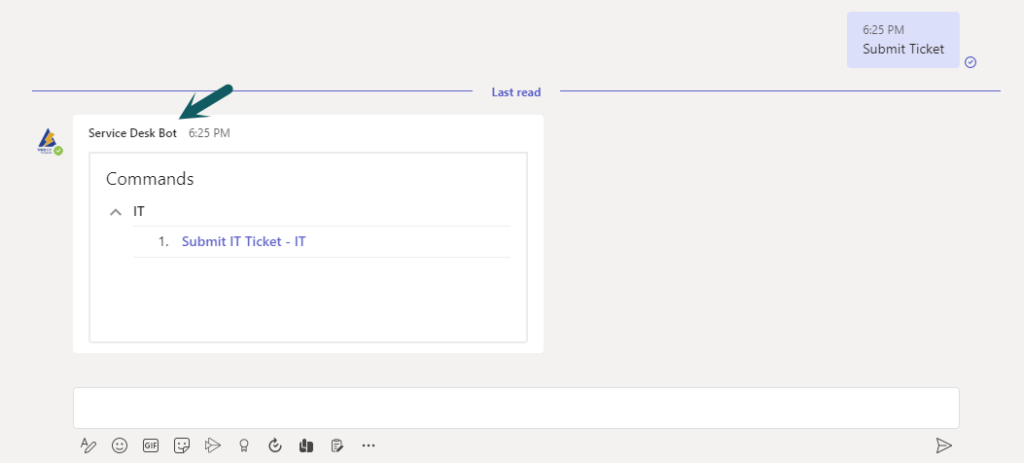
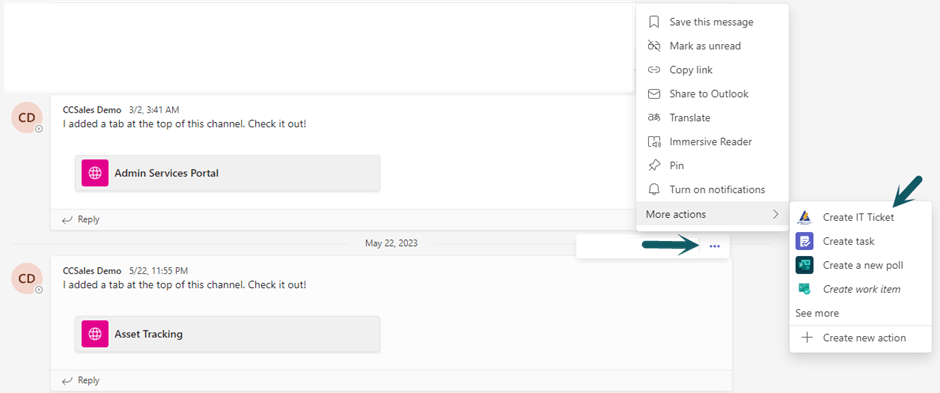
After configuring the action, “Create IT Ticket” action will be shown in Teams chat as shown below:
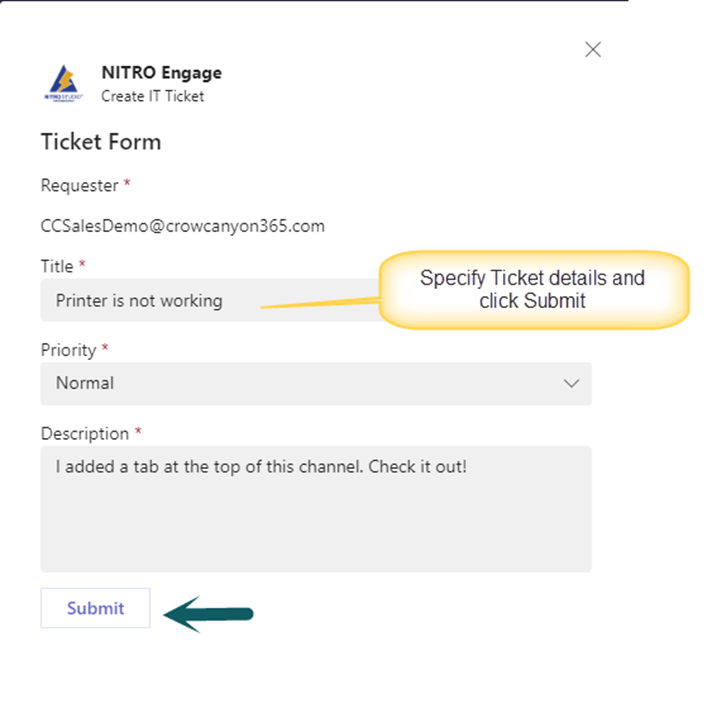
Click “Create IT Ticket” action to create Ticket. This will open Ticket form as shown below:
Specify the required Ticket details, and click “Submit” button, this will create item in the Tickets list.
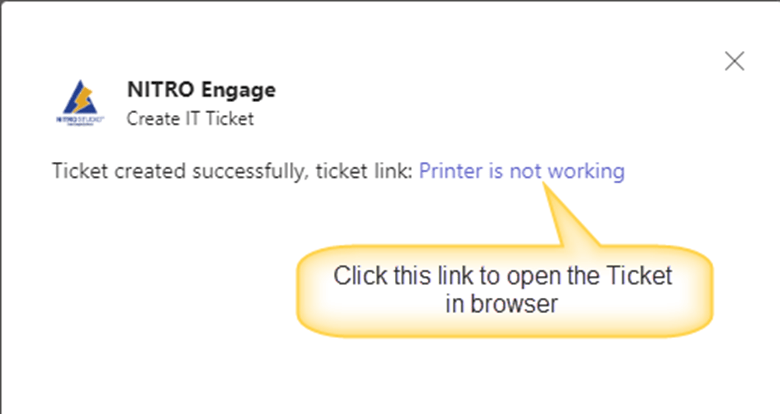
After creating the Ticket, success message will be shown like below:
How to modify the name of “Create IT Ticket” action?
1.To modify the “Create IT Ticket” action name, we need to make some changes in ‘NITROEngage.zip’ file.
Go to the location where ‘NITROEngage.zip’ file already saved as part of bot installation. If this file is not available, please contact crowcanyonsupport@crowcanyon.com to get the latest bot package.
2. Extract the ‘NITROEngage.zip’ file and the extracted folder will contain below files.
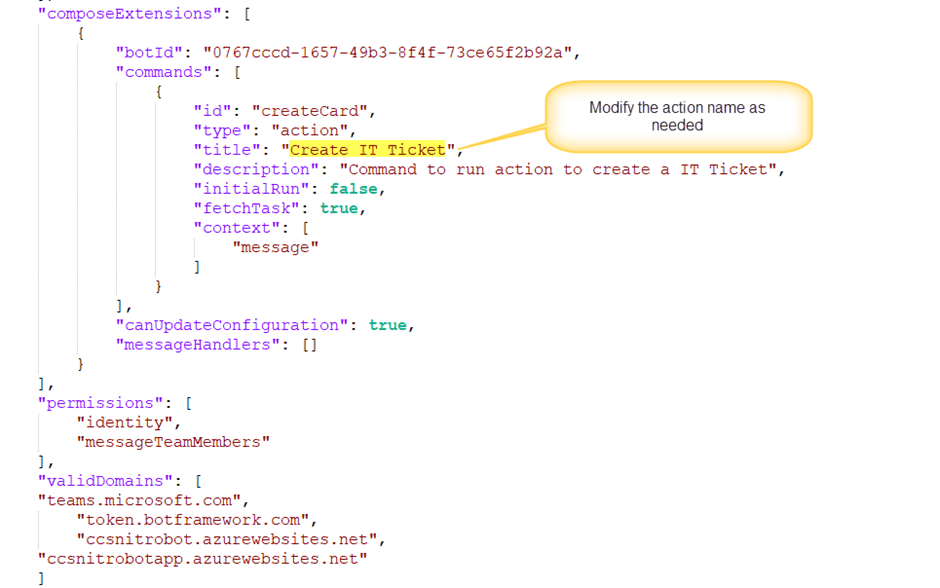
3. Edit the ‘manifest.json’ file in notepad and modify the version number and rename the “Create IT Ticket” action name as needed and save the file.
4. After above changes, select the three files and make it as zip file with name as ‘NITROEngage.zip’
5. Next, update the NITRO Engage app in teams
Refer instructions from #6 in “Change logo and rename Crow Canyon NITRO Engage” section above in this article.