Applies to: SharePoint Online and On-Premises
Description
NITRO Custom Actions have several built-in actions to implement business process automation. For example, actions to create, update, and delete SharePoint list items. Also, actions to query list items, generate document based on template and invoke a web service etc. For any custom functionality not covered directly by these actions, JavaScript code can be written as part of “Execute Script” action. This action provides access to SharePoint and NITRO APIs to implement custom business process.
This article lists some of the use cases with detailed steps for Execute Script action:
- Generate a custom unique ID for SharePoint list items
- Download document generated using “Generate Document” action
- Set value for a variable in Execute Script action
Detailed Description
1. Generate a custom unique ID for SharePoint list items
Please refer this article for steps to generate custom unique ID for SharePoint list items.
2. Download document generated using “Generate Document” action
Please refer this manual for usage of this action.
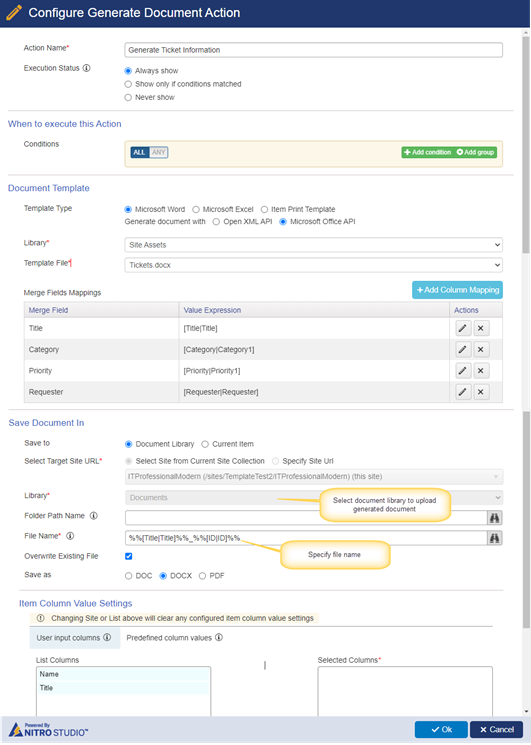
In this sample use case, we have a Custom Action to generate Ticket information document using “Generate Document” action. This action uploads the document to the configured document library. With custom script we can auto-download this document after it is generated.
This article assumes that file name has syntax like “<Ticket Title>_<Ticket ID>” example, “Printer is Not Working_12.docx”
Instructions:
- Navigate to NITRO Custom Actions configured for the list. Edit the custom action that generates the required document. In this example we are editing ‘Generate Ticket Information’ custom action.

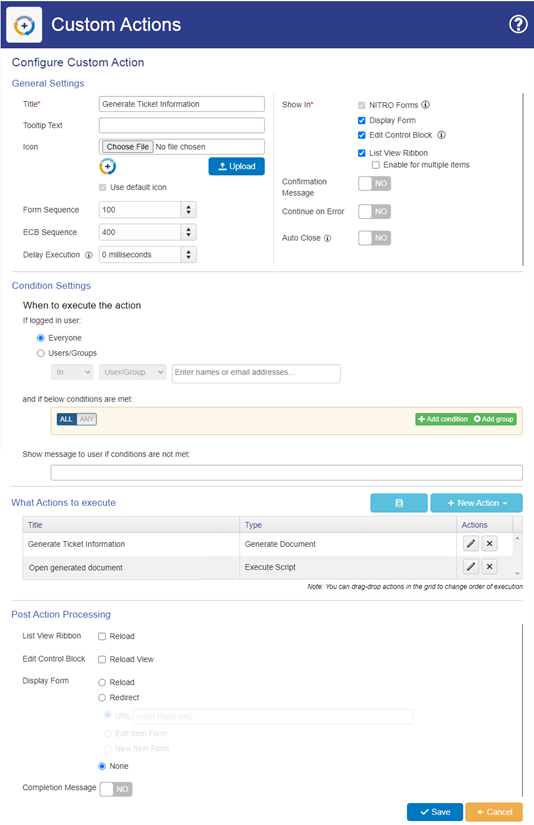
Action 1: Generate Ticket Information
Configure generate document action as shown below:
Action 2: Open generated document
Configure ‘Execute Script’ action to download the generated document as shown below:
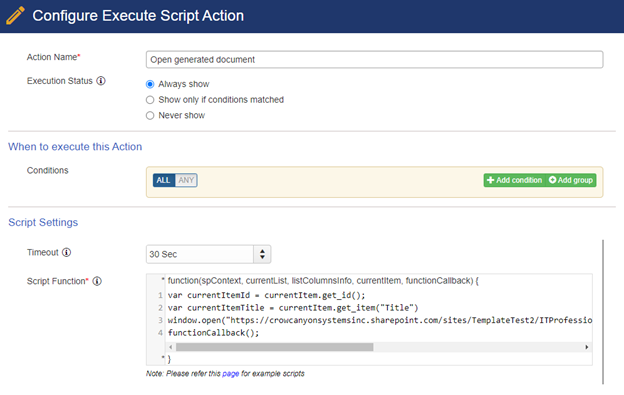
Below script builds the URL of the document using library URL, current item Title and ID. It will then open the document.
Script:
var currentItemId = currentItem.get_id();
var currentItemTitle = currentItem.get_item("Title")
window.open("https://contoso.sharepoint.com/sites/NITRO/ITProfessional/Documents/" + currentItemTitle + "_" + currentItemId + ".docx", "_blank");
functionCallback();
Note:
- Replace the URL with document library URL used in the generated document action
- Replace “.docx” as per the document template type
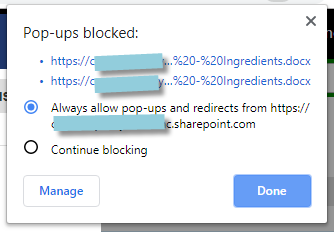
- In Google Chrome browser, if you get any popup-blockers, choose “Always allow..” option
3. Set value for Custom Action variable using Execute Script action
Variables can be used in several places including conditions and column mappings in custom actions. For custom business logic, variable value can be accessed and updated in JavaScript. Variable can then be used in subsequent actions.
In this sample use case, value of a variable is set in JavaScript based on some conditions and then it is used in create item action to set a column value of new item. So, depending on conditions, different value can be set. Custom action details:
- Action is configured in CRM application
- Action is triggered on ‘Lead’ item
- Its purpose is to create an ‘Opportunity’ item based on details in ‘Lead’ item
- Opportunity has a column for type of account and it can be:
- Partner: If lead indicates that it is for a potential partner
- Customer: For all other cases
- Custom action uses a variable ‘VarAccountType’ that is set to ‘Partner’ or ‘Customer’ depending on the value of “Potential Partner” column in the lead item
- ‘VarAccountType’ is then used in opportunity creation action to set value of account type column
Instructions:
‘Generate Opportunity’ custom action configuration details are given below:
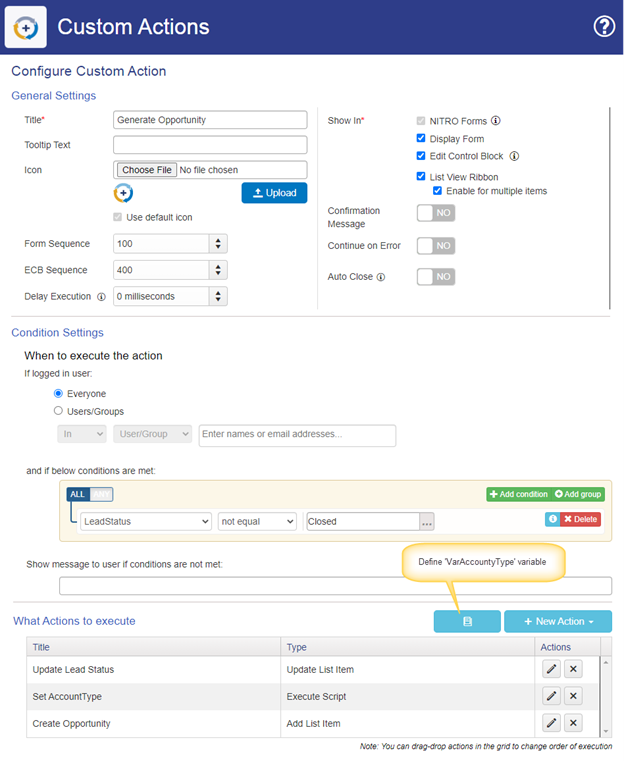
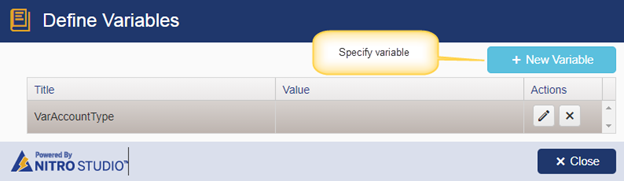
Define variable:
Action 1: Update Lead status to closed
This action will update the “Lead Status” to “Closed”.

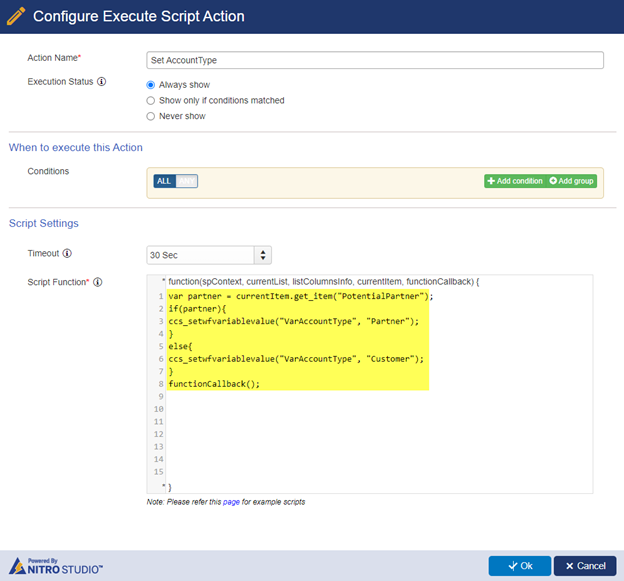
Action 2: Set Account Type
Script:
var partner = currentItem.get_item("PotentialPartner");
if(partner){
ccs_setwfvariablevalue("VarAccountType", "Partner");
}
else{
ccs_setwfvariablevalue("VarAccountType", "Customer");
}
functionCallback();
Note: In above script replace “PotentialPartner” with required column internal name. Note that we are using ccs_setwfvariablevalue function to set the value of variable. First parameter is the variable name and second parameter is the value to set for the variable.
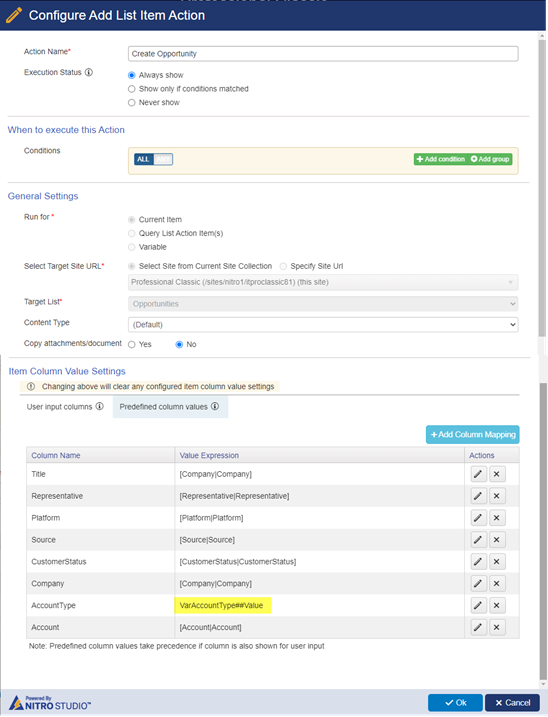
Action 3: Create Opportunity
This action will create Opportunity for the Lead.
‘AccountType’ column value is set to variable value using expression: VarAccountType##Value