Applies to:
NITRO based portal applications
SharePoint Online and On-premises (2013, 2016, 2019/SharePoint Server Subscription Edition)
Application Type: End user portal site for service request applications (IT Professional, IT Standard, Facilities, Request Management and Customer Service)
Description
NITRO based portal applications are created after validating a predefined site schema. For example, ‘IT Portal (2020)’ is a portal application for IT applications, that refers to the backend site’s ‘Tickets’ list. Portal pages and webparts such as ‘View My Tickets’, ‘Quick Tickets’, etc. are configured based on this list.
In some cases, it is required for the portal site to refer to additional lists along with the pre-defined list. This requires some modifications in the existing NITRO Portal application. This article has steps to achieve this functionality.
In this sample use case, the ‘IT Portal (2020)’ application is modified to refer to the ‘Time Tracking’ list along with the existing Tickets list. The same steps can be followed to add other backend lists to the NITRO portal applications.
Summary of steps
- Create NITRO forms for portal site
- Configure list views
- Add menu links
- Configurations in ‘Application Administration’
Detailed steps
Create NITRO forms for portal site
- Navigate to the backend site -> ‘Site Contents’ -> ‘Time Tracking’ list -> ‘List Settings’ from ‘LIST’ ribbon -> Crow Canyon NITRO Forms. Create a new form for the portal site as needed.
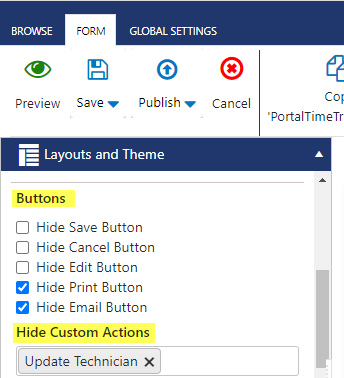
Note: If no changes are required on the item form for the portal site, then use the same form. Otherwise, create a new form. A new form is useful to show limited columns to the end user in the portal site. ‘PortalTimeTracking’ is the new form created for the portal site in this example. - The buttons that are not required on the portal forms can be hidden from the ‘Layouts and Theme’ section (in left-hand panel) -> ‘Buttons’. Check the buttons that are not required on the form. Similarly, hide any custom actions that shouldn’t be visible to portal users.
- Configure override form settings.
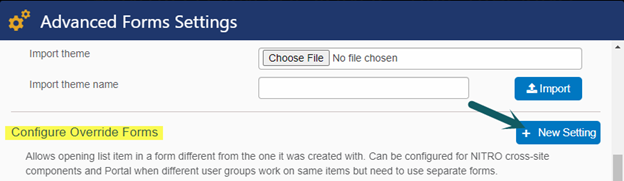
- Click ‘Manage Forms’ from ‘FORM’ ribbon -> ‘Advanced Settings’ -> ‘Configure Override Forms’ settings for the backend site and the portal site.
Syntax: ‘Source Form’ => ‘Target Form’
- Click ‘Manage Forms’ from ‘FORM’ ribbon -> ‘Advanced Settings’ -> ‘Configure Override Forms’ settings for the backend site and the portal site.
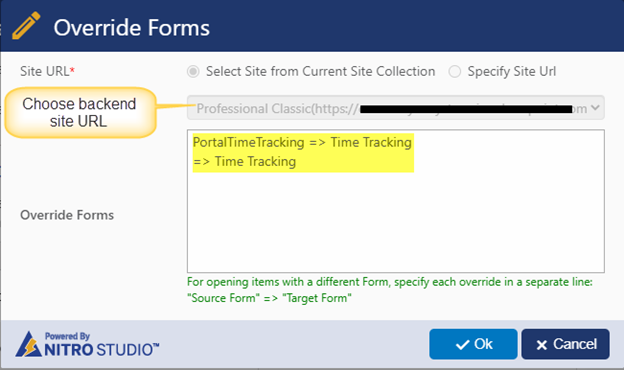
Override settings for back-end site:
With this override settings, items created from ‘PortalTimeTracking’ form will open with ‘Time Tracking’ form in the backend site.
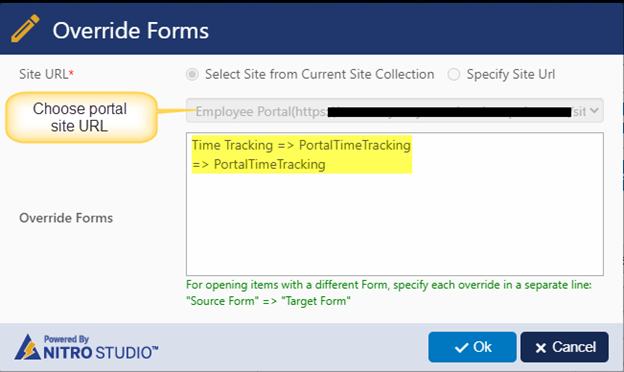
Override settings for portal site:
With these override settings, items created from ‘Time Tracking’ form will open with ‘PortalTimeTracking’ form in the portal site.
Configure list views
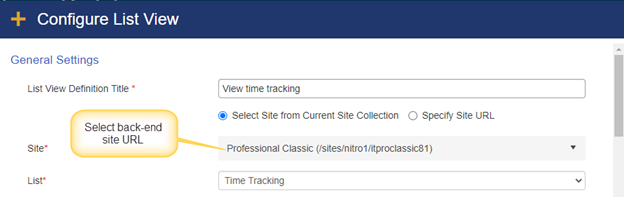
- Navigate to the portal site -> ‘Portal Administration’ -> ‘Configure Apps and Pages’ -> List Views. Configure new list view for ‘Time Tracking’ list.
Specify back-end site URL.
Specify ‘Page Actions’ as shown below:

- Add a new workspace page and add the configured list view web part to this page.
For Classic UI Portal:
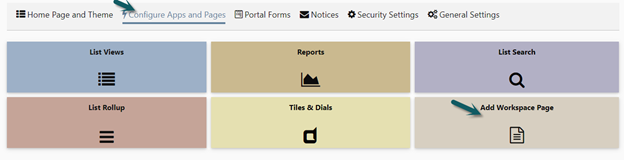
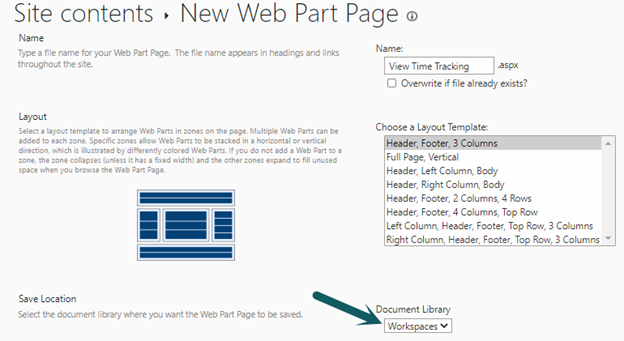
- Go to ‘Portal Administration’ -> ‘Configure Apps and Pages’ -> ‘Add Workspace Page’ and create new workspace page by specifying the name, layout and location as needed.
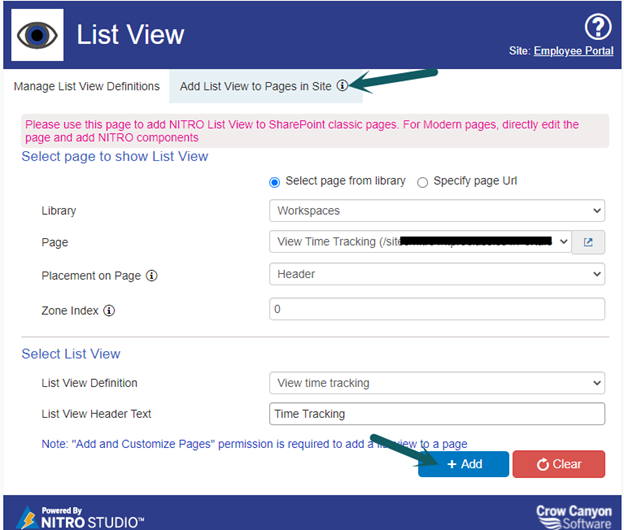
- Add the configured list view web part to this page from the Crow Canyon ‘List Views’ app.
For Modern UI Portal:
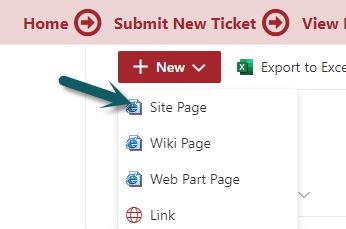
Add a new site page and add the configured list view web part to this page.
- Go to ‘Portal Administration’ -> ‘Configure Apps and Pages’ -> ‘Add Workspace Page’ and create a new site page by specifying the name.
- Add the configured list view web part to this page as shown below:
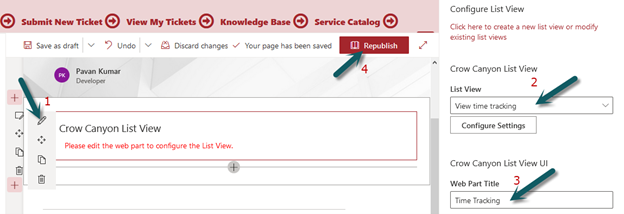
Note: If the page needs to be edited after it is published, then append the page URL with ‘?CCSMode=1’ -> ‘Edit’ the page and add the webpart as shown above.
Add menu links
Note: URL is different for classic UI and modern UI. For modern UI, refer to ‘For Modern UI Portal’ section.
For Classic UI Portal:
- Submit New Item: Modify the URL as shown below:
URL: ##Portal Site URL##/CrowCanyonAppsLib/AdvForms/CCSNewForm.aspx?&FormKey=##Portal Form Key##&WebURL=##Backend site URL##&ListID={##List ID##}
Example: https://contoso.sharepoint.com/sites/helpdesk/IT/Portal/CrowCanyonAppsLib/AdvForms/CCSNewForm.aspx?&FormKey=PortalTicket&WebURL=https://contoso.sharepoint.com/sites/helpdesk/IT&ListID={bf3c153c-c8bb-482f-841d-047e875b64ee}
In the above URL, replace placeholders as described below:
| Placeholder | Value |
| ##Portal Site URL## | Specify portal site URL |
| ##Portal Form Key## | Specify form key of newly created form in backend site |
| ##Backend site URL## | Specify technician site URL |
| ##List ID## | Specify list Id |
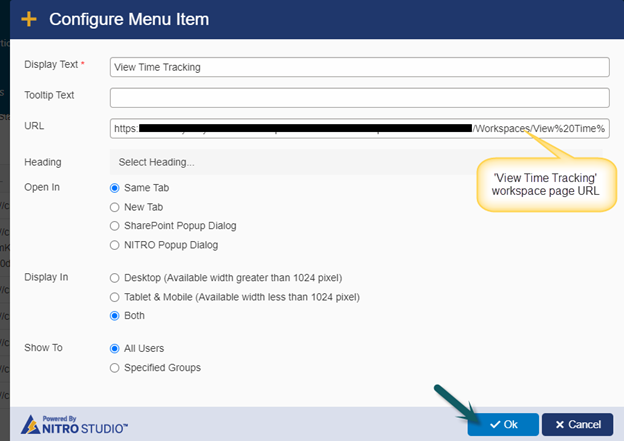
- View Time Tracking: Copy the URL of the workspace page created in #2.
- Add menu links in ‘Branding’.
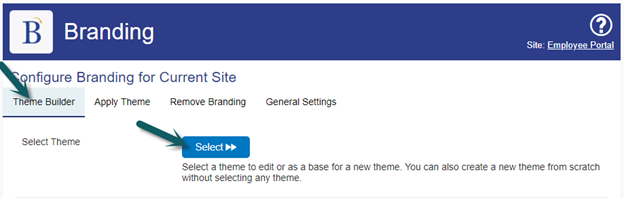
- Go to ‘Portal Administration’ -> ‘Home Page and Theme’ -> ‘Branding’ -> Select ‘Helpdesk Portal Theme’ under ‘Theme Builder’ section as the base theme.
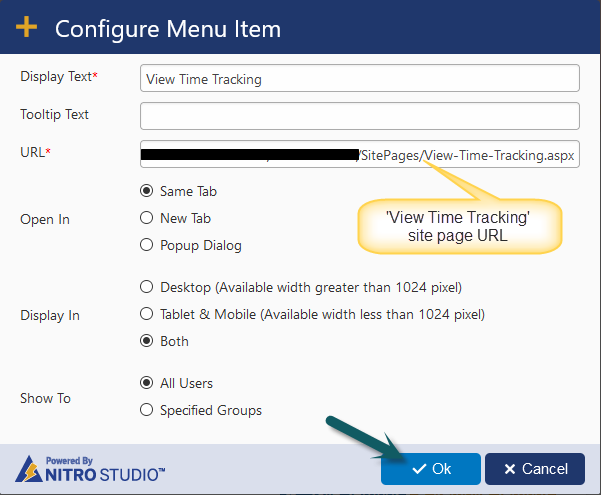
- Expand ‘Header’ section -> ‘New Menu Item’ -> Configure ‘Submit New Item’ and ‘View Time Tracking’ links and save the theme.
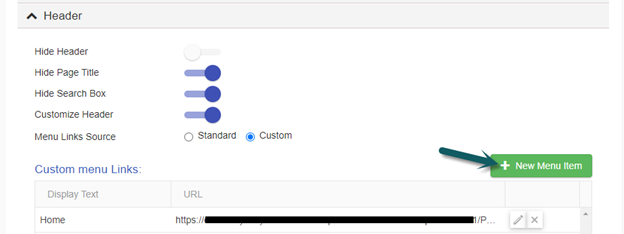
‘New Menu Item’ for ‘View Time Tracking’.
Similarly, configure a new menu item for ‘Submit New Item’ by specifying new form URL modified above.
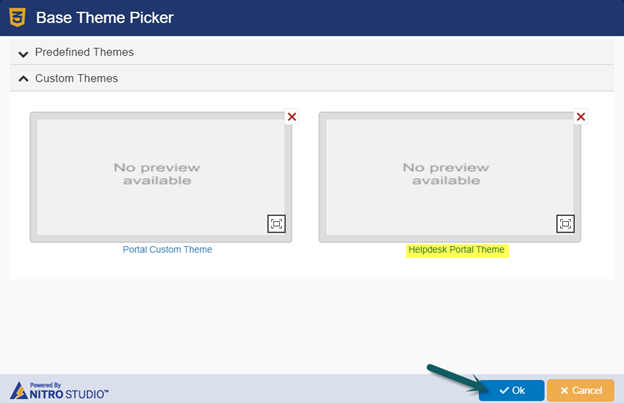
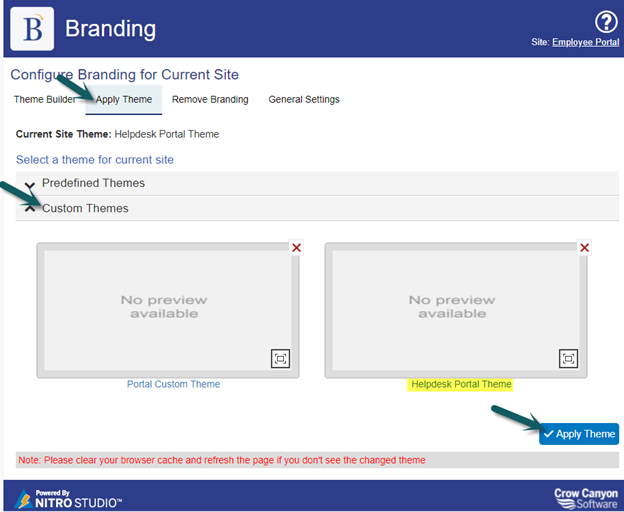
- Navigate to ‘Apply Theme’ section -> Select ‘Helpdesk Portal Theme’ under ‘Custom Themes’ section and apply the theme.
For Modern UI Portal
Configure menu links for ‘Submit New Item’, ‘View My Items’ in the portal site.
- Submit New Item: Modify the URL as shown below:
URL: ##Portal Site URL##/SitePages/CCSNewForm.aspx?&FormKey=##Portal Form Key##&WebURL=##Backend site URL##&ListID=##List ID##
Example: https://contoso.sharepoint.com/sites/helpdesk/IT/Portal/SitePages/CCSNewForm.aspx?FormKey=PortalTicket&WebURL=https://https://contoso.sharepoint.com/sites/helpdesk/IT&ListID=fb995f9a-3295-46c1-8770-a43fc432256d
In the above URL, replace placeholders as described below:
| Placeholder | Value |
| ##Portal Site URL## | Specify portal site URL |
| ##Portal Form Key## | Specify form key of newly created form in backend site |
| ##Backend site URL## | Specify technician site URL |
| ##List ID## | Specify list Id |
- View My Items: Copy the URL of the site page created in #2.
- Add menu links in ‘Crow Canyon Site Settings’.
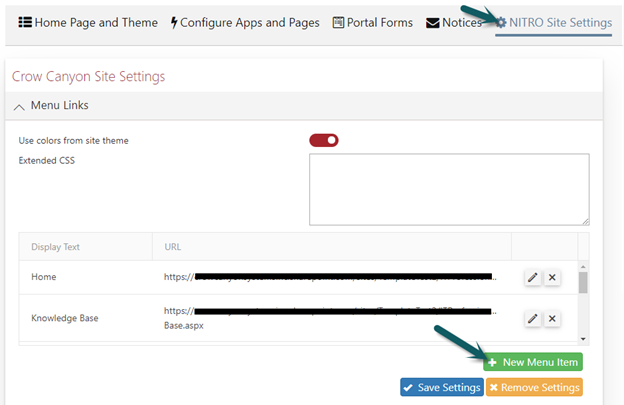
- Navigate to ‘Portal Administration’ -> ‘NITRO Site Settings’ -> ‘Menu Links’ -> ‘New Menu Item’. Configure ‘Submit New Item’ and ‘View Time Tracking’ links and save settings.
Similarly, configure the new menu item for ‘Submit New Item’ by specifying the new form URL modified above.
Configurations in ‘Application Administration’
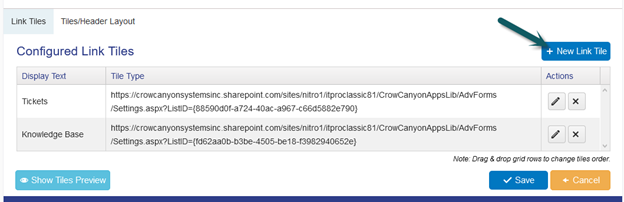
- Navigate to ‘Application Administration’ -> ‘Configure Apps and Pages’ -> ‘Tiles & Dials’ -> ‘Manage Link Tiles’ -> Edit ‘Portal Forms and Pages’ link tiles group -> Configure ‘New Link Tile’.
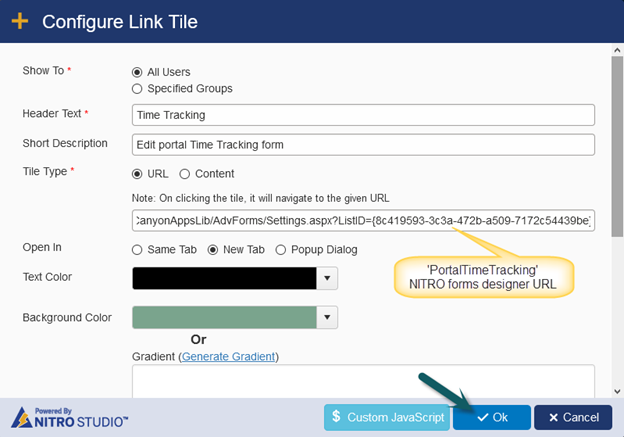
- Copy ‘PortalTimeTracking’ NITRO forms designer URL and paste in the link tile as shown:
Sample output
