Applies to:
SharePoint Online and SharePoint On-Premises
Description
This article describes the steps to configure custom ‘Next’ and ‘Previous’ buttons to navigate between the tabs in NITRO Forms using JavaScript.
The configuration steps are explained in reference to the below use cases:
- Show all the tabs along with the ‘Next’ and ‘Previous’ buttons.
- Hide all the tabs and show only the ‘Next and ‘Previous’ buttons.
Detailed steps
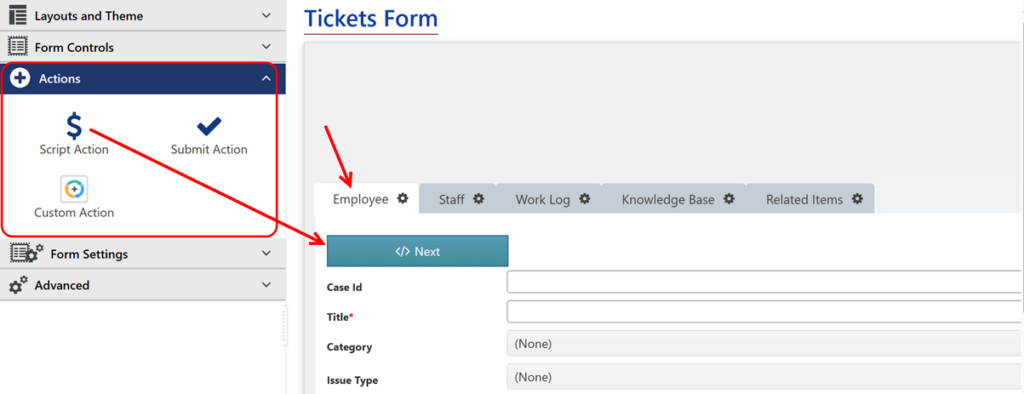
‘Tickets’ list is taken as an example in this article. The ‘Script Action’ buttons are added in all the tabs of the NITRO Form as specified below:
- One ‘Script Action’ button in the first tab (‘Employee’) to configure ‘Next’ button.
- Two ‘Script Action’ buttons in second, third and fourth tabs (‘Staff’, ‘Work Log’ and ‘Knowledge Base’) to configure ‘Next’ and ‘Previous’ buttons.
- One ‘Script Action’ button in the last tab (‘Related Items’) to configure ‘Previous’ button.
Use Case 1: Show all the tabs along with the ‘Next’ and ‘Previous’ buttons.
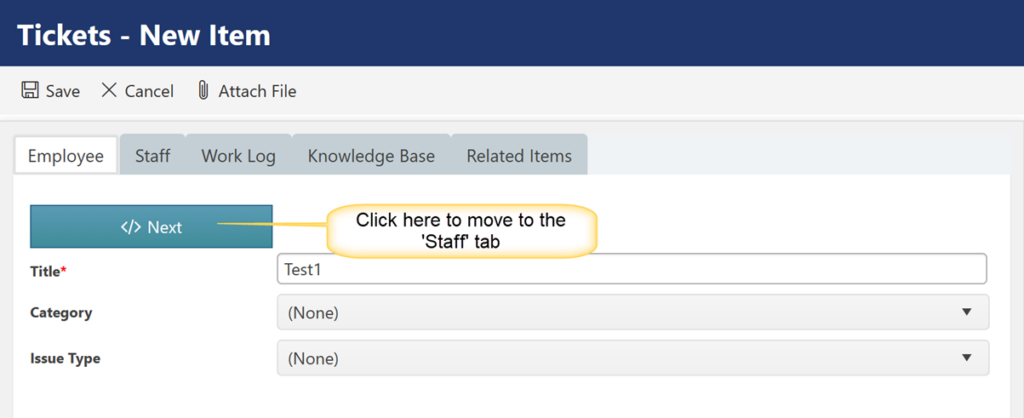
- To configure ‘Next’ button, navigate to NITRO Forms designer for the ‘Tickets’ list -> Expand ‘Actions’ section from right-hand panel -> Drag and drop ‘Script Action’ button on the ‘Employee’ tab.
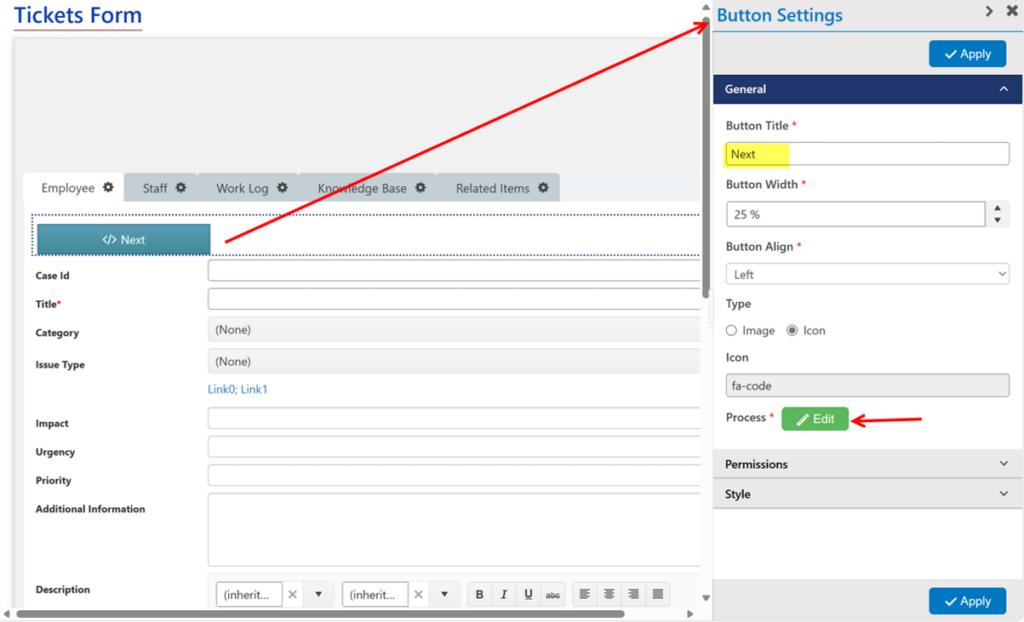
2. Select the ‘Script Action’ button -> Specify button title as ‘Next’ -> Click ‘Edit’ button beside ‘Process’.
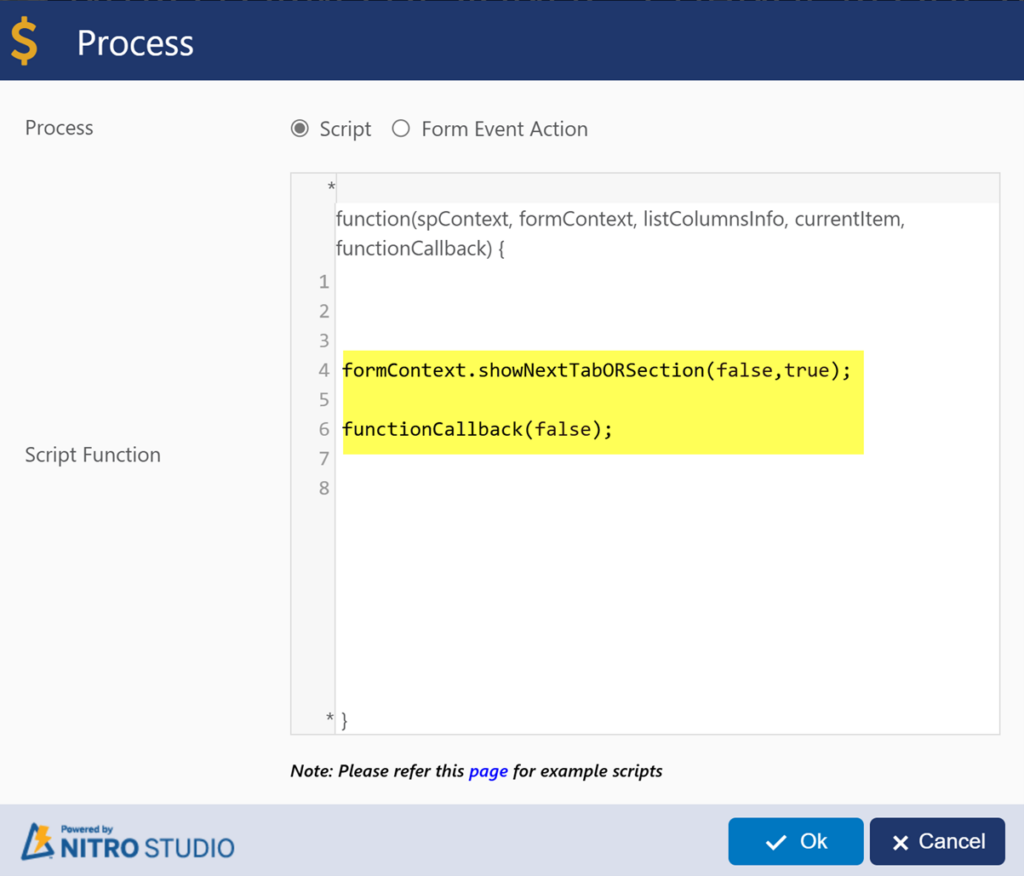
3. In the opened window specify the JavaScript for ‘Next’ button as shown below:
Script:
formContext.showNextTabORSection(false,true);

functionCallback(false);
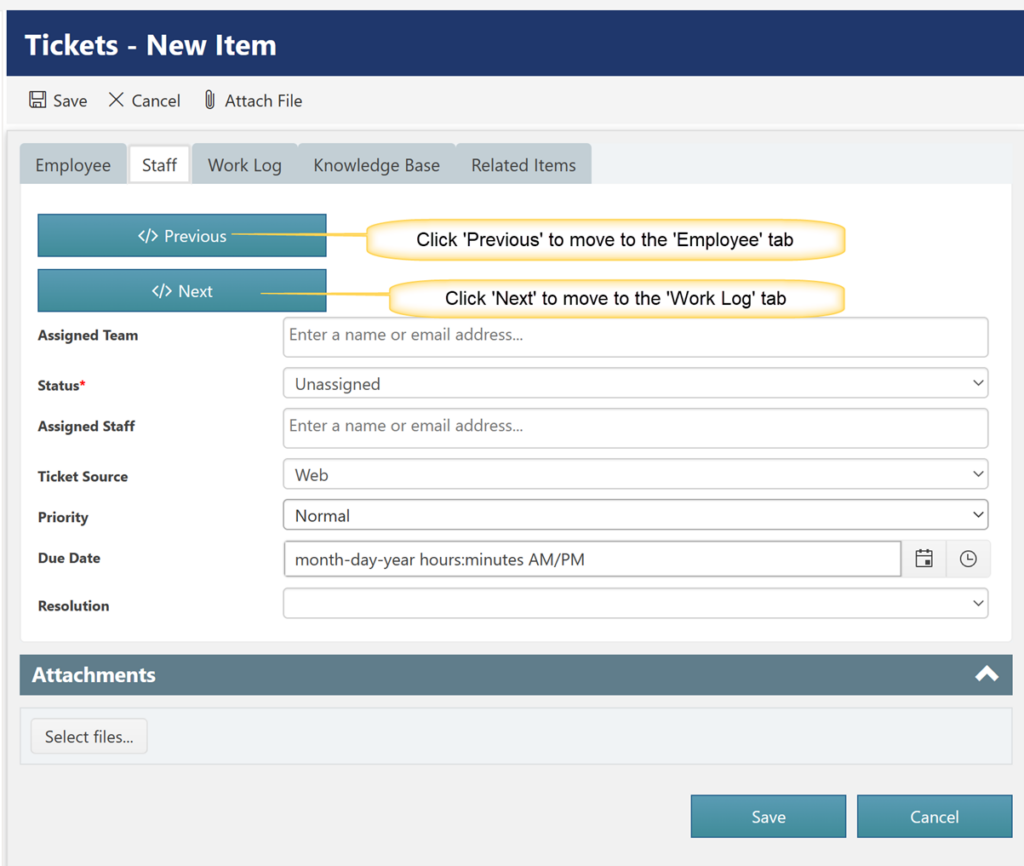
4. For ‘Staff’ tab, drag and drop two ‘Script Action’ buttons to configure the ‘Next’ and ‘Previous’ buttons.
Note: Configuration for ‘Next’ button is same as described in the above steps.
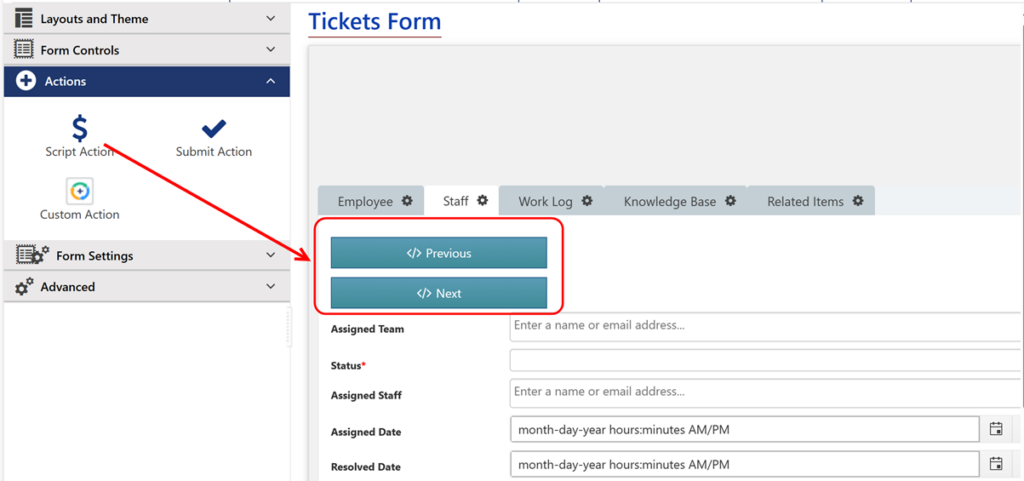
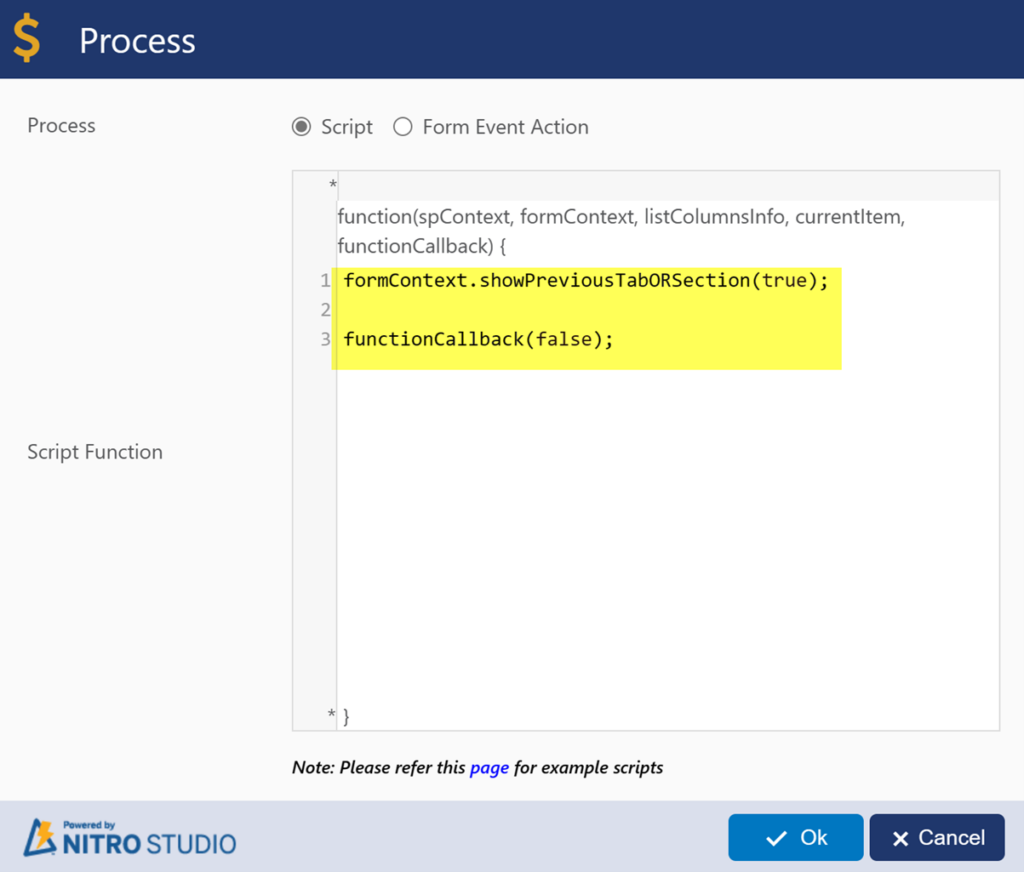
5. JavaScript for the ‘Previous’ button is as shown below:
Script:
formContext.showPreviousTabORSection(true);

functionCallback(false);
Similarly, configure ‘Previous’ and ‘Next’ buttons in other tabs.
6. Publish the NITRO Forms.
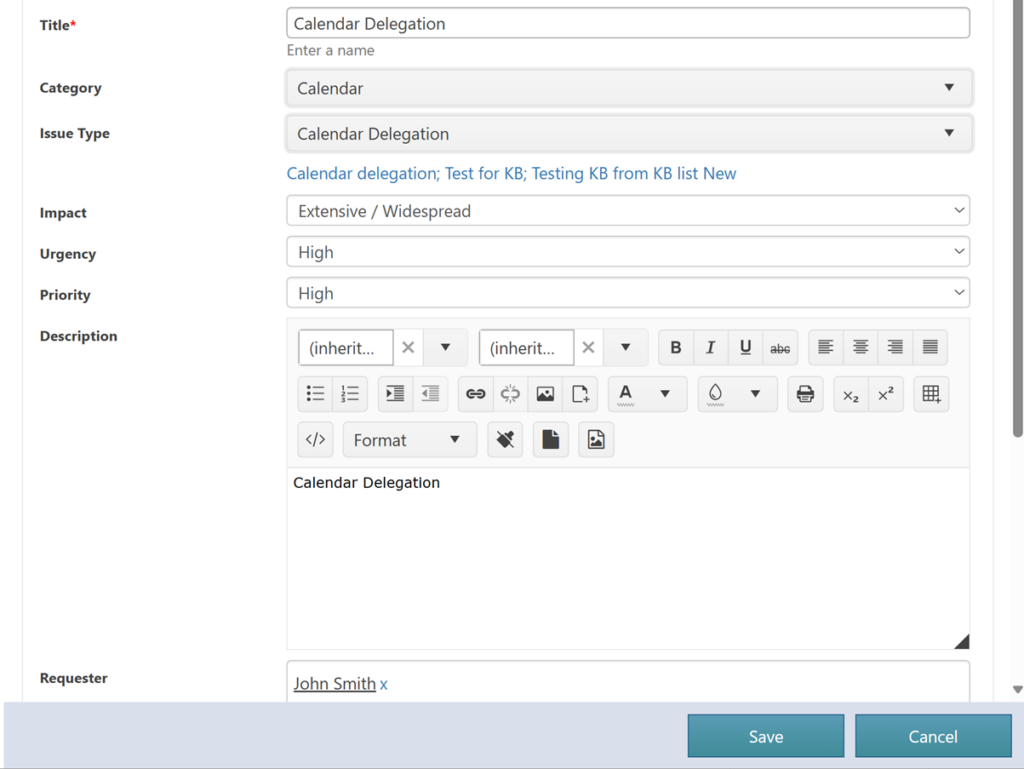
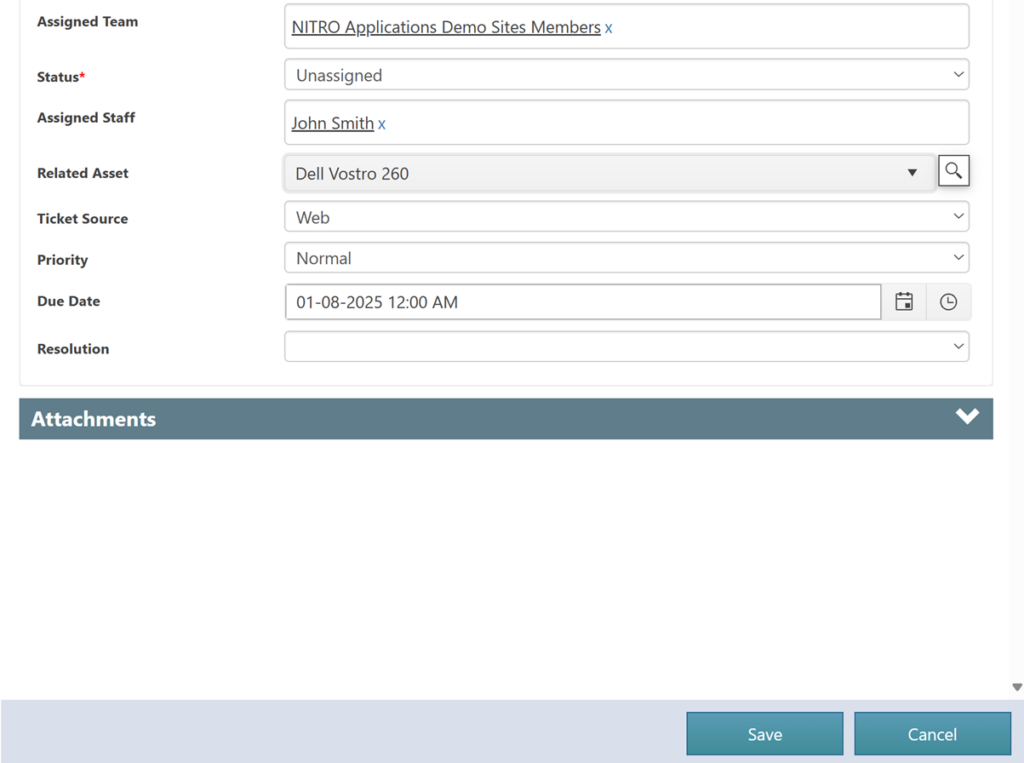
Sample output
Use Case 2: Hide all the tabs and show only the ‘Next’ and ‘Previous’ buttons.
This is useful for configuring submission wizard. In wizard mode, user is presented a series of pages in a sequence to enter the data. On the last page, there is a form to submit the request. User can click previous/back buttons on intermediate pages to navigate to different pages. Using Crow Canyon NITRO Forms, this experience can be easily configured.
For this use case, the ‘Script Action’ buttons can be configured as explained in ‘Use Case 1’. However, to hide the tabs, the script for the ‘Next’ and ‘Previous’ buttons is different.
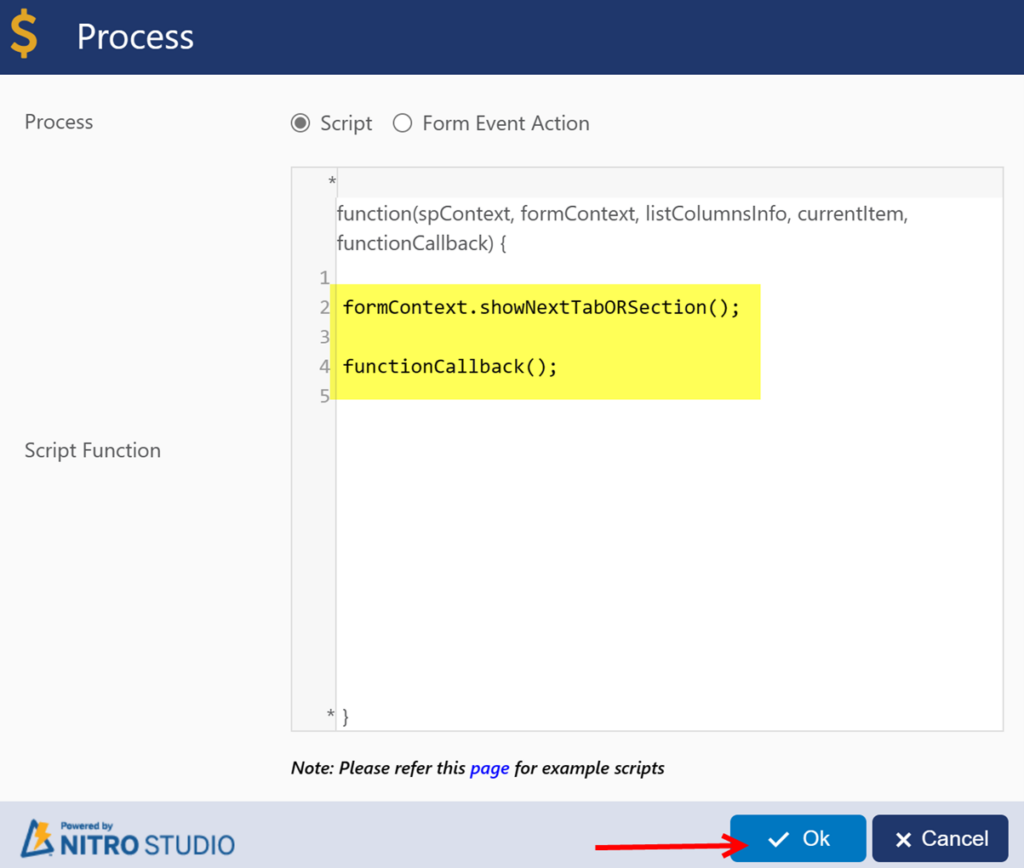
- For the ‘Next’ button, the JavaScript used is as shown below:
Script:
formContext.showNextTabORSection();

functionCallback();
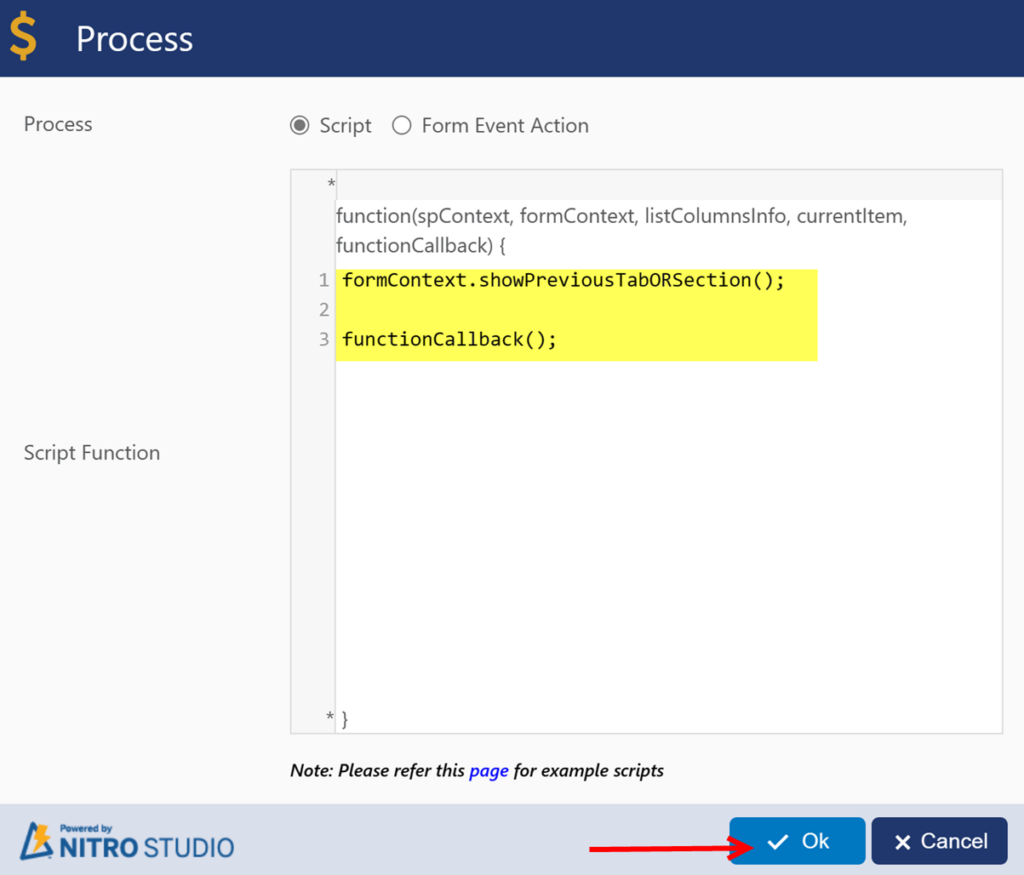
2. For the ‘Previous’ button, the script used is as shown below:
Script:
formContext.showPreviousTabORSection();

functionCallback();
Note: Configure ‘Next’ and ‘Previous’ buttons in all the tabs as needed.
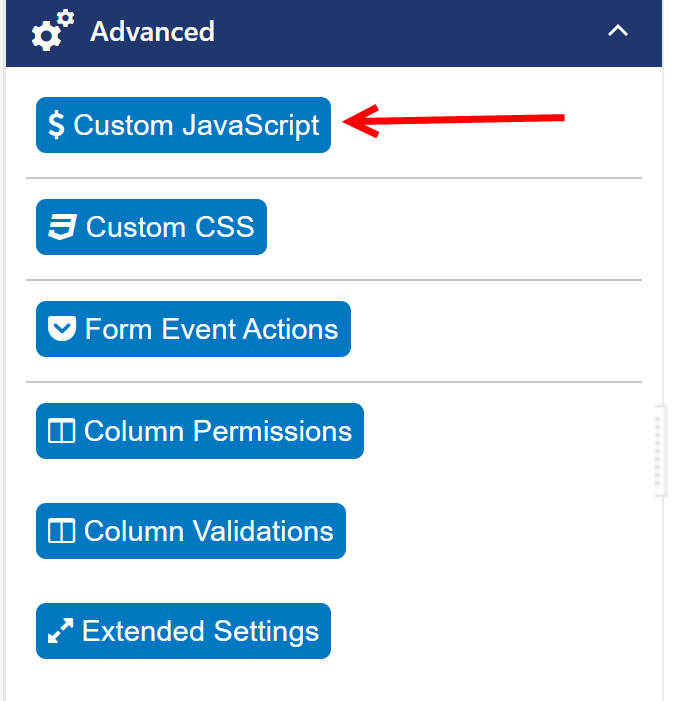
3. Specify ‘Custom JavaScript’, expand ‘Advanced’ section from the left-hand panel -> click Custom JavaScript
Script:
formContext.hideAllTabsORSections();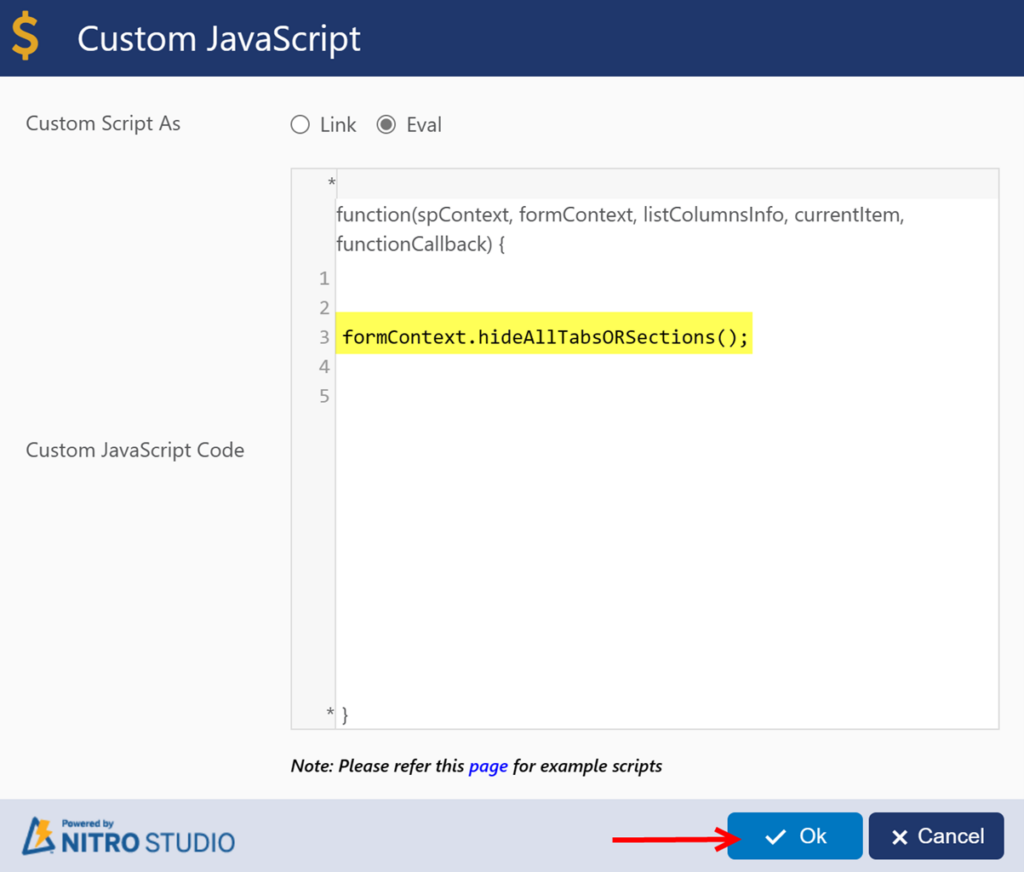
4. Publish the NITRO Forms.
Sample output
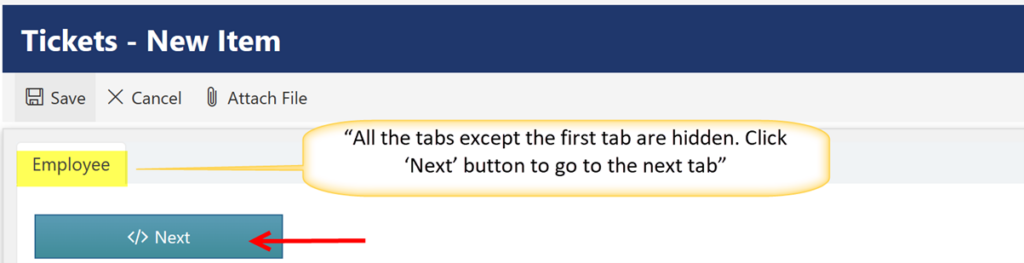
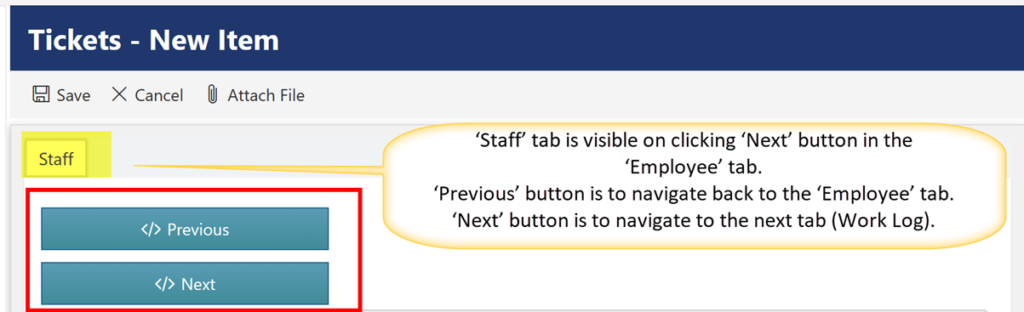
In this case, on clicking the ‘Next’ button to navigate to the next tab, the previous tab is hidden and only the current tab is visible, as shown in the above screenshot. On clicking the ‘Next’ button in the ‘Employee’ tab, the ‘Staff’ tab is visible and the ‘Employee’ tab is hidden.
Note: All the required columns must be filled before switching between the tabs.