1.Add CrowCanyon Common Utilities app.
Go to Site Contents –>Add an app –> CrowCanyon Common Utilities.
2.Open Crow Canyon Common Utilities –> Activate Auto Redirect feature.

3.Download file from Workspaces List Id_Redirect page ID
4.From the downloaded file replace Urls of Manager and Staff workspace page urls.
Go to Site contents–>Workspaces –>Copy the url of Manager Dashboard and Staff workspace page urls
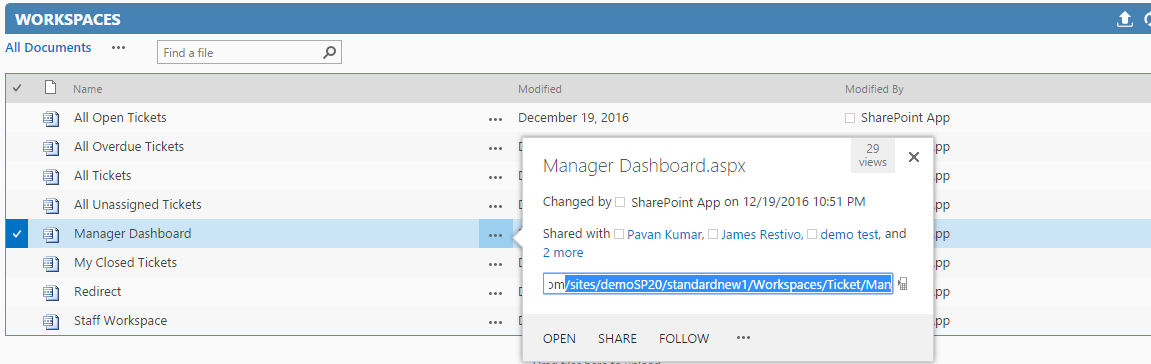
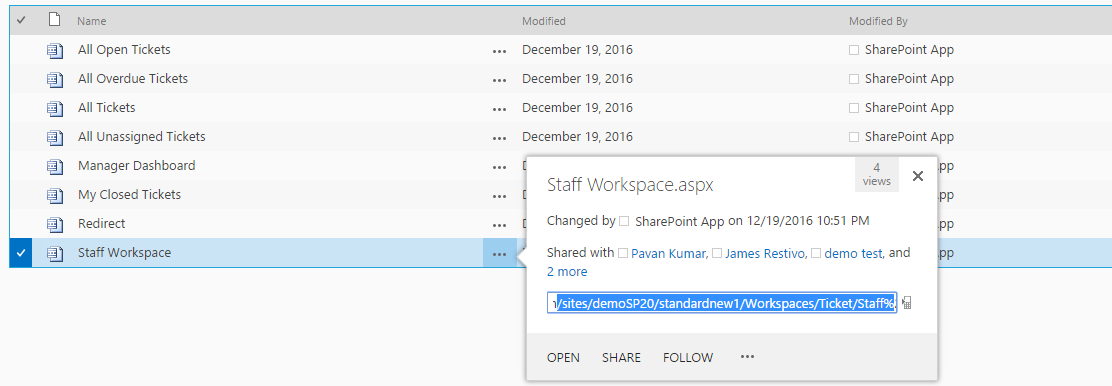
Replace the urls in file with Manager Dashboard and Staffworkspace page urls

Rename the file with Workspaces List ID and Redirect page Id.
Note: File name will be like: E477EC84-8E24-40DF-BEBF-43C99E6DA18C_20.xml

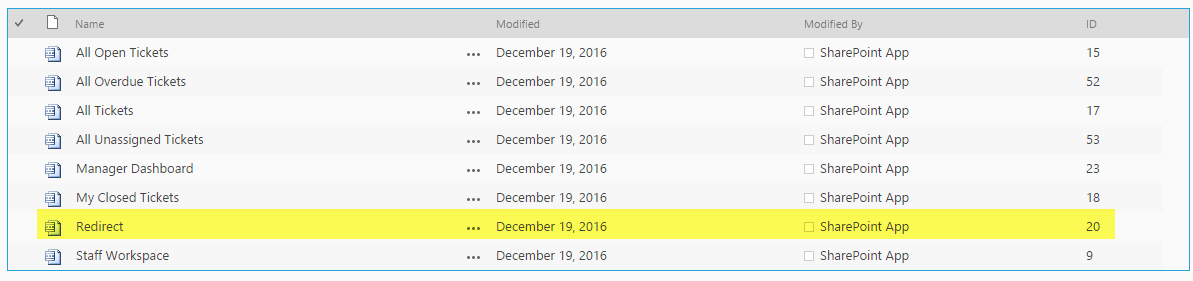
For Redirect page Id:
Go to –>Site contents –>Workspaces list –> Tickets folder –> find the ID of Redirect page Url
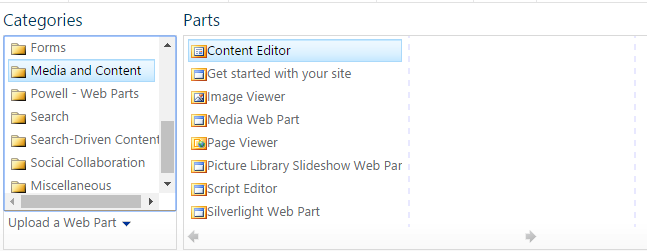
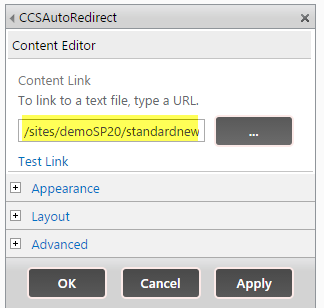
5. Edit the Redirect page –>Add a webpart –> add Content Editor webpart
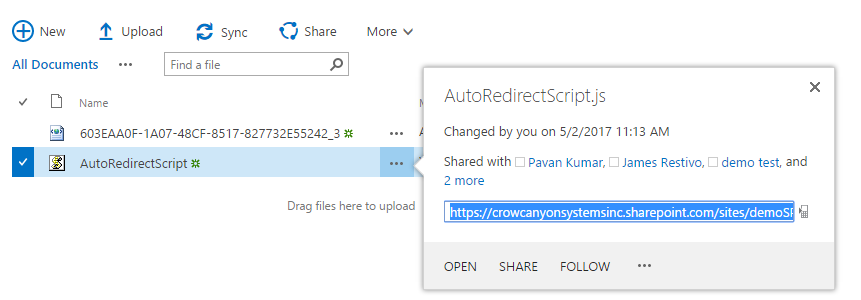
Edit Content Editor Webpart and give AutoRedirectScript.js file url in content lnk
Go to Site Contents –>Site Assets–>CrowCayon –> AutoRedirect –> Copy the url of Auto RedirectScript.js file and fill it in Content editor link.
5.Upload the xml file into below path
Go to Site contents –> Site Assets –> CrowCanyon –> upload file in Auto Redirect folder.