Applies to: SharePoint On-Premises (2013 / 2016 / 2019/SharePoint Server Subscription Edition)
Description
This article describes the additional configurations required for the Crow Canyon Service Request Application installation. For installation instructions please refer this article.
Pre-requisites
- Make sure “CCSSRWorkflows.wsp” and “CrowCanyon.TimerJobs.wsp” solutions are deployed in SharePoint server. If solutions are not deployed, please refer instructions to deploy solutions from this article
Summary of steps
- Activate features
- CCSSRWorkflows
- Crow Canyon Timer Jobs
- Attach Workflow Instances to required lists
- Create and configure Portal site
- Other Configurations
Detailed instructions
1. Activate features
Please make sure that pre-requisites mentioned above in this article are ready before proceeding with below steps.
Activate below features in Site Collection
1. CCSSRWorkflows feature
Go to Site Collection -> Site Settings -> Site Collection Features and activate “CCSSRWorkflows” feature if it is not already activated
2. Activate below Timer Job features
Go to SharePoint Central Administration -> Monitoring -> Review Job Definitions and check if the below timer job definitions already there. If not, please follow below instructions.
Below features need to be activated using SharePoint Management Shell, Refer instructions below:
| Feature Name | Job Definition Name |
| CrowCanyon.TimerJobs_CCSArchivalJob | CrowCanyon Archival Timer Job For ##Site Collection URL## |
| CrowCanyon.TimerJobs_CCSAutoCloseJobFeature | CrowCanyon Auto Close Timer Job for ##Site Collection URL## |
| CrowCanyon.TimerJobs_CCSRecurrenceJob | CrowCanyon Recurrence Timer Job for ##Site Collection URL## |
| CrowCanyon.TimerJobs_CCSSLATimerJobFeature | CrowCanyon SLA Timer Job for ##Site Collection URL## |
Instructions:
Open SharePoint Management Shell (Run as Administrator) and run below commands:
Commands:
1. CrowCanyon.TimerJobs_CCSArchivalJob
Command: Enable-SPFeature -Identity "CrowCanyon.TimerJobs_CCSArchivalJob" -url "SiteCollectionURL"

2. CrowCanyon.TimerJobs_CCSAutoCloseJobFeature
Command: Enable-SPFeature -Identity "CrowCanyon.TimerJobs_CCSAutoCloseJobFeature" -url "SiteCollectionURL"
3. CrowCanyon.TimerJobs_CCSRecurrenceJob
Command: Enable-SPFeature -Identity "CrowCanyon.TimerJobs_CCSRecurrenceJob" -url "SiteCollectionURL"
4. CrowCanyon.TimerJobs_CCSSLATimerJobFeature
Command: Enable-SPFeature -Identity "CrowCanyon.TimerJobs_CCSSLATimerJobFeature" -url "SiteCollectionURL"
After activating all the above timer job features, please navigate to SharePoint Central Administration -> Monitoring -> Review Job Definitions and make sure that all the timer job definitions mentioned in above table are there now.
2. Attach Workflow Instances in required lists
Please make sure that pre-requisites mentioned above in this article are ready before proceeding with below steps.
CCSSRWorkflows feature
Go to Site Collection -> Site Settings -> Site Collection Features and activate “CCSSRWorkflows” feature if it is not already activated
Application installer will try attaching the required workflows, please attach workflow instances to below lists if they are not already attached.
Note: This article is same for IT Professional, IT Standard, Facilities, Customer Service and Request Management applications and only difference is the name of the main list (Tickets list). Below instructions are given as per Tickets list name, please use the corresponding list name based on the application that you are installing.
- For IT Professional and IT Standard application – ‘Tickets’
- For Facilities application – ‘Work Orders’
- For Request Management application – ‘Requests’
- For Customer Service – ‘Tickets’
1. Tickets list
Applies to: IT Professional, IT Standard, Facilities, Customer Service and Requests Management
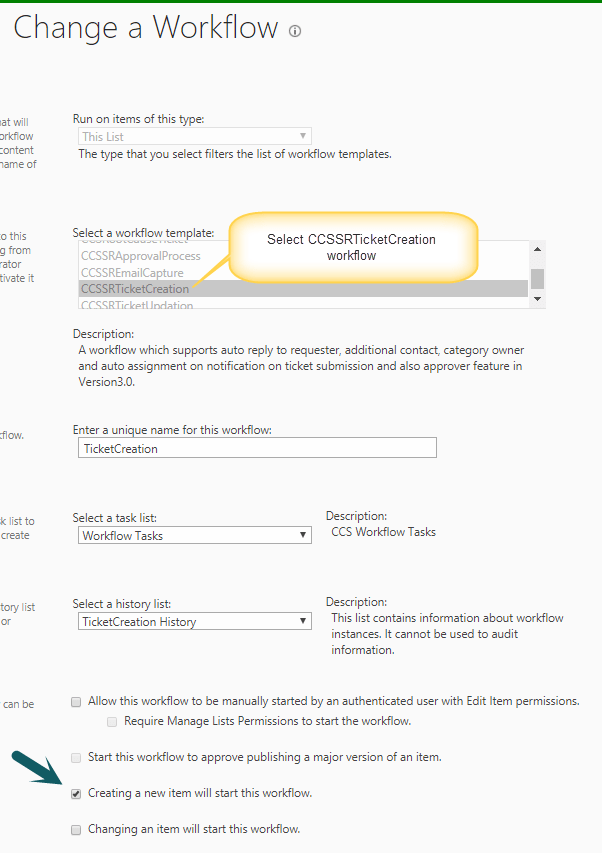
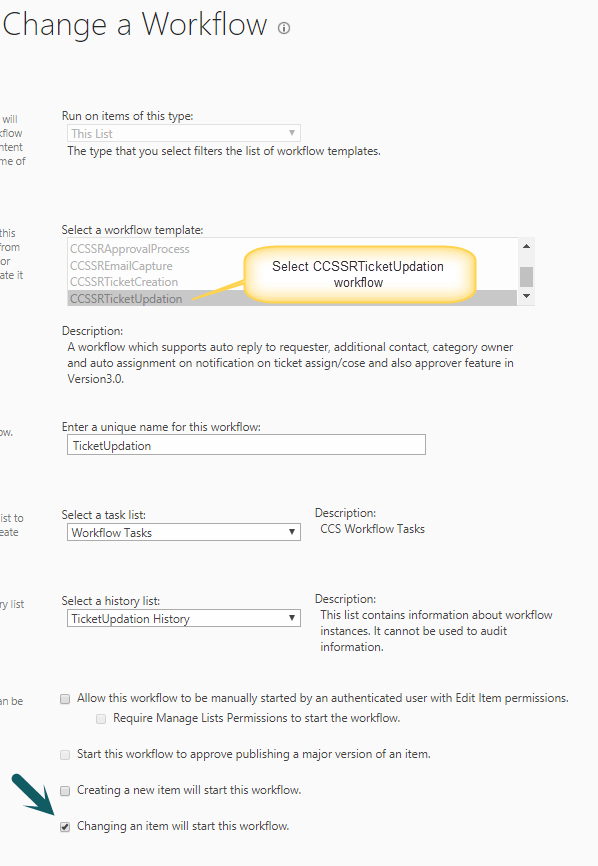
Go to Tickets lists -> List Settings -> Workflow Settings and attach workflows as shown below
CCSSRTicketCreation workflow instance:
CCSSRTicketUpdation workflow instance:
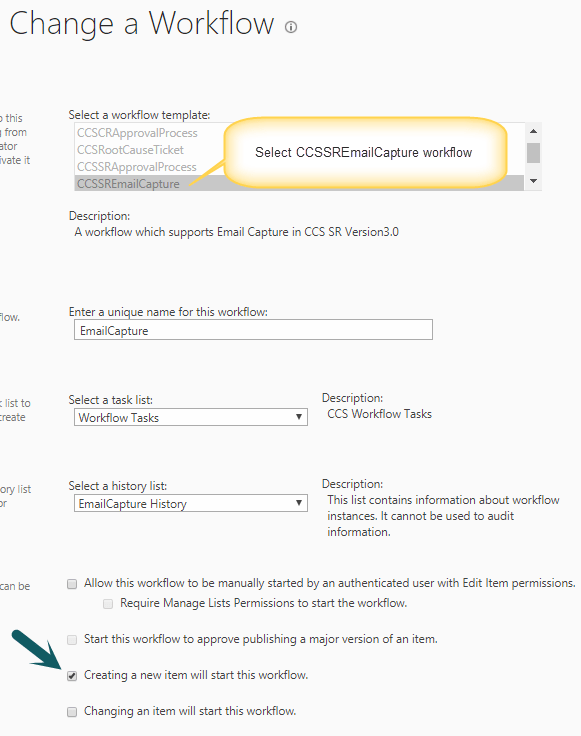
2. Email Tickets list
Applies to: IT Professional, IT Standard, Facilities, Customer Service and Requests Management
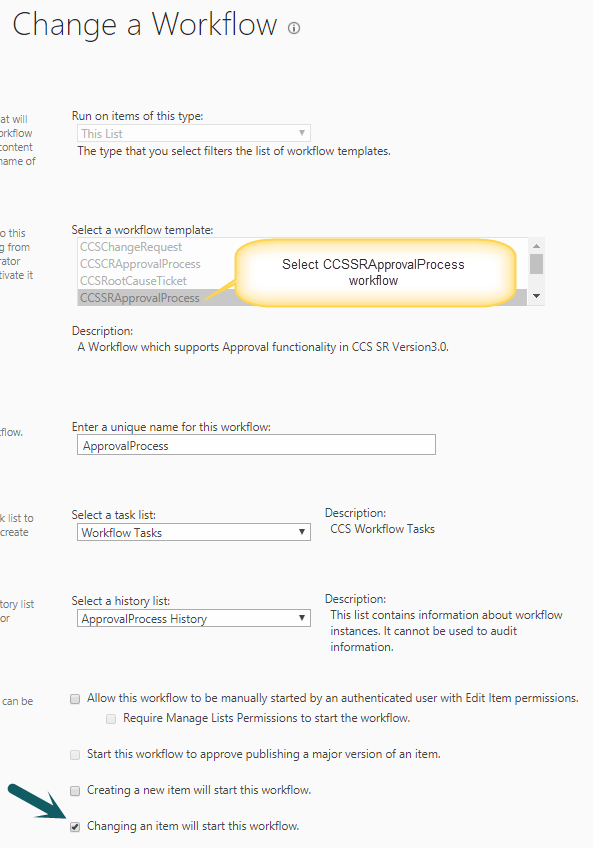
3. Approval Tasks list
Applies to: IT Professional, IT Standard, Facilities, Customer Service and Requests Management
4. Change Requests list
Applies to: IT Professional application
5. CR Approval Tasks list
Applies to: IT Professional application
6. Problems list
Applies to: IT Professional application
3. Create and configure Portal site
Refer instructions to create and configure Portal site from this article.
4. Other configurations
1. Enable cache for NITRO forms. Go to Tickets list -> List Settings -> Crow Canyon NITRO Forms -> Global Settings -> Click “Enable Cache” button if it is not already enabled.
2. Add “Employee Portal” top link bar
Go to Service Request site -> Site Settings -> Top link bar and add link to Portal site
3. Grant “Everyone” read permissions on the User Information list. Go to Service area Site -> Go to Top Level Site Settings -> People and Groups -> modify the “MembershipGroup” Id to ‘0’ in the URL. It will go to SharePoint User Information list -> Go to List Settings -> Permissions for the list and grant “Everyone” read permissions on this list.
Note: Please uncheck the “Send Mail” notification while granting permissions for “Everyone”
4. For SP 2016, modify the User Info filler settings to “Active Directory”, go to Application Administration -> General Configurations -> Modify the “Read Requester Information” from Active Directory and modify the properties accordingly.
Next modify the Auto fill settings in Ticket NITRO forms to read information from “User Profile”. Go to Site Contents -> Tickets list -> List Settings -> Crow Canyon NITRO Forms -> Edit New/Edit Forms -> Auto Fill Settings -> Edit auto-fill settings and select settings from “User Profile”.