Applies To
SharePoint On-Premises 2013/2016/2019
Prerequisites
- SharePoint should be installed and configured (SharePoint 2013/2016/2019) and server should be in stable state.
- To install/upgrade SharePoint wsp solutions, logged in user account should have following privileges:
– Domain User
– Local Administrator
– SharePoint Farm Administrator
– Owner rights on SharePoint configuration database, Central Administration content database and Web Application content database
– User should have Site Collection Administrator rights on the Site Collection - Microsoft .NET Framework 4.7 or above should be installed on the SharePoint server.
- Make sure that SharePoint Administration and SharePoint Timer services are running in all SharePoint servers in SharePoint Farm.
Summary of Steps
This article has the steps to upgrade NITRO Secure solutions in SharePoint Server and update NITRO Studio for the activated sites.
- Download latest NITRO Secure package
- Update NITRO Secure Solutions
- Install NITRO Secure Latest Package
- Update NITRO Studio for the site(s)
- Install NITRO Workflow debugging service
- Install NITRO Office API document generation
Detailed Steps
Download latest NITRO Secure package
- Please contact Crow Canyon Support (sharepointsupport@crowcanyon.com) for the latest NITRO Secure Package.
- Package contains ‘NITROStudioSetup.zip’ file.
Update NITRO Secure Solutions
Copy the downloaded “NITROStudioSetup.zip” file to the SharePoint Server.
Note: If there are multiple SharePoint servers in the farm, copy the “NITROStudioSetup.zip” file to one of the servers in the SharePoint farm that is running “Microsoft SharePoint Foundation Web Application” service.
Open Command Prompt (Run as Administrator) –> navigate to the Package location –> enter the below command to verify MD5 signature for the package.
CertUtil -hashfile NITROStudioSetup.zip MD5
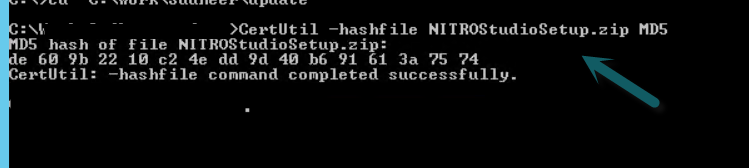
In this example, package download link is like “https://…/MD5_de609b2210c24edd9d40b691613a7574/NITROStudioSetup.zip” and the command output is matching with checksum in the download link as expected. Please contact sharepointsupport@crowcanyon.com if this checksum is not matching.
Note: MD5 signature is to be verified for the downloaded ‘NITROStudioSetup.zip’ file and not the ‘NITROStudioSetup.msi’ file extracted from the zip file.
After MD5 signature is validated, right click on zip file and extract ‘NITROStudioSetup.msi’ file.
Right click on the .msi file, go to properties and unblock the file as shown below. We can safely ignore if the file is not blocked.
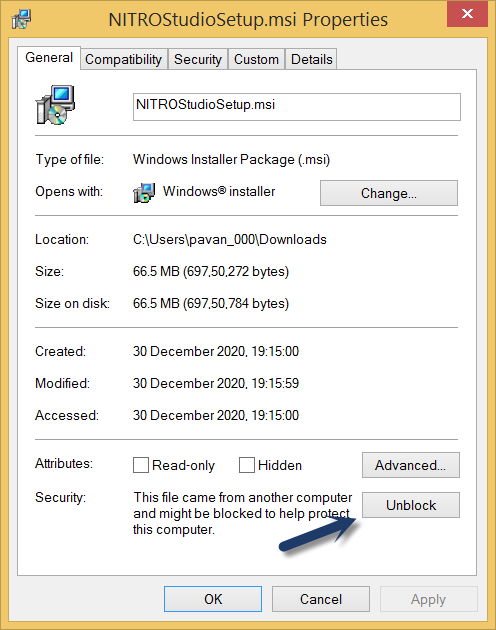
Right click on the NITROStudioSetup.msi file, open properties panel, and click on ‘Unblock’ button if it is there.
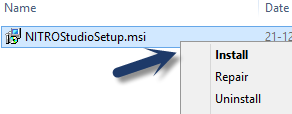
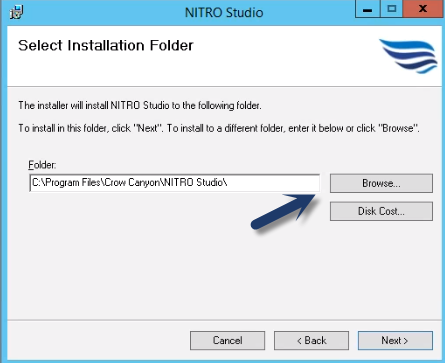
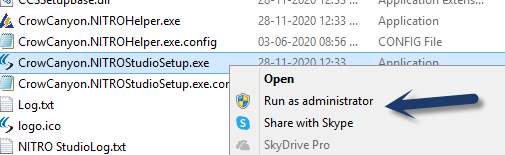
Run the setup (right click and then click Install). It will open the NITRO Studio Setup Wizard and click next to continue the installation.
Note
If we use a different install location during the original installation, please use the same path in the wizard for this install.
Install latest NITRO solutions using “C:\Program Files\Crow Canyon\NITRO Studio\CrowCanyon.NITROStudioSetup.exe” (Run as administrator)
Note
There will be around 5 minutes downtime to SharePoint sites during the solution upgrade
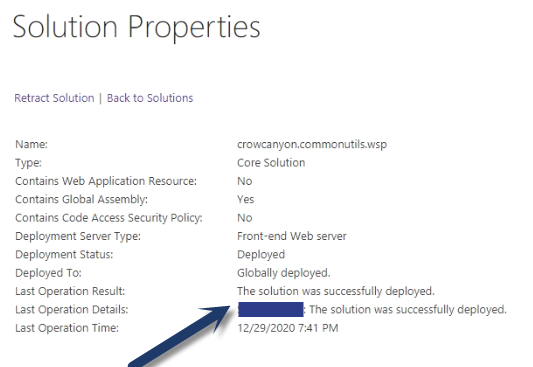
After this step, please wait until all the solutions (CrowCanyon.CommonUtils.wsp, CrowCanyon.NITROStudio.wsp and CrowCanyon.WorkflowManager.wsp) status is changed to “Deployed” in Central Administration, System Settings, Manage farm solutions. If there are multiple servers in SharePoint farm, we need to wait until the solution status is changed to Deployed in all servers.
After the solutions were successfully deployed, go to Services.msc –> restart ‘SharePoint Timer Service’ in all SharePoint servers
Install NITRO Secure Latest Package
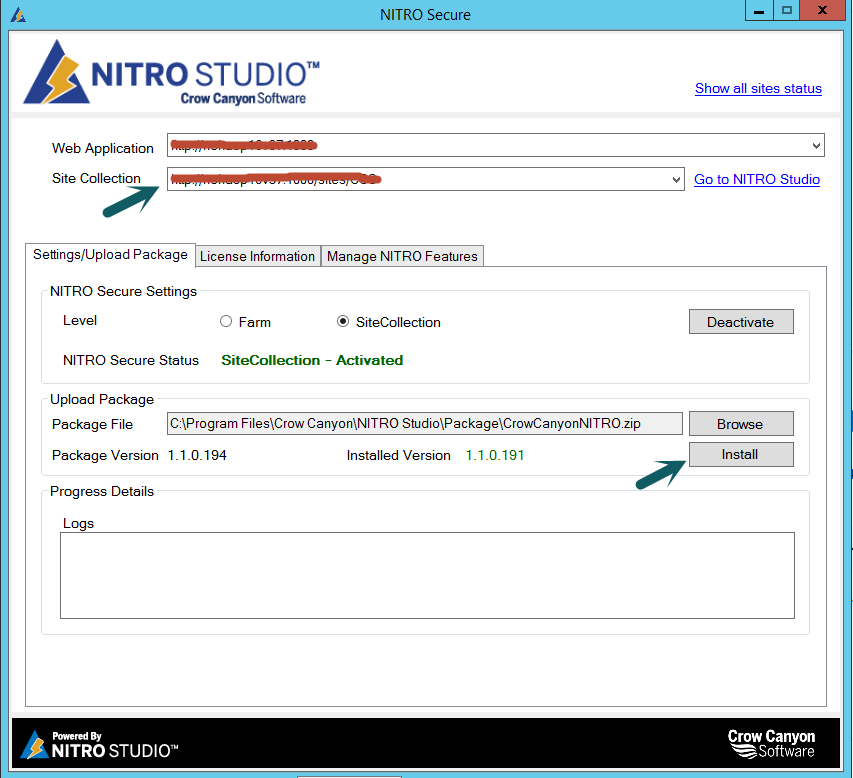
Install NITRO Secure package using “C:\Program Files\Crow Canyon\NITRO Studio\CrowCanyon.NITROHelper.exe” (Run as administrator), click “Install” button as shown below.
Please repeat this for all site collections that had NITRO Studio activated already.
Note: If this step is missed then it shows different Package versions in the tool shown below.
Update NITRO Studio for the site(s)
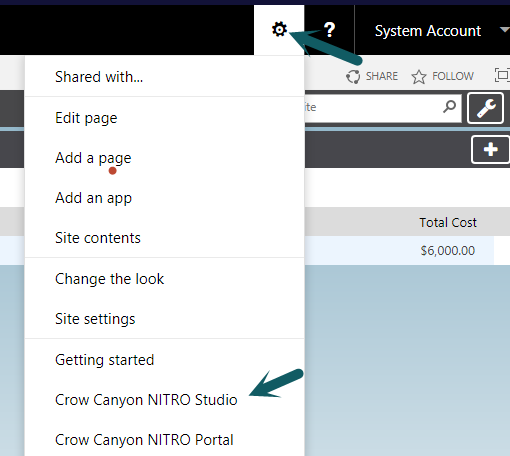
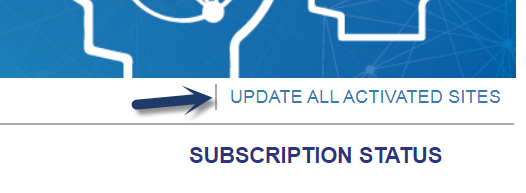
Open the required site collection in browser –> site gear icon –> Crow Canyon NITRO Studio –> click “UPDATE ALL ACTIVATED SITES” button as shown below.
Note
Repeat this step for all the site collections that has the NITRO Studio activated already.
In case of any queries/assistance regarding this, please contact sharepointsupport@crowcanyon.com
Install NITRO Workflow debugging service
This component is common across all NITRO activated site collections in the farm and has to be installed only once. This is an optional component that can be used to debug NITRO workflows. Please refer to this article to install this component in your SharePoint farm.
Install NITRO Office API document generation
This component is common across all NITRO activated site collections in the farm and has to be installed only once. This is an optional component that can be used to generate documents using Office API method in Custom Actions and NITRO workflows. Please refer to this article to install this component in your SharePoint farm.
Troubleshooting Steps
Symptom
NITRO Apps like NITRO Workflows, NITRO Forms keep loading forever.
Cause
Sometimes it is possible that solutions update will be missed from one or more servers in SharePoint farm.
To confirm that this is related to solution deployment issue, go to SharePoint Central Administration –> System Settings –> Manage Servers in this farm–> note the servers that has ‘Microsoft SharePoint Foundation Web Application’ service running as shown below.
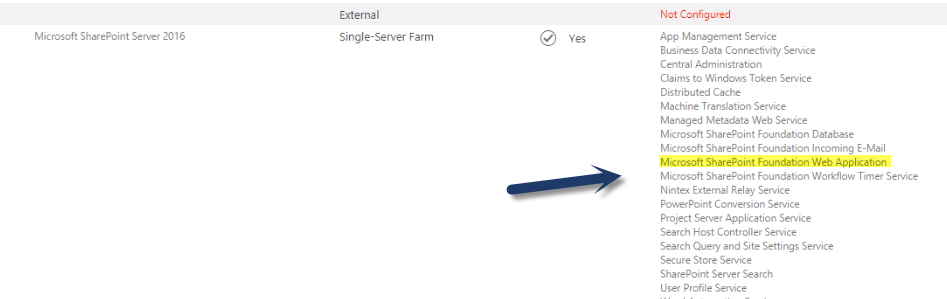
Go to SharePoint Central Administration –> System Settings –> Farm Management –> Manage Farm Solutions –> ensure the NITRO Studio solutions (crowcanyon.commonutils.wsp, crowcanyon.nitrostudio.wsp and crowcanyon.workflowmanager.wsp) are deployed to all the servers that has ‘Microsoft SharePoint Foundation Web Application’ service running on them.
Resolution
If the solution(s) are not deploy for all SharePoint servers, then we need to update solutions again in the SharePoint server. Solutions to be updated are available at installation location used in the NITRO Studio Setup wizard (C:\Program Files\Crow Canyon\NITRO Studio\SP2013 or C:\Program Files\Crow Canyon\NITRO Studio\SP2016).
Refer https://www.crowcanyon.help/article/381/ for the steps to update NITRO Studio solutions in SharePoint server.
After this step, please wait for the solutions to deploy in all SharePoint servers and check the result. If you continue to have issues, please contact sharepointsupport@crowcanyon.com.