Applies to:
Crow Canyon NITRO activated sites in:
SharePoint Online and On-Premises 2013/2016/2019/SharePoint Server Subscription Edition
Description
HTML tables are used in multi-line rich text columns to organize rows of related data. Standard functionality does not support formatting options like table cell spacing, cell padding and border etc. We can modify the HTML code to set table format, however it is difficult and error prone. And it needs to be done separately for each item where table is used in the column value.
NITRO forms support several features to extend the functionality of standard forms and columns. For table formatting, we can use ‘Custom CSS’ option in NITRO forms. With this option, tables can be formatted without modifying the HTML source code. Also, it can be done in form settings once and there is no need to do this for each item separately.
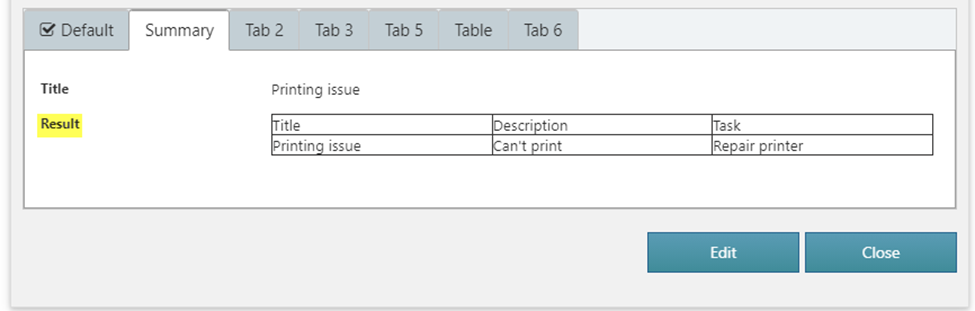
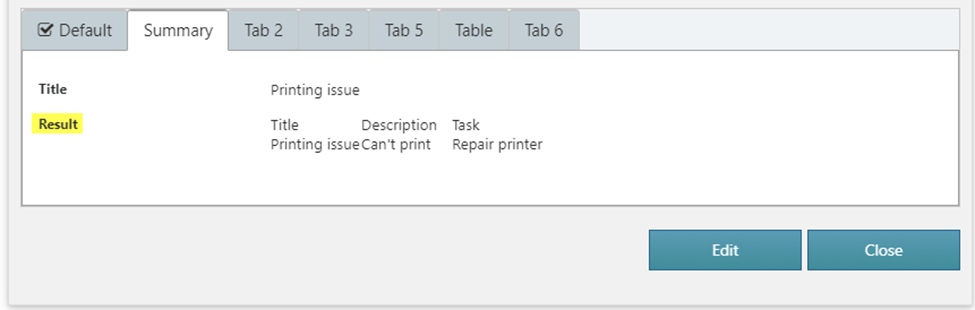
In this sample use case, we have configured ‘Custom CSS’ to format table width and border for tables in a multiple lines of rich text column. The CSS can be changed as per the formatting required. Column name used in this case is “Results”.
Detailed steps
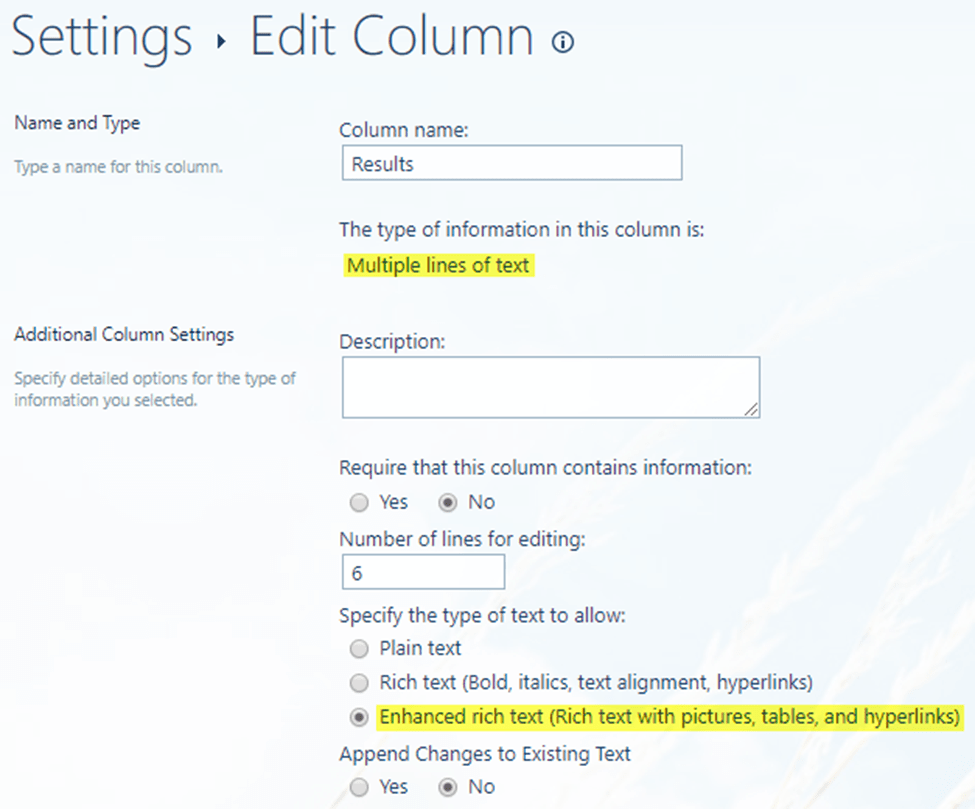
1.Create multiple lines of enhanced rich text column.
To create new column, go to the list -> List Settings -> Create column -> Create multiple lines of rich text column as shown below:
Note: We can configure the custom script for existing columns also.
2. Add above created column to NITRO forms.
Go to the list -> List Settings -> Crow Canyon NITRO Forms -> Drag and drop the above created column on to the form.
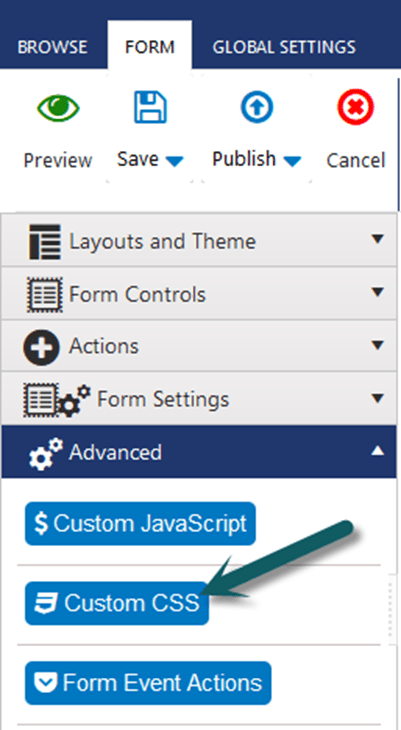
3. Add below script in ‘Custom CSS’.
Go to ‘Advanced’ section in left hand panel -> Custom CSS.
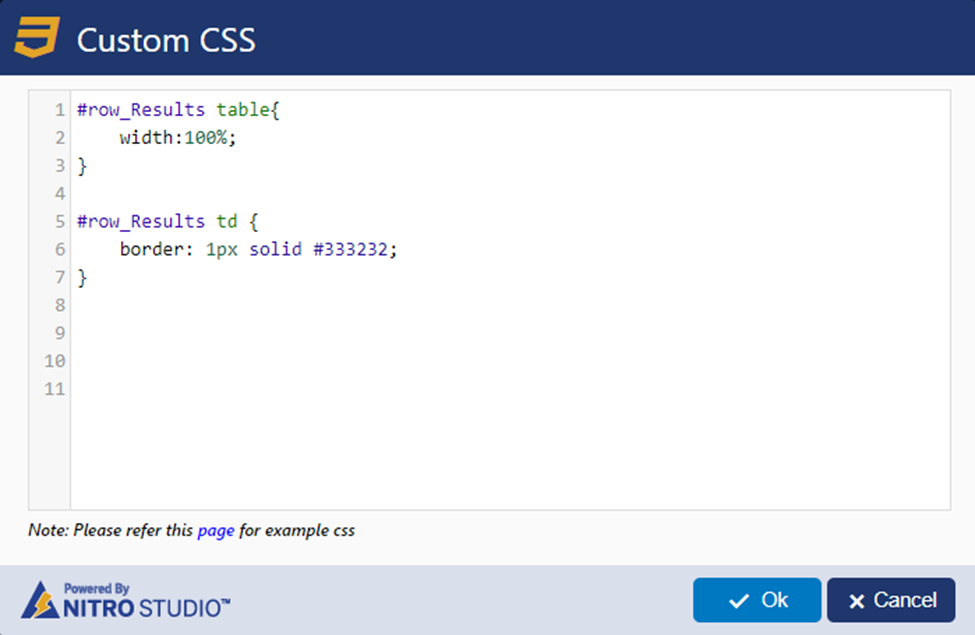
Custom CSS:
#row_ColumnInternalName table{
width:100%;
}
#row_ColumnInternalName td {
border: 1px solid #333232;
}
Note:
1. Replace ‘ColumnInternalName’ (highlighted above) with internal name of multiple lines of enhanced rich text column configured above.
To know the column internal name, please refer this article.
2. Configure the same CSS for multiple columns by modifying the column internal names.
Ex:
#row_Description table{
width:100%;
}
#row_Description td {
border: 1px solid #333232;
}
#row_WorkLog table{
width:100%;
}
#row_WorkLog td {
border: 1px solid #333232;
}
Sample output
Before setting default table width and border
After setting default table width and border