Applies To
SharePoint 2013/2016/2019/SharePoint Server Subscription Edition
Description
This article has the instructions to install NITRO Office API. In Custom Actions and NITRO Workflows, Generate Document action has an option to use “Microsoft Office API” for generating the document. To use “Microsoft Office API”, Microsoft Office must be installed on the server. On SharePoint servers, newer versions of Microsoft Office cannot be installed.
NITRO Office API can be installed on a server different from SharePoint servers so that Office API can be used for document generation. Server must have IIS configured and a licensed version of Microsoft Office installed.
Instructions
Pre-requisites
- Install Microsoft office on IIS Server and make sure that office is licensed.
- Microsoft .NET Framework 4.8 or above should be installed on the server.
- Refer https://www.crowcanyon.help/article/678 and do the configurations on the server we are using to install the NITRO Office API.
Install NITRO Office API
1. Download and copy the “NITROOfficeAPI” package to the IIS Server.
2. Extract the folder, right click on the folder –> properties –> unblock it. Ignore if the folder is not blocked.
3. Paste the “NITROOfficeAPI” folder in the location: ‘C:\inetpub\wwwroot’
4. Open IIS Manager
5. Select Sites and create a new site as shown below:
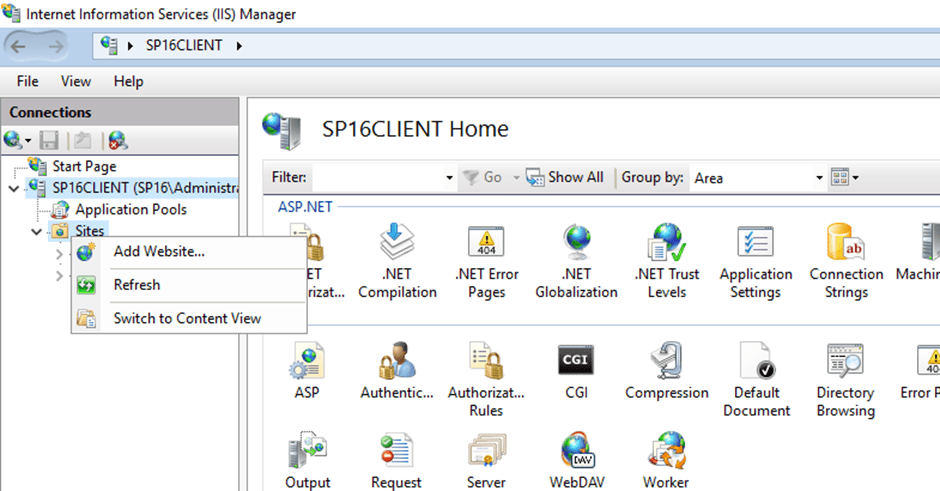
Add Website as shown below, browse the physical path below that is used for #3 above.
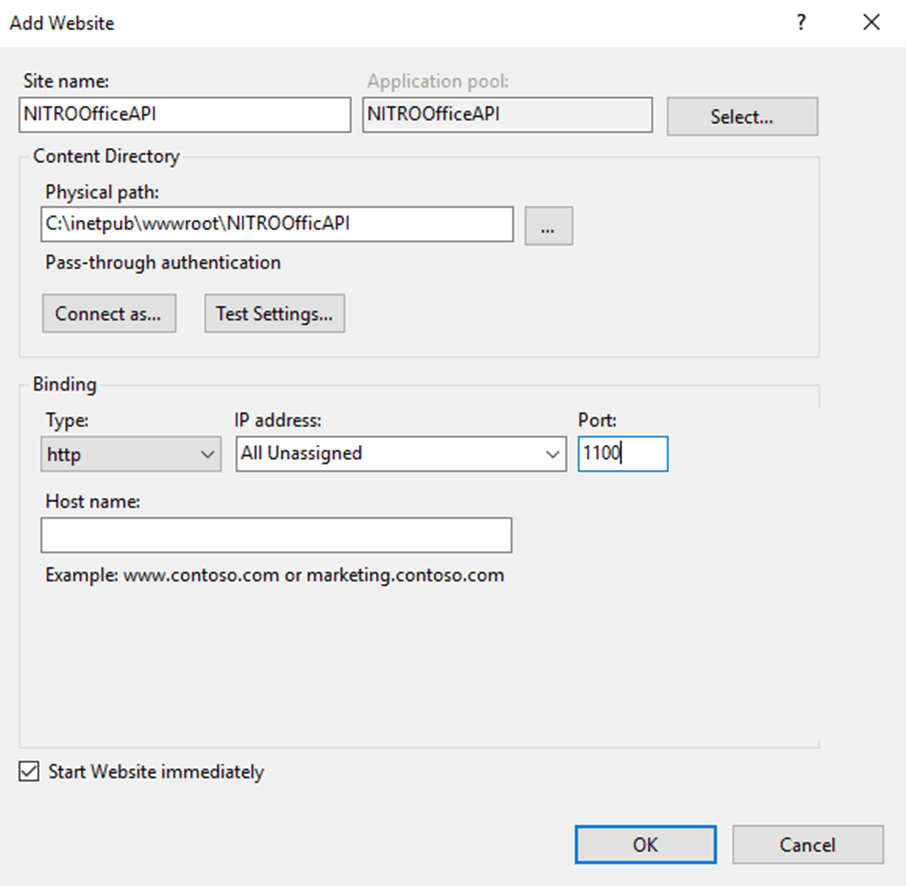
6. After creating the site, select the site and click “Browse website”
7. This will open the site in the browser, copy the URL of the site:
Example URL: http://localhost:1100/api/msword
Modify the URL by replacing “localhost” with the server name and port number used while creating the “NITROOfficeAPI” site:
For example, modified URL will be like: http://SP2016:1100/api/msword
Update SharePoint Farm Property
In this step we will create one farm level property so that Custom Action and Workflow Manager can access the NITRO Office API component. For this we need the URL of the NITRO Office API site (step #7 above).
Open SharePoint Management Shell and run the below script:
Script:
$farm=Get-SPFarm
$farm.Properties["nitroofficeapiurl"] =  "<<NITRO Office API site URL.>>";
$farm.Update()
Note:
In above script, specify the NITRO Web API URL, example:
$farm.Properties["NITROWebAPIURL"] = "http://SP2016:1100/api/msword";