Steps to configure Survey on backend site:
This article assumes that your requirement is to use ‘Rating Scale’ field type in ‘Survey’ configuration. If not we recommend to configure ‘Survey’ functionality from portal by referring SurveyOnPortalSite
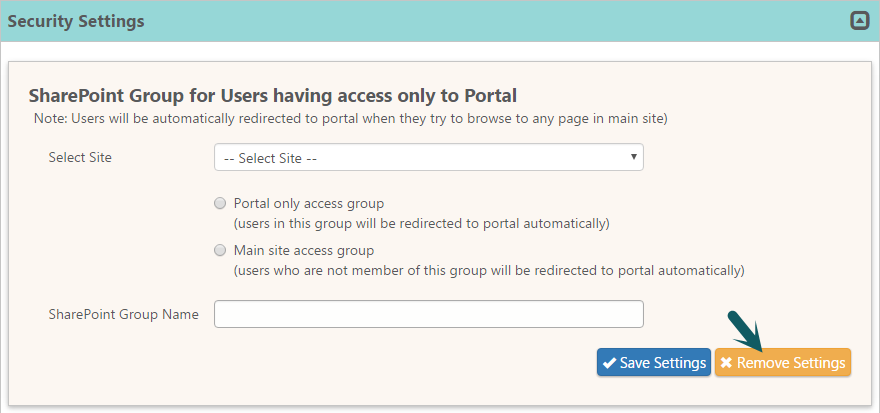
Disable redirect settings in Portal site:
Open ‘Portal Settings’ from Portal site and remove settings under ‘Security Settings’ (Ignore if redirect settings are not configured)
Add Content Editor in Survey list New Form:
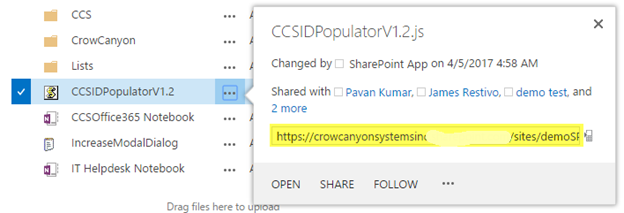
1. Download ‘CCSIDPopulatorV1.2.js’ file from CCSIDPopulatorV1.2 and upload it into ‘Site Assets’ document library (Ignore if file already exists)
2. Copy file URL and save it for further usage.
3. Open ‘Service Satisfaction Survey’ list from Site Contents and replace Overview.aspx in URL with NewForm.aspx as shown

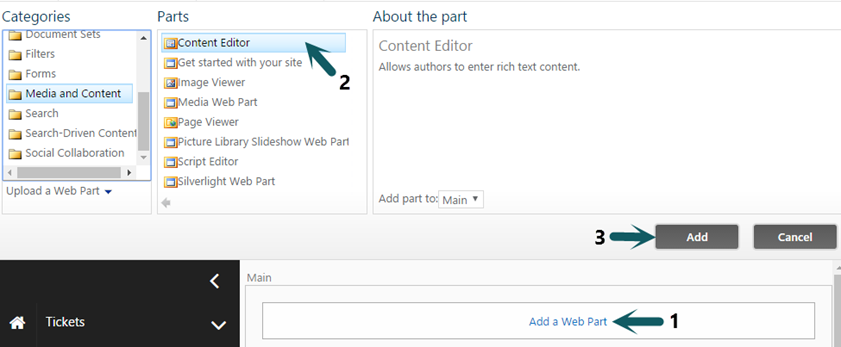
4. Edit Page and add content editor web part by following these instructions
5. Edit Content Editor web part and add ‘CCSIDPopulatorV1.2.js’ file URL (saved in Step 2) under Content Link and configure as shown
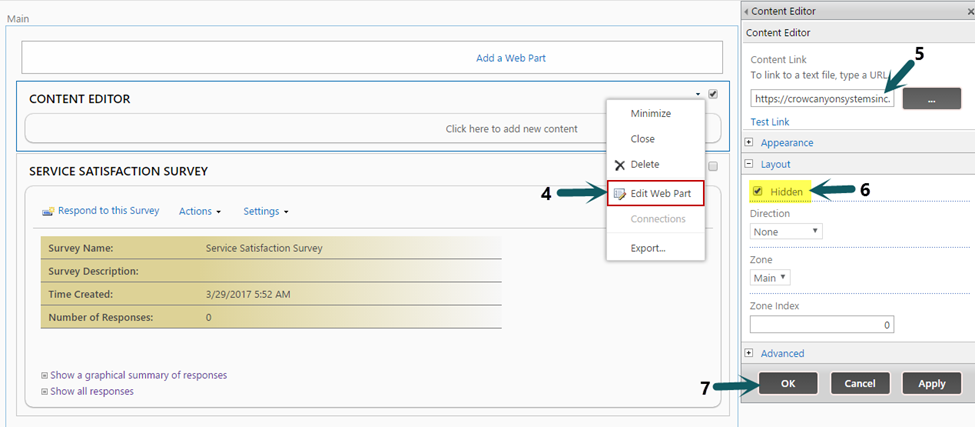
5. Stop Page Editing.
Enable the Survey Notification:
To enable Survey Notifications please refer ‘Enable the Survey Notification’ section in SurveyOnPortalSite
article
Note: While configuring ‘Survey Link’ in ‘Mail Template’ we need to configure ‘Service Satisfaction Survey’ list new form URL in place of ‘Portal Survey Form’ URL
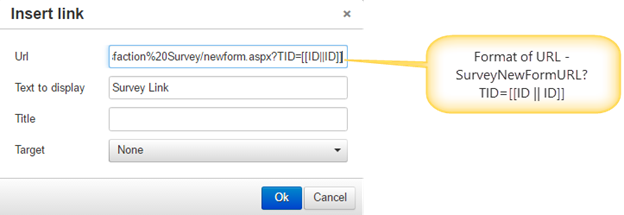
Example of URL – https://abcdefg123.sharepoint.com/sites/demoSP20/Lists/Service%20Satisfaction%20Survey/newform.aspx?TID=[[ID || ID]]