Applies To
SharePoint Online and SharePoint On-Premises (NITRO Studio)
Summary of steps
- Remove NITRO Apps configurations
- Deactivate NITRO Studio for the site
- Remove NITRO Apps (SharePoint Online)/Deactivate NITRO Studio features (SharePoint On-Premises)
Note
- For SharePoint Online, if any one of the Crow Canyon NITRO apps are deleted from the site collection without deleting the configurations in the subsite (i.e. where we want to uninstall the crow canyon application) then please re-add those deleted apps to the site collection and then proceed with the uninstall steps given below.
- Once uninstall is completed for all the sites where NITRO was activated, you can remove the NITRO Apps from the site collection.
Procedure to uninstall Crow Canyon NITRO Application
Detailed Steps
1. Delete the Email Sync configuration settings in Crow Canyon Email Sync App (Ignore for SharePoint On-Premises)
Go to Application Administration -> Crow Canyon NITRO Apps -> Email Sync and delete the settings.
2. Delete all the workflows configured in the Crow Canyon NITRO Workflows
Go to Application Administration -> Crow Canyon NITRO Apps -> NITRO workflows and delete all the workflows
3. Delete Approval workflow configured in the Crow Canyon Advanced Approval (Ignore for SharePoint On-Premises)
Go to Application Administration -> Crow Canyon NITRO Apps -> Advanced Approvals and delete all the workflows.
4. Delete Portal site from Power Portal app
Go to Application Administration -> Crow Canyon NITRO Apps ->Power Portal and delete the portal site.
5. Delete all the configurations settings in NITRO Studio.
Go to Application Administration –> Crow Canyon NITRO Apps –> Crow Canyon NITRO Studio and delete all the configurations from the below apps.
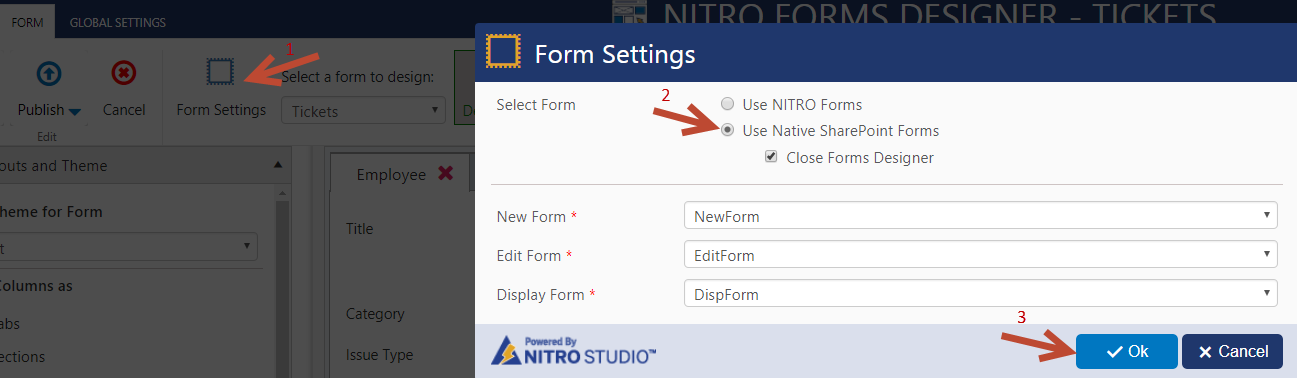
NITRO Forms
Navigate to NITRO form settings from list ribbon, list settings page, or via NITRO site page. In NITRO forms designer, click “Form Settings” in ribbon and then revert to native SharePoint forms. Please note that this is required for each list in the site that is using NITRO forms.
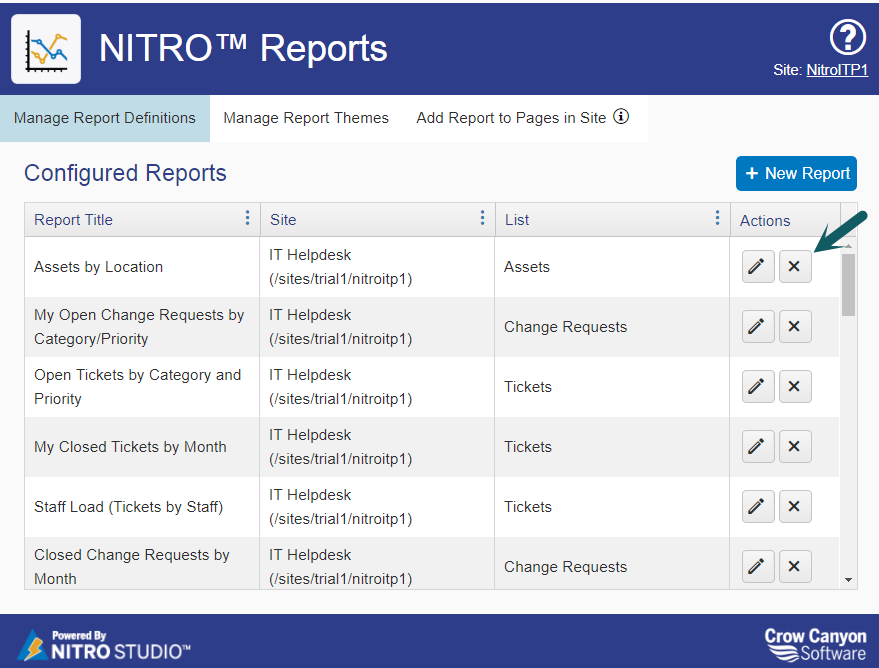
Nitro Reports
Go to all the web part pages where the reports are added (like Staff Workspace, Manager Dashboard etc.). Edit each page and delete the all the report web parts configured on the page.
Once all the report web parts are deleted, navigate to NITRO Reports from Manage Reports in Report Center page, or via NITRO site page.
Delete all the reports from NITRO report settings configuration page.
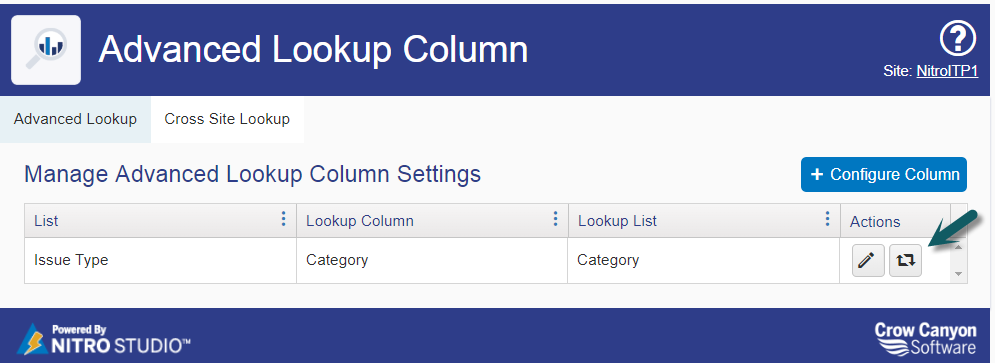
Advanced Lookup
Go to Application Administration -> Crow Canyon NITRO Apps -> Crow Canyon NITRO Studio -> Advanced Lookup and revert all the Advanced Lookup column settings.
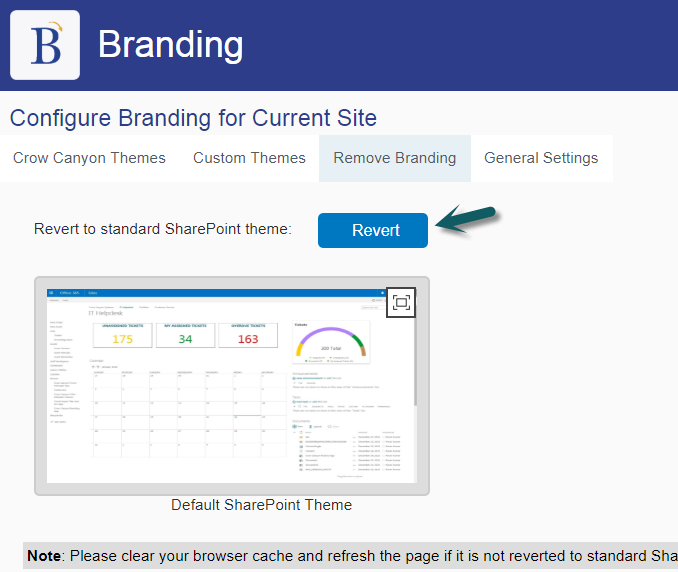
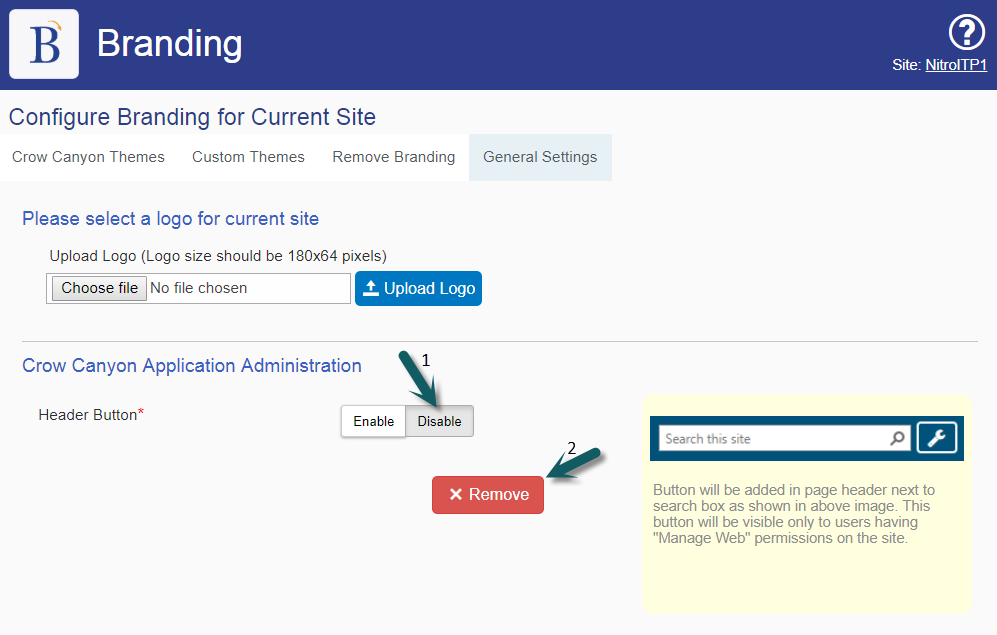
Branding
Navigate to Branding from Site Settings or from NITRO site page.
Go to Remove Branding tab and “Revert to standard SharePoint theme”. Go to General Settings tab and delete the Application Administration button.
Revert to standard SharePoint theme:
Remove Application Administration:
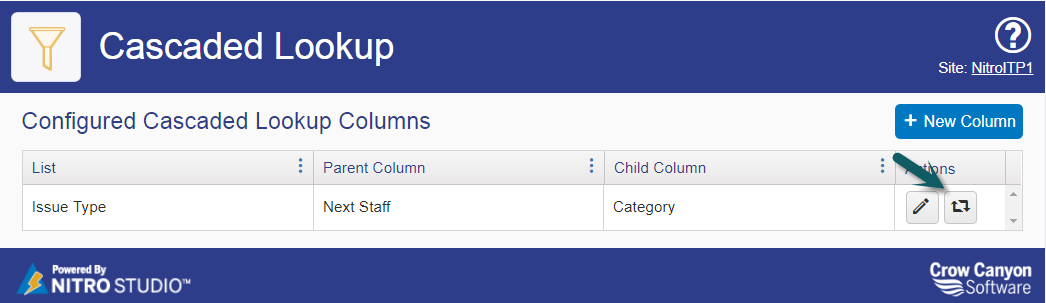
Cascaded Lookup
Go to Application Administration -> Crow Canyon NITRO Apps -> Crow Canyon NITRO Studio -> Cascaded Lookup and revert all the configured Cascaded Lookup columns.
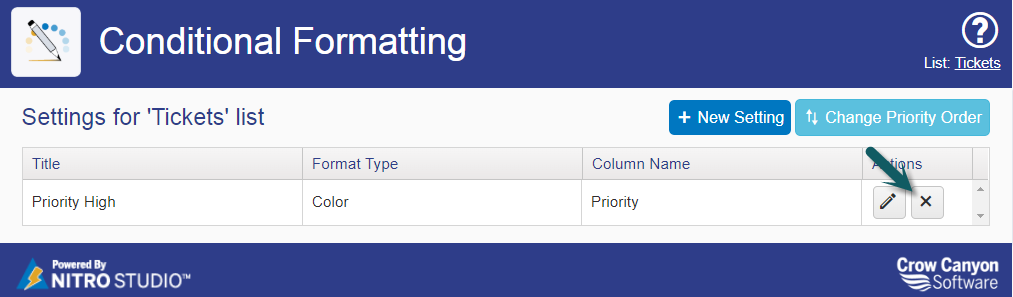
Conditional Formatting
Go to Application Administration -> Crow Canyon NITRO Apps -> Crow Canyon NITRO Studio -> Conditional Formatting -> Select the list and delete the conditional formatting settings.
Please note that this is required in all the list where conditional formatting is configured for the columns.
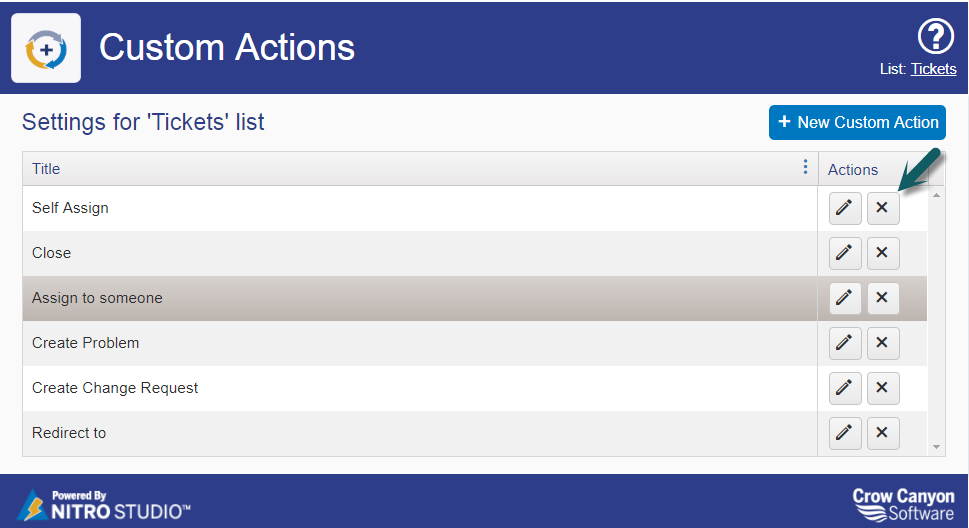
Custom Actions
Go to Application Administration -> Crow Canyon NITRO Apps -> Crow Canyon NITRO Studio -> Custom Actions -> Select the list (Tickets, Assets etc.) and delete all the settings
Note: This is required for all the lists where custom actions are configured.
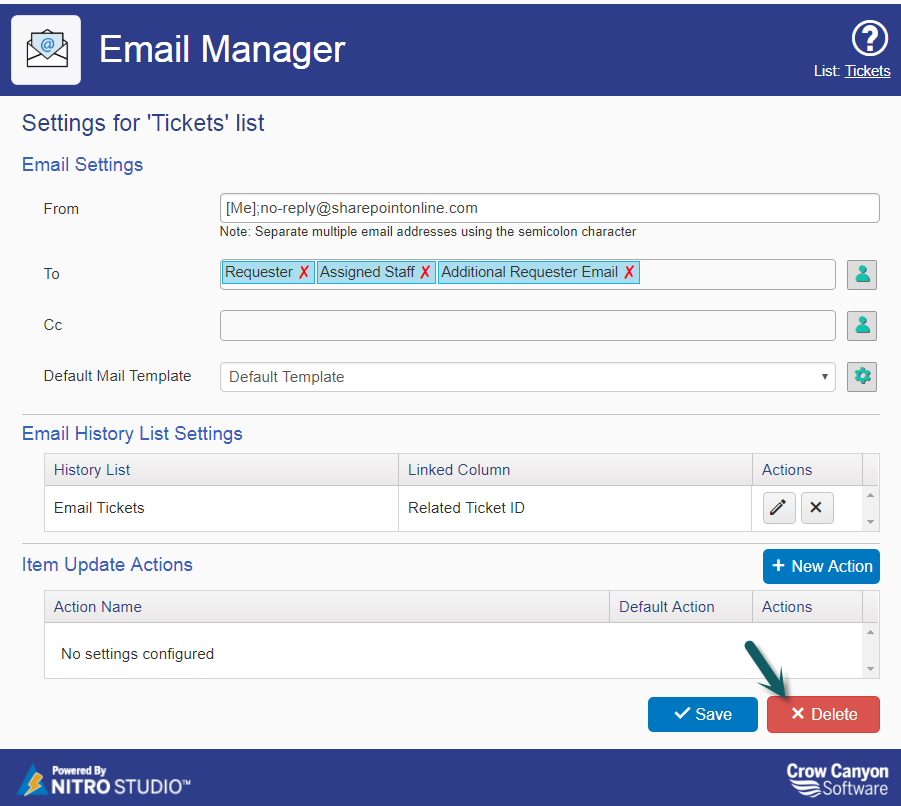
Email Manager
Delete Email Manager Settings from all the lists where it is configured
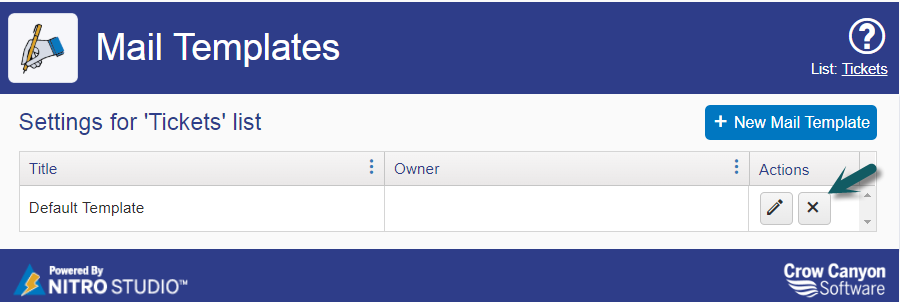
Go to Application Administration -> Crow Canyon NITRO Apps -> Crow Canyon NITRO Studio -> Email Manager -> Select the list -> Delete the default mail template and delete Email Manager settings.
Mail Template:
Email Manager:
Linked Items Column
Delete all the linked items column settings
Go to Application Administration -> Crow Canyon NITRO Apps -> Crow Canyon NITRO Studio -> Linked Items and revert all the configured linked item columns.
Print Manager
Go to Application Administration -> Crow Canyon NITRO Apps -> Crow Canyon NITRO Studio -> Print Manager and delete all the List Print and Item Print Templates.
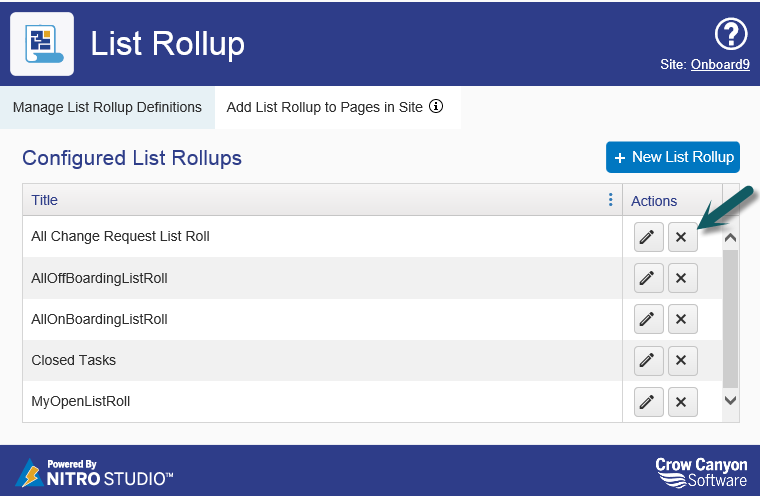
List Rollup
Go to all the pages where the list rollups are added (like Admin Dashboard page and My Tasks page in Onboarding application). Edit each page and delete all the list rollup web parts in the page.
After deleting the list rollups in web part pages, go to Application Administration -> Crow Canyon NITRO Apps -> Crow Canyon NITRO Studio -> List Rollup and delete all the list rollup configurations.
User Info Filler
Go to Application Administration -> Crow Canyon NITRO Apps -> Crow Canyon NITRO Studio -> User Info Filler -> Select the list and delete the user information settings.
Please note that this is required in all the list where the user info filler settings are configured for the lists.
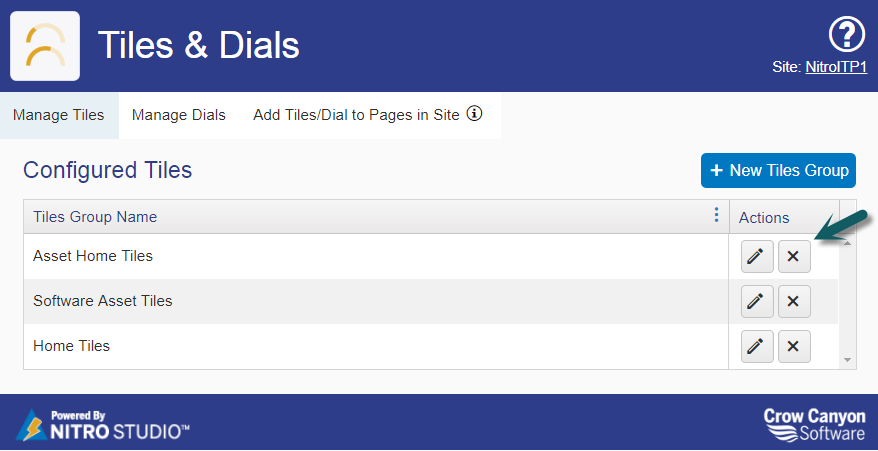
Tiles & Dials
Go to all the pages where the Tiles and Dials are added (Home page etc.), edit each page and delete the Tile or dial web part from the page.
After deleting all the Tiles & Dials web parts, go to Application Administration -> Crow Canyon NITRO Studio -> Tiles & Dials and delete all the settings.

6. Delete the Crow Canyon NITRO Modern UI Webparts app and Crow Canyon Product app from the site. Please go to site contents page -> Move your mouse over the app item -> Click ‘…’ and then click ‘Remove’ button (Ignore for SharePoint On-Premises)
7. If your site is using Crow Canyon Product license, then after deleting all the configurations and apps, please contact sharepointsupport@crowcanyon.com to convert the Product license to trial. Until the product license is converted to trial license, NITRO Studio cannot be deactivated for the site.
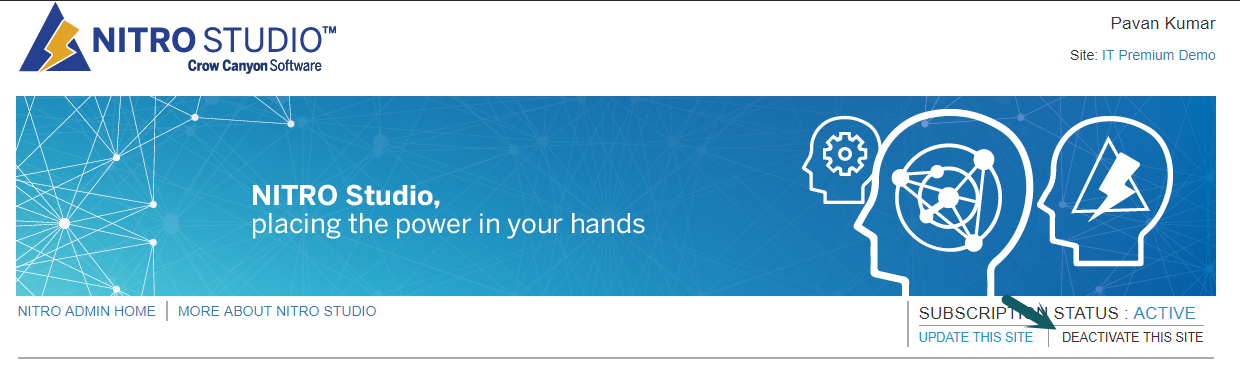
After converting to the trial license, go to Application Administration -> Crow Canyon NITRO Apps -> Crow Canyon NITRO Studio and click “DEACTIVATE THIS SITE”
8. [Optional] For SharePoint Online, if NITRO is deactivated from all sites in the site collection and you no longer want to use NITRO in the site collection then you can uninstall the NITRO related apps. Please go to site contents of root site and remove the Crow Canyon Provider Hosted apps (Crow Canyon Email Sync, Crow Canyon Advanced Approvals, Crow Canyon Power Portal, Crow Canyon NITRO Framework/Crow Canyon NITRO Framework (Tenant), Crow Canyon NITRO Studio, Crow Canyon NITRO Workflows)
9. Deactivate Crow Canyon Site Collection Features referring instructions from here (Ignore for SharePoint Online)
| Feature Name | Feature Folder Name |
| Crow Canyon Workflow Manager | CrowCanyonWorkflowManager |
| Crow Canyon Mail Templates Administration | CrowCanyonMailTemplates |
| Crow Canyon NITRO Studio Feature | CrowCanyon.NITROStudio_CrowCanyonNItroStudio |
10. Retract and remove Crow Canyon solutions referring instructions from this article. (Ignore for SharePoint Online)
11. [Optional] Delete the Site(s) or Site Collection as required if it was a test site for NITRO.
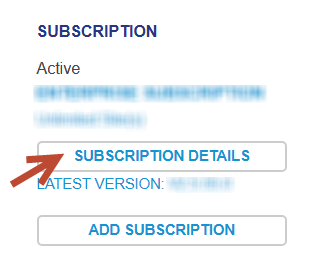
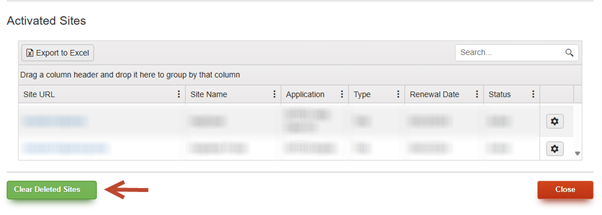
12. Clear deleted sites/deleted site collections from subscription details page of the NITRO Studio.
After deleting the sub sites from SharePoint, go to the NITRO Studio app -> Click ‘SUBSCRIPTION DETAILS’ from ‘NITRO ADMIN HOME’ page -> Click ‘Clear Deleted sites’ button as shown below:
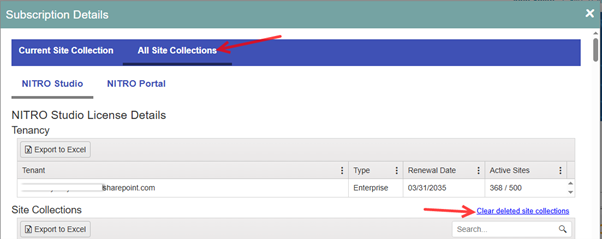
If the site collection(s) are deleted, then go to any other site collection where NITRO Studio is installed -> Open the NITRO Studio app -> Click ‘SUBSCRIPTION DETAILS’ from ‘NITRO ADMIN HOME’ page -> Go to ‘All Site Collections’ tab –> Click ‘Clear deleted site collections’ as shown below:
Troubleshooting steps for NITRO STUDIO deactivation
Symptom:
Received below error while trying to deactivate the site:
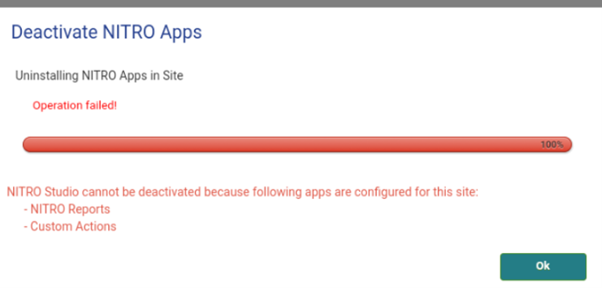
Cause:
Configurations for NITRO Reports and Custom actions have not been deleted.
Resolution:
Delete configurations for NITRO Reports and Custom actions as per the below steps:
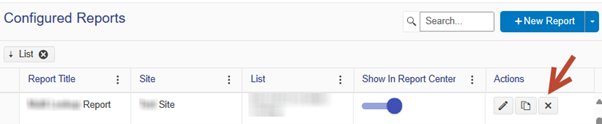
For NITRO Reports:
Navigate to the Site Settings -> Site Administration -> Crow Canyon NITRO Reports -> Delete all the configured reports by clicking delete button as shown below:
For Custom Actions
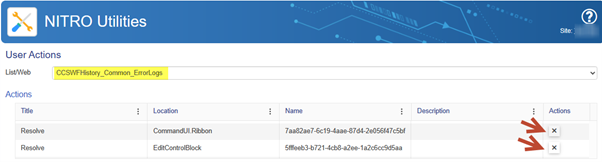
- Navigate to Site Settings -> Site Administration -> Crow Canyon NITRO Site Settings -> Expand ‘NITRO Utility’ section -> Manage list level user custom actions -> Click ‘Go’ button as shown below:

Select ‘CCSWFHistory_Common_ErrorLogs’ list -> Delete all the actions as shown below:
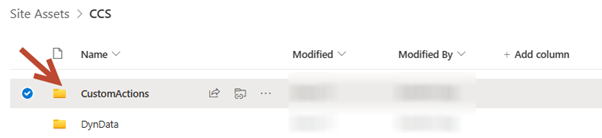
Navigate to Site Contents -> Site Assets -> CCS -> Delete the ‘CustomActions’ folder.
Once all the above steps have been performed, it is required to clear the browser’s cache and then retry uninstall process for the NITRO Apps.