Applies To
SharePoint Online and On-Premises
Description
Crow Canyon Service Request product has built-in feature to convert incoming Emails to Tickets. This is a two step process:
- Incoming emails first come to the ‘Email Tickets’ list:
- In SharePoint Online, this is configured using ‘Email Sync’ App. More details are in this article
- In SharePoint On-premises this is done using standard SharePoint functionality. Please refer first section in this article
- Crow Canyon application then converts this new Email item to a Ticket or links it to an existing Ticket
In some cases, there is a need to have more than one incoming Email address for creating Tickets. For example, there may be a separate Email address for different Teams/Departments so that Tickets come to a different list and can have specific assignment or other process flow. This article describes the steps to configure Email to Ticket conversion feature for multiple Email addresses.
Summary of steps
- Create Email Tickets lists with Email Tickets list template
- Configure Email to Ticket conversion feature
- SharePoint On-Premises
- SharePoint Online
1. Create Email Tickets list with Email Tickets list template
1. Take the template of “Email Tickets” list
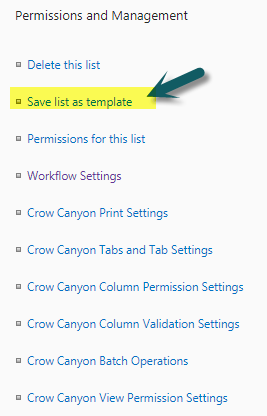
Go to Site Contents –> ‘Email Tickets’ list –> List Settings –> click on ‘Save list as template’
Give File name, Template name and click on “Ok”:
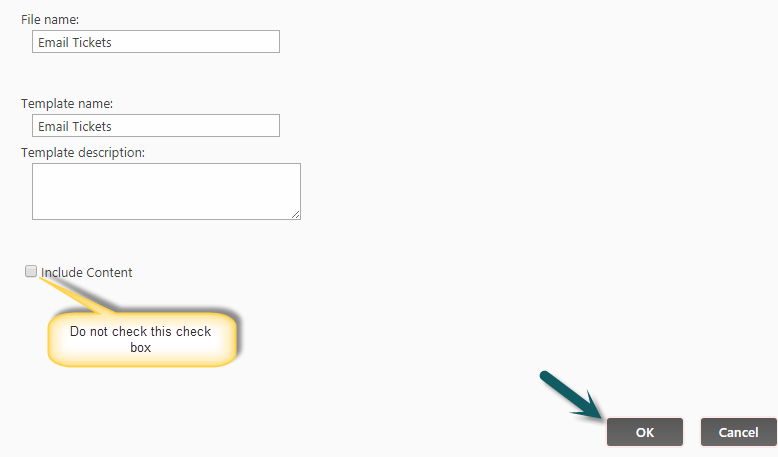
After template is created, a success message will be displayed, click “Ok”.
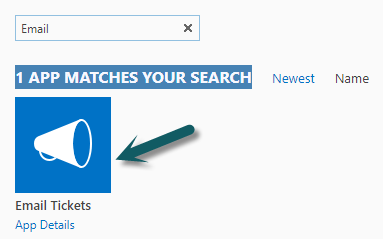
2. Create a list with ‘Email Tickets’ list template.
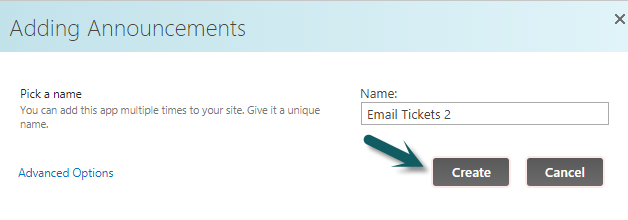
Goto Site Contents –> click on ‘Add an App’ –> click on ‘Email Tickets’ list –> give list name and click “Create”:
You can give the required list name, in example below it is ‘Email Tickets 2’:
2. Configure Email to Ticket conversion feature
SharePoint On-premises
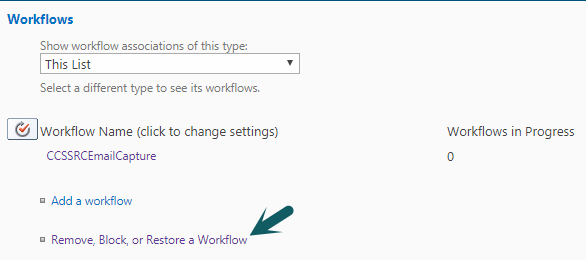
1. After creating the new ‘Email Tickets 2’ list, check whether Workflow instance is attached or not. If yes, remove and add the workflow instance afresh.
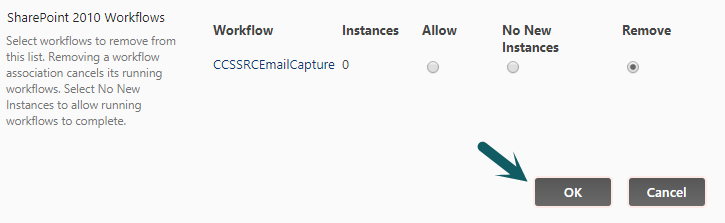
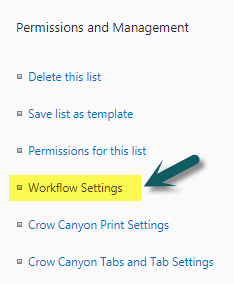
Go to ‘Email Tickets 2’ list –> List Settings –> Click ‘Workflow Settings’ –> click ‘Remove, Block or Restore a Workflow’ –> select “Remove” and click “OK”:
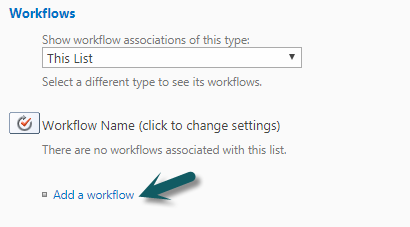
2. Now attach Workflow instance on ‘Email Tickets 2’ list.
Go to ‘Email Tickets 2’ list –> List Settings –> Click ‘Workflow Settings’ –> click on “Add a workflow” –> Select “CCSSREmailCapture” workflow and give workflow instance name and click “Ok”:

3. Configure Incoming Email Address in newly created ‘Email Tickets 2’ list.
Go to ‘Email Tickets 2’ list –> List settings –> Incoming Email Settings (in communications) –>specify required incoming Email address and click on “Ok”.
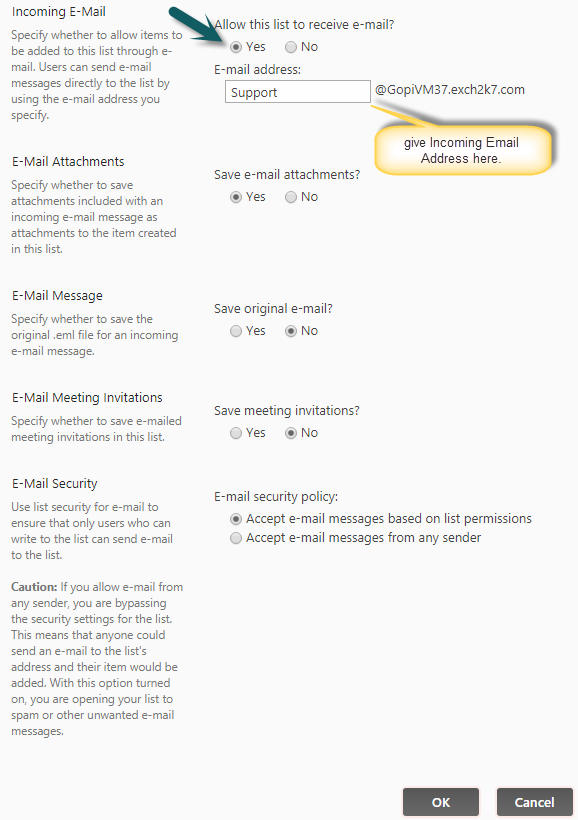
The configured Email Address will be shown as below:

Note: If you want to auto-set category for the Tickets created via email received on specific email address, then refer this article
SharePoint Online
1. After creating the new Email Tickets list, configure Crow Canyon Email Sync service on this list. Please refer instructions from this article.
Note
In SharePoint online, we can have same ‘Email Tickets’ list for multiple incoming email addresses. There will be a separate configuration for each email address in Email Sync service that will refer to common ‘Email Tickets’ list. This can be done if we don’t want to have separate Email Tickets lists for each incoming email address.
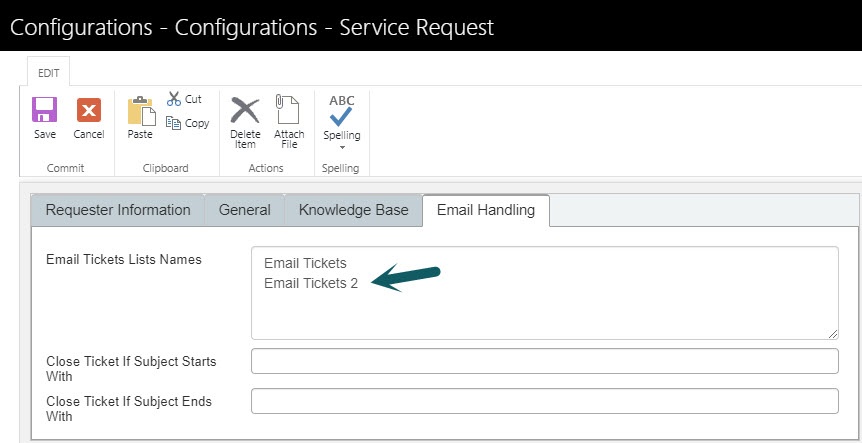
2. Next, go to Application Administration -> General Configurations -> Switch to Email Handling tab and add newly created Email Tickets list name in new line in “Email Tickets Lists Names” column.
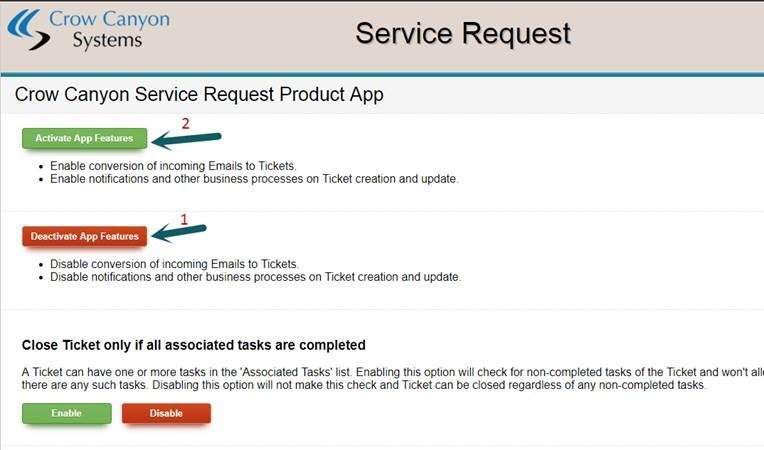
3. After adding the Email Tickets list, go to Crow Canyon NITRO Apps in Application Administration -> Open Crow Canyon Product App -> Deactivate the app feature and then activate again:
Note
To auto categorize Email Tickets based on either Sender/Email Tickets List, please refer additional configurations from https://www.crowcanyon.help/article/167/