Applies To:
Crow Canyon NITRO activated sites in:
SharePoint Online and On-Premises 2013/2016/2019/SharePoint Server Subscription Edition
Description
There are some common steps that we perform in NITRO forms designer to add custom functionality or to get desired form layout such as adding custom CSS, adding section within tab, etc. These steps can be performed to change some form settings or can be the part of main configurations.
This article lists some of the common steps in NITRO forms designer:
- How to reset cache in NITRO forms
- How to navigate to advanced section
- How to add custom CSS
- How to add custom JavaScript
- How to configure Form Event Actions
- How to add section within section
- How to add section within tab
- How to add and configure actions in NITRO forms
1. How to reset cache in NITRO forms
NITRO forms cache list and columns related information to speed up the loading of forms. To reset cache, navigate to Crow Canyon NITRO forms designer for the list -> ‘GLOBAL SETTINGS’ -> ‘Reset Cache’. After that, reload the NITRO form two to three times to see changes.

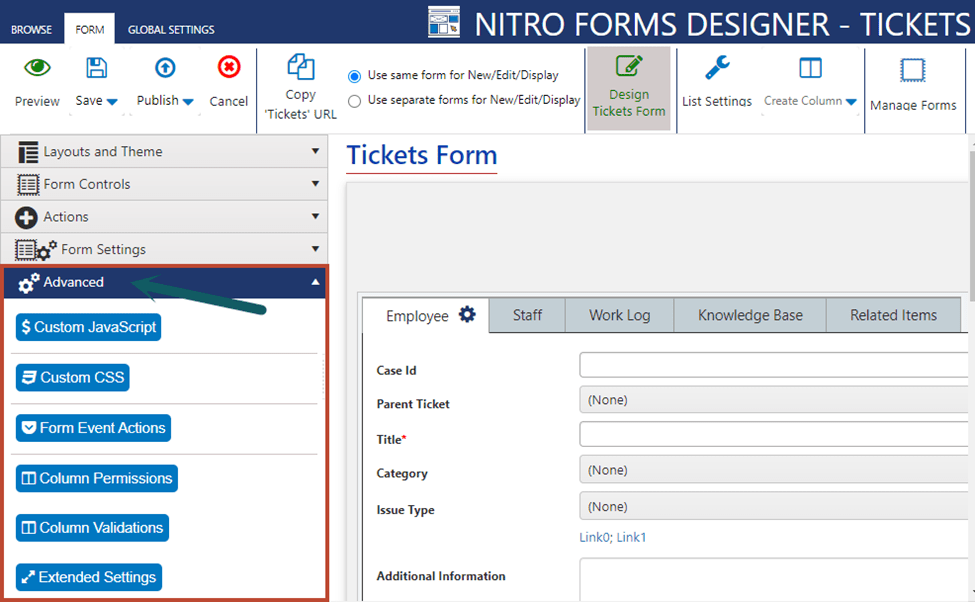
2. How to navigate to ‘Advanced’ section
Advanced section is in the left-hand panel of NITRO forms designer. We can configure required advanced settings for the form such as adding custom CSS, custom JavaScript, etc.
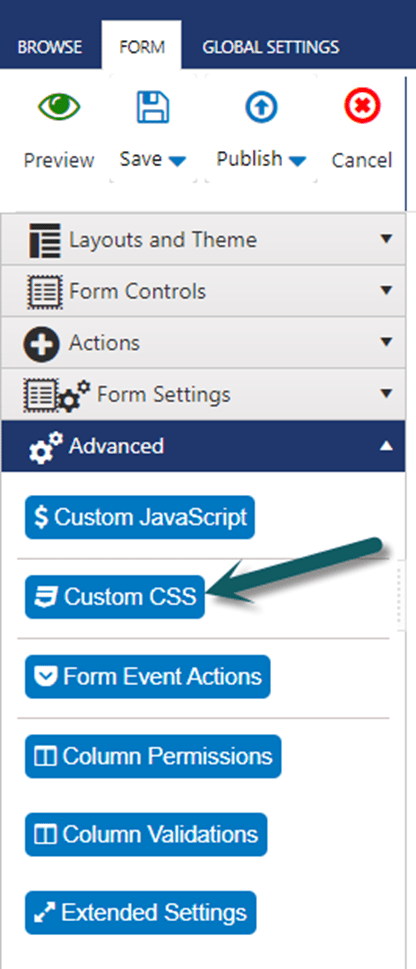
3. How to add ‘Custom CSS’
To add custom CSS in NITRO forms designer, go to ‘Advanced’ section in the left-hand panel -> Click ‘Custom CSS’ and add the required CSS.
Refer Custom CSS sample use cases from: https://www.crowcanyon.help/article/422/
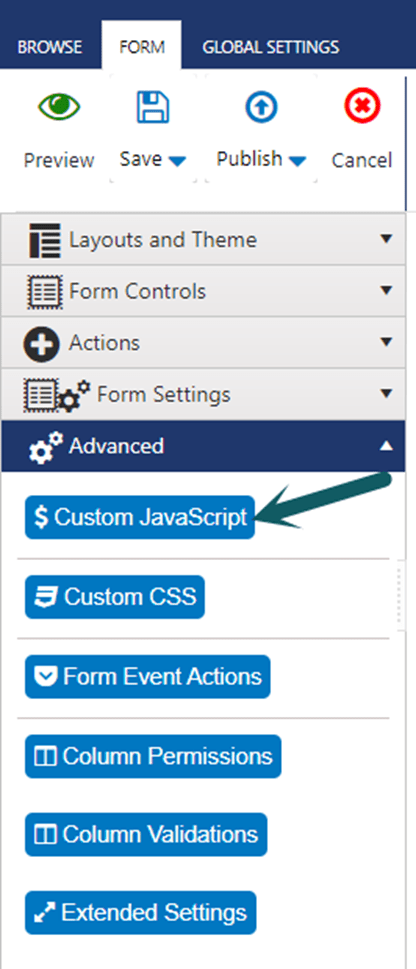
4. How to add ‘Custom JavaScript’
To add custom JavaScript in NITRO forms designer, go to ‘Advanced’ section in the left-hand panel -> Click ‘Custom JavaScript’ and add the required script.
Refer sample use cases for Custom JavaScript from: https://www.crowcanyon.help/article/443/#Symptom2
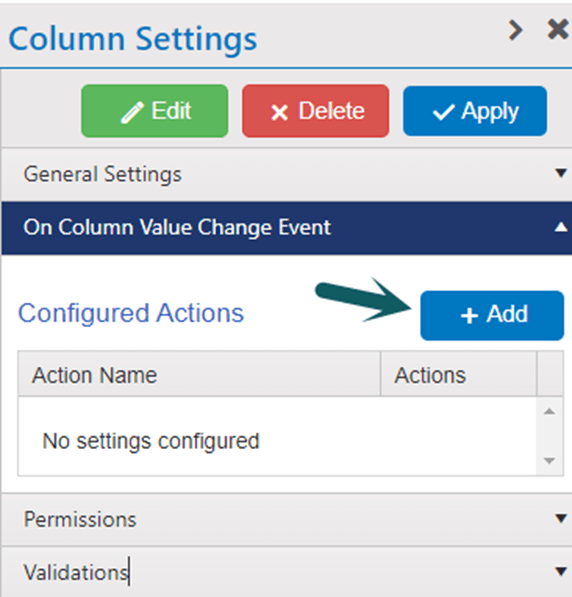
5. How to configure Form Event Actions
To configure Form Event Actions in NITRO forms designer, go to ‘Advanced’ section in the left-hand panel -> Click ‘Form Event Actions’ and add the configurations based on the requirement.
Alternatively, select the column in NITRO Forms Designer -> Configure form event action “On Column Value Change Event” in column settings.
Refer sample use cases for Form Event Actions in NITRO Forms from:
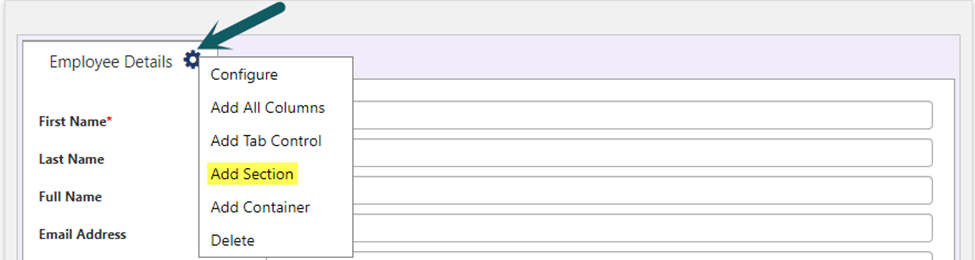
6. How to add section within section/tab
To add section within section, select the section -> Click gear icon at right-hand side of the parent section -> Select ‘Add Section’ from the drop-down. Different set of permissions can be applied on each nested section.
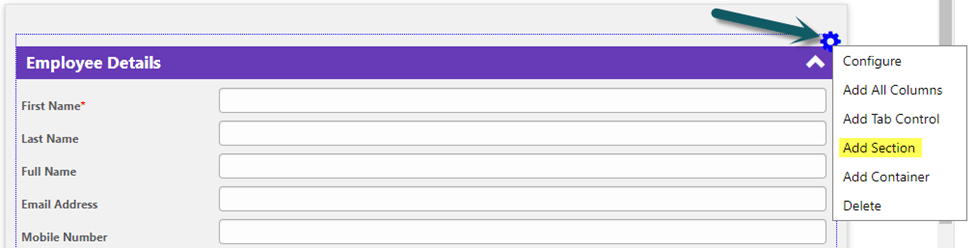
7. How to add section within tab
To add section within tab, select the tab -> Click blue gear icon at right-hand side of the parent tab and select ‘Add Section’ from drop-down. Different set of permissions can be applied on each nested section.
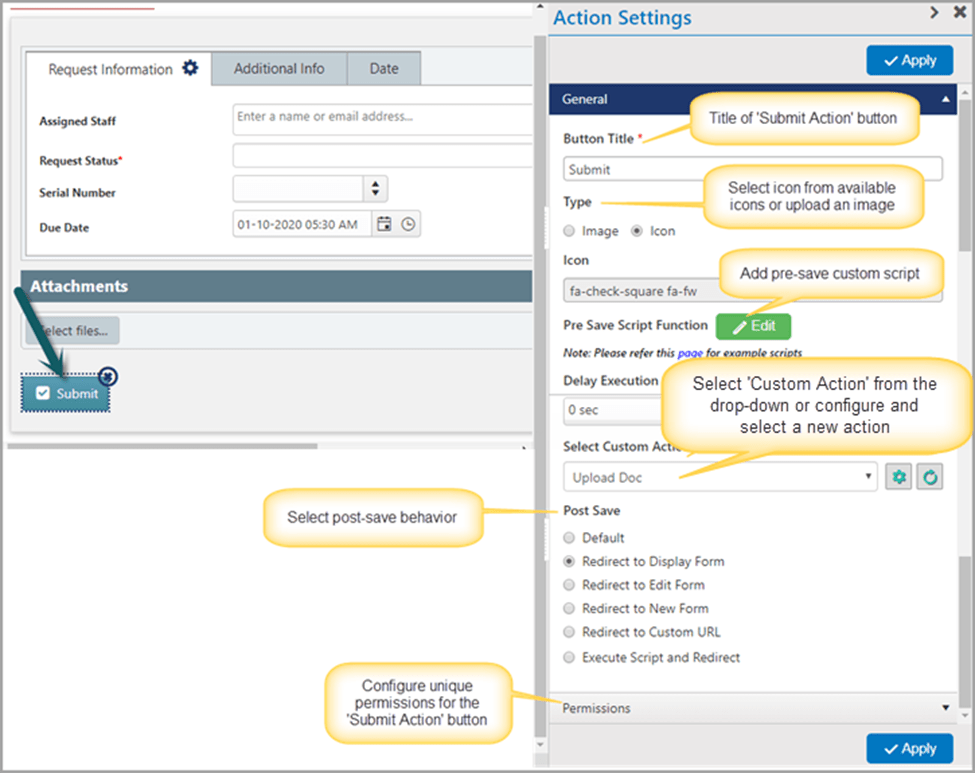
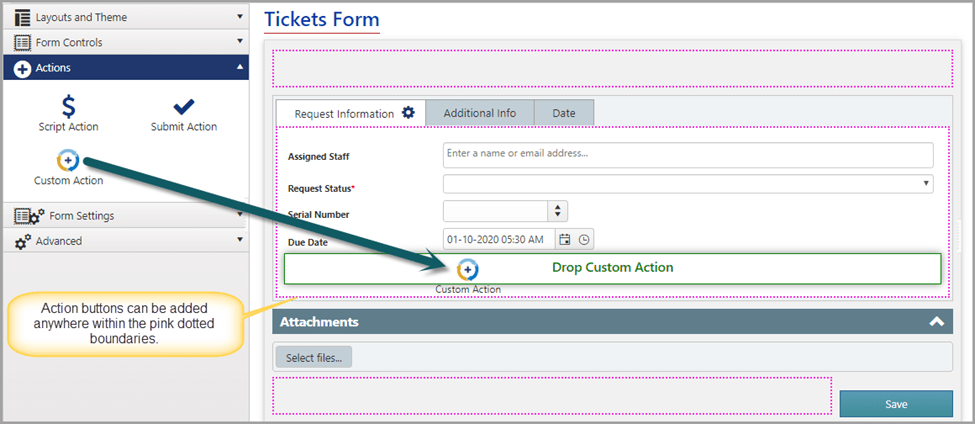
8. How to add and configure ‘Actions’ in NITRO forms
Actions section is in the left-hand panel of NITRO forms designer. We can add required action buttons to run scripts, custom actions, etc.
Refer sample use case for using actions in NITRO Forms from:
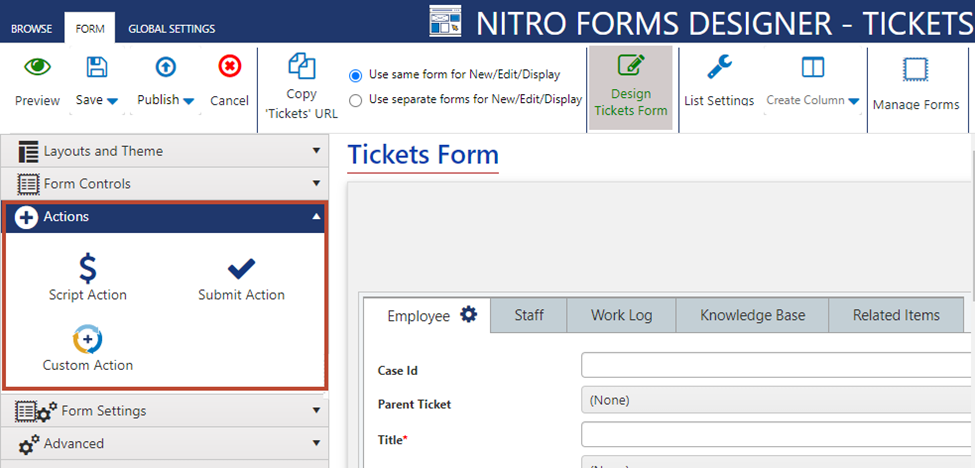
These actions can be added anywhere on the form, i.e., on top of the form, in the form or below the form by drag and drop.
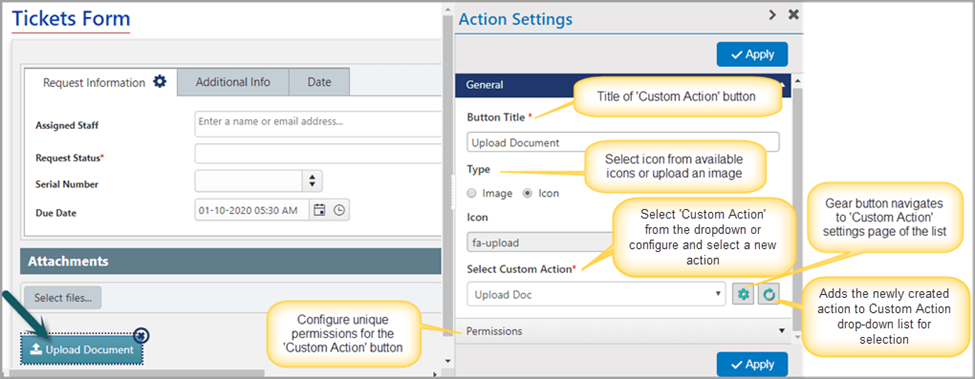
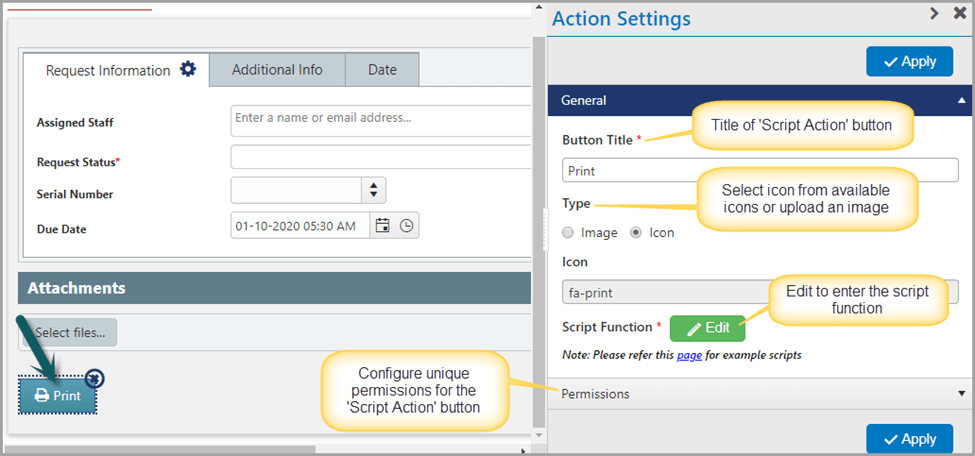
Configuration of actions
1. ‘Custom Action’
2. ‘Script Action’
3. ‘Submit Action’